Team Owners & Contacts
Every MyHub workspace will have a Team Owner who creates the space and controls who has access. Most workspaces must have a minimum of two Owners and two MyHub Contacts. The Contacts are responsible for managing MyHub renewals.
Renewal Process
Workspaces must be renewed periodically to help ensure they are being maintained and archived when appropriate. MyHub Contacts will be notified when it is time to complete the renewal process. Notifications typically begin 30 days before a workspace is set to archive or lock. At that time workspaces can be renewed or archived. When renewing a workspace Contacts, Owners, Members, and permissions should all be reviewed and updated.
Security & Permissions
MS Teams and SharePoint Document Library workspaces in MyHub are created as Private. This helps ensure workspaces are created with adequate security measures. Teams and SharePoint Document Libraries can be changed from Private to Public by the workspace owner. For more information on adjusting workspace security and permissions see MyHub Workspace (Team & Group) Types.
MS Teams
Private means only the members added will be able to join the Teams. Public means that anyone in the organization can join via a link, code, or search in Teams, without needing approval.
Groups & SharePoint Document Libraries
Private means that only the members who have been added can view the content. Public means that anyone in the organization who has access to the group, file, or folder link can view the content.
Creating a Workspace
When creating a workspace, MyHub will take you through a series of questions to create the workspace that best fits your needs.
Step 1
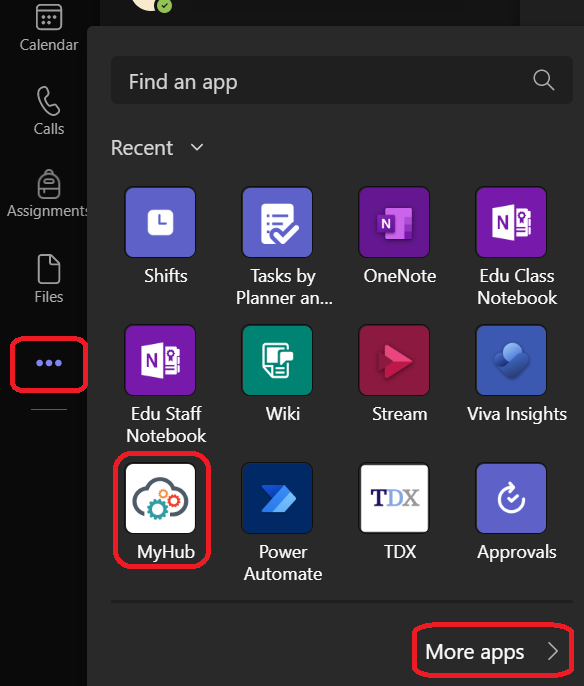
To initiate your request, access MyHub from the web browser or the MyHub icon in the MS Teams application.
Web browser
Navigate to the web app via myhub365.gmu.edu.
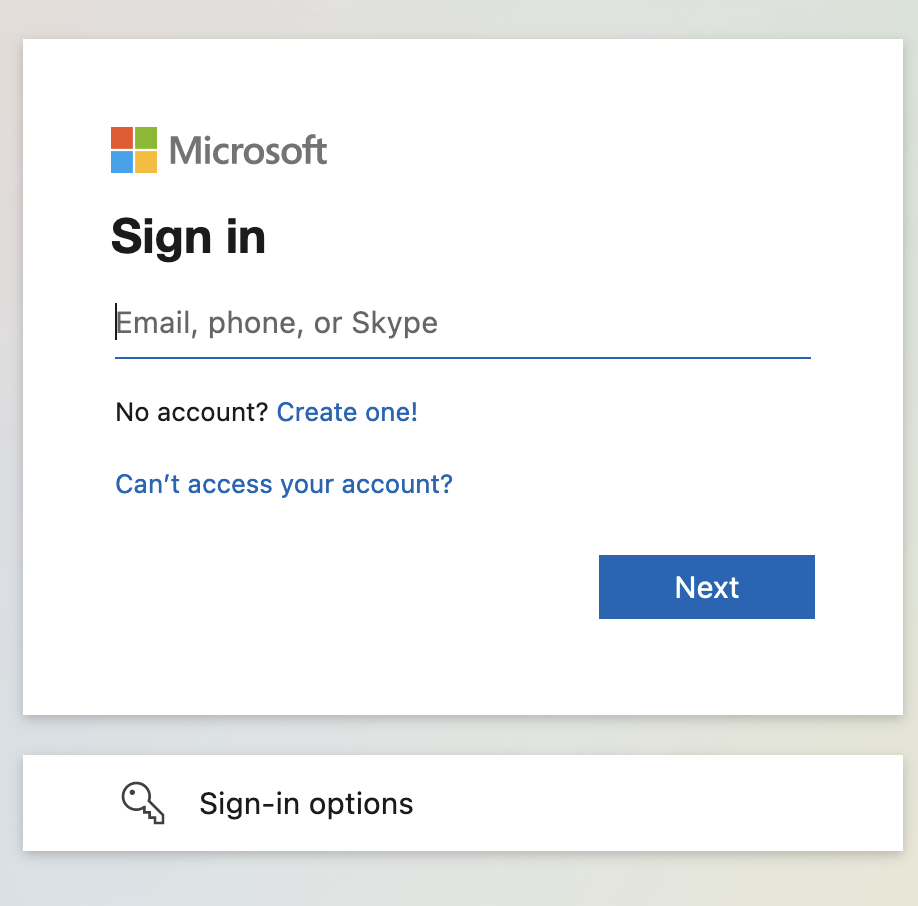
If you are prompted to sign into Microsoft, use your full Mason email ([email protected]).

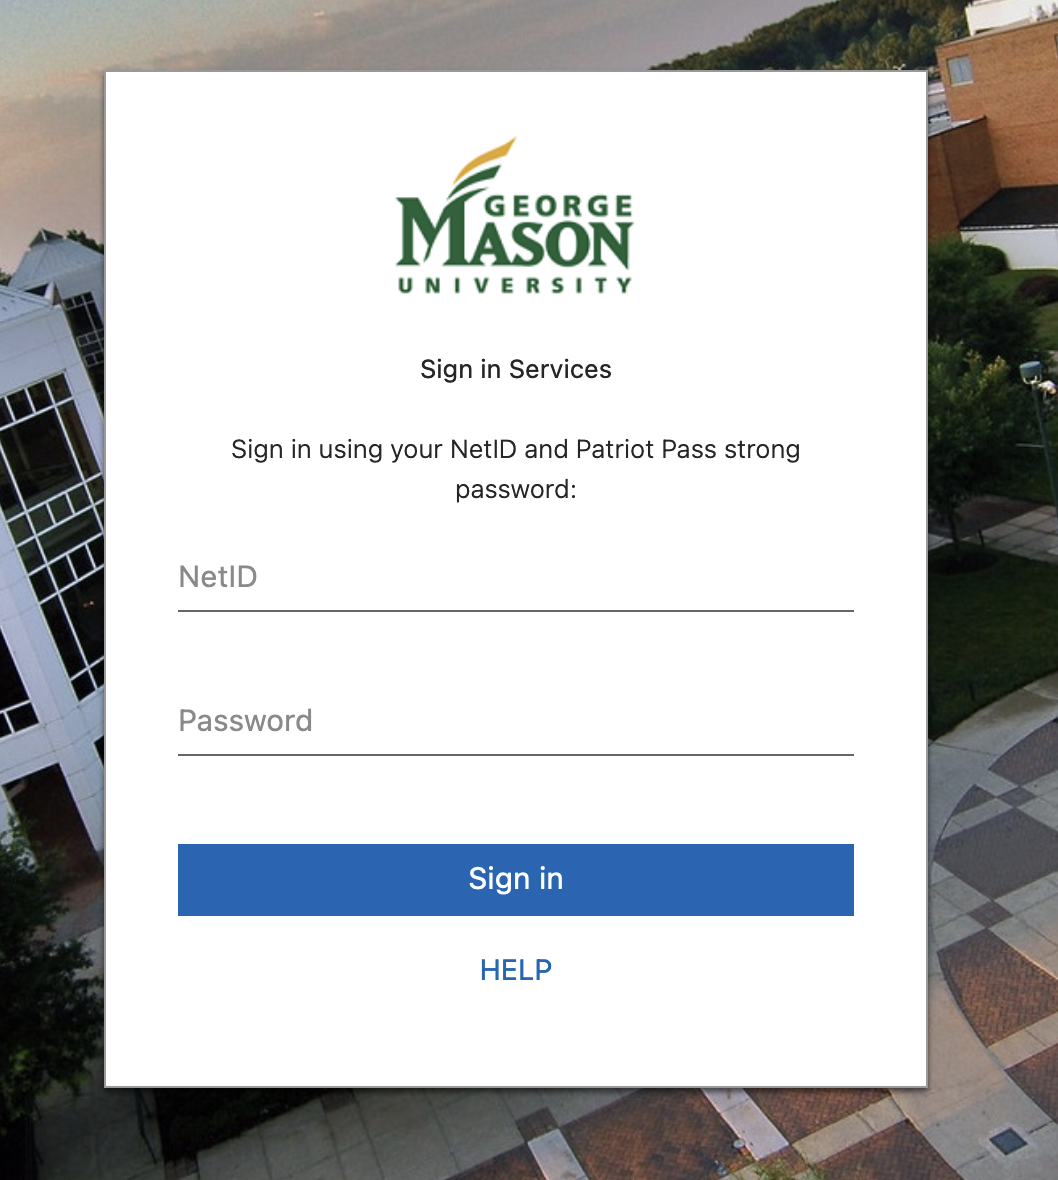
You will then be directed to the Mason sign-in window. Log in with your NetId and Patriot Pass Password.

MS Teams App
Navigate to the MyHub icon pinned on the left-hand side of the application and select the Start a Request tab in the top navigation. If the icon is not present, you can click the “...” to search for and add the application to your pinned apps.


Step 2
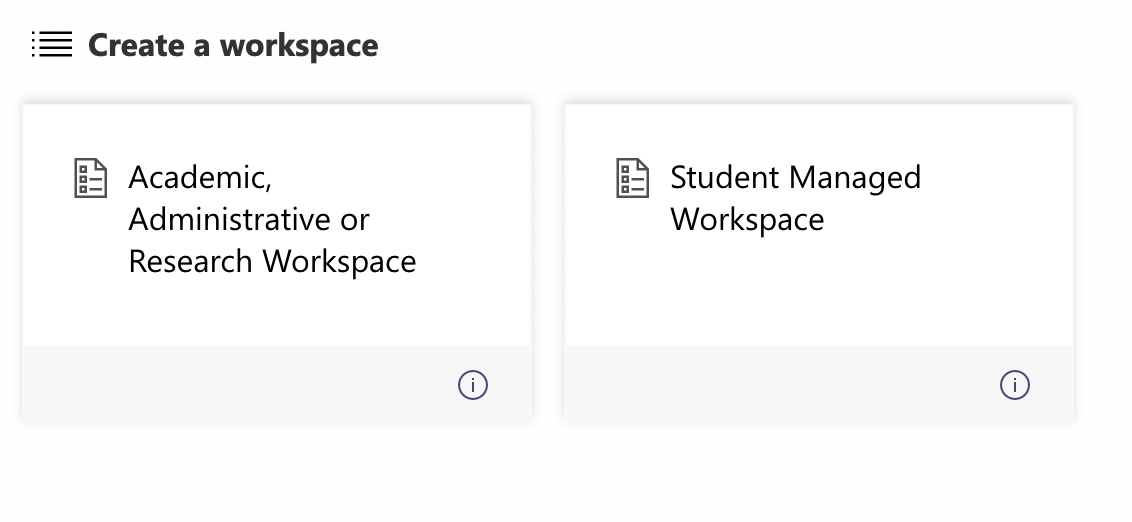
Under Start a Request, select the tile for the subject that best suits your needs. Learn more about the MyHub Team Types.

Step 3
Follow the prompts to configure your workspace. You will be asked questions about the following:
- Sensitive Data: Sensitive and Restricted Data are governed by University Policy 1114. The IT Security Office must approve the storage of this data.
- Business Need: Select the option based on the role you, as the owner, will assume for this workspace.
- Collaboration Need:
- MS Teams: Persistent chat, audio/video meetings, file sharing, etc.
- SharePoint Document Libraries: Store and share files for collaboration, communication, or organization (excluding MS Teams).
- Microsoft 365 Group: Use with apps including Planner, Lists, etc. (excluding MS Teams).
- Primary Purpose: Select the option that best fits your collaboration needs
Step 4
Depending on what was selected in the previous step, you may be asked the following:
- Assign a Secondary MyHub Contact and Second owner to the workspace
- Select the department, college, or school that the space is being created on behalf of
- Select applications you would like added to your Group
- Name your Group or Team
- Add an optional description
- Add additional members
- Define workspace member permissions
Naming
Here are some things to consider when naming workspaces:
- Be specific when naming your workspace and the contents in the workspace (e.g., folders, channels) so members can easily find what they need
- Adding a prefix or suffix related to your department or finding another pattern to help differentiate your team is recommended (e.g., ITS-Comm and Marketing).
- Provide clear instructions on how to label the contents of the workspace.
Tip: Discuss with peers what has worked well, or what has made it difficult to locate files shared workspaces.
Note: Some names may be reserved for central departments.
Step 5
Once you have selected all the details for your request, click Submit.
Your workspace will be available shortly, and you will receive a confirmation email once your request has been completed. You can also navigate to the Requests tab in the top navigation to check on the status of your request. You may need to refresh to see the status change.
