For security reasons, PuTTY has replaced the previously provided SSH Secure Shell for Windows as the supported method of remote access. PuTTY is a free implementation of SSH, SCP, and SFTP for Windows, macOS, and Linux platforms. [macOS and Linux typically already have SSH, SCP, SFTP clients.]
Note: The installation must be performed with Administrator rights (either using the Administrator account or your personal account must have Administrator permissions).
Download PuTTY
Step 1
Open a web browser to visit the official PuTTY download site at www.chiark.greenend.org.uk/~sgtatham/putty/latest.html.
Step 2
Look for the Package files, MSI (Window Installer) for the 32-bit or 64-bit versions of the latest PuTTY release to download.
- The 32-bit version of PuTTY [version] installer.msi will run on all 32-bit and 64-bit versions of PC and Windows editions that PuTTY supports.
- The 64-bit version of PuTTY-64bit [version] installer.msi will provide better performance if your PC processor and Windows edition are both 64-bit (typically true for relatively new Windows PC).
- If you are not sure which version to install, then select the 32-bit version.

Install PuTTY
Step 1
Open File Explorer (Windows 10) or Windows Explorer (Windows prior to 10). The Windows logo key + e shortcut works for Windows 10 and earlier versions. Navigate to the Downloads directory (or wherever you saved the installer) and double-click on the installer file name.
Step 2
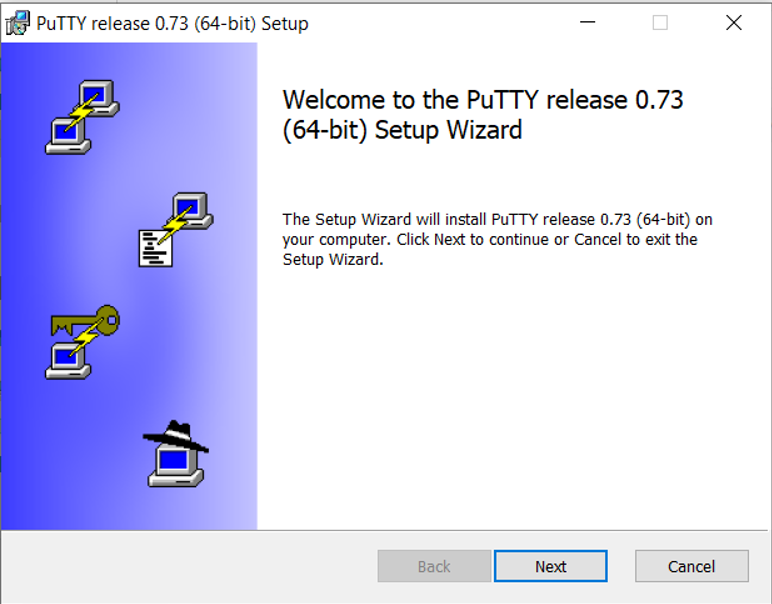
The installer starts, showing the Welcome to the PuTTY Setup Wizard screen. Click Next.
Step 3
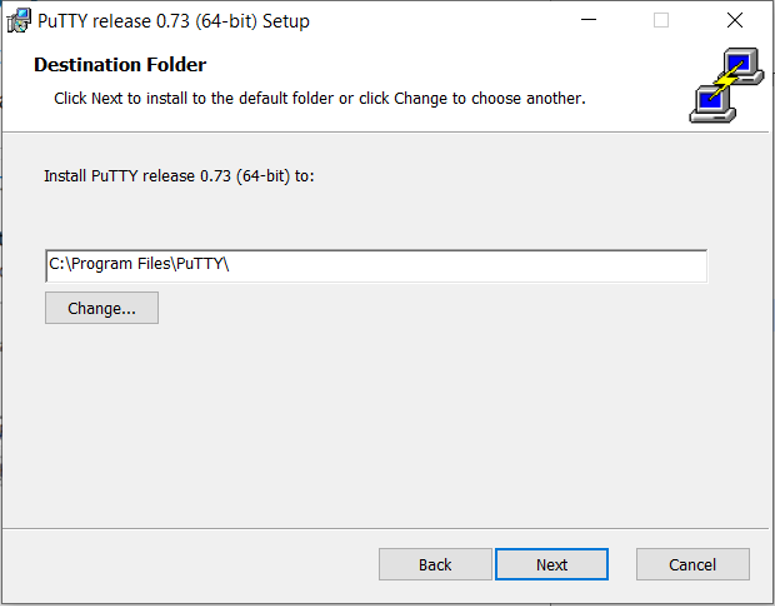
The installer next asks for the destination folder. Normally, it is fine to accept the default. Otherwise, enter your preferred destination folder. Click Next.
Step 4
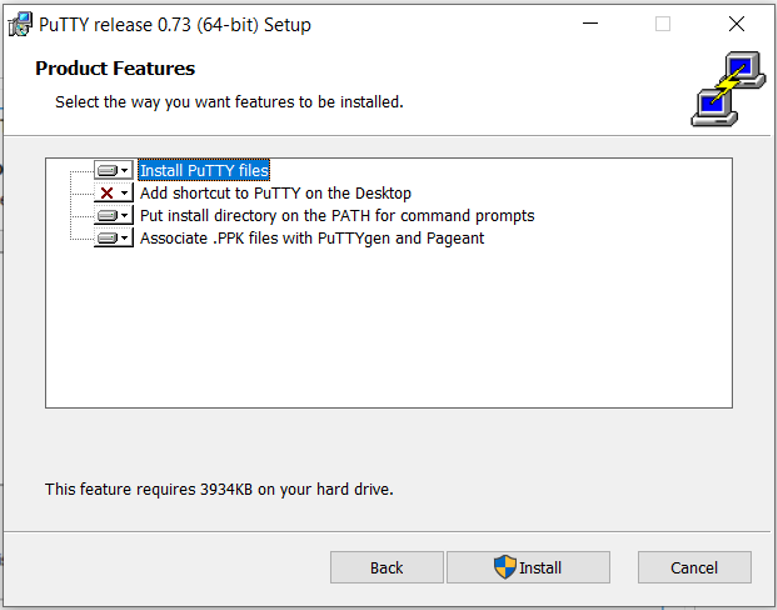
The installer next asks you which PuTTY features to install.
Step 5
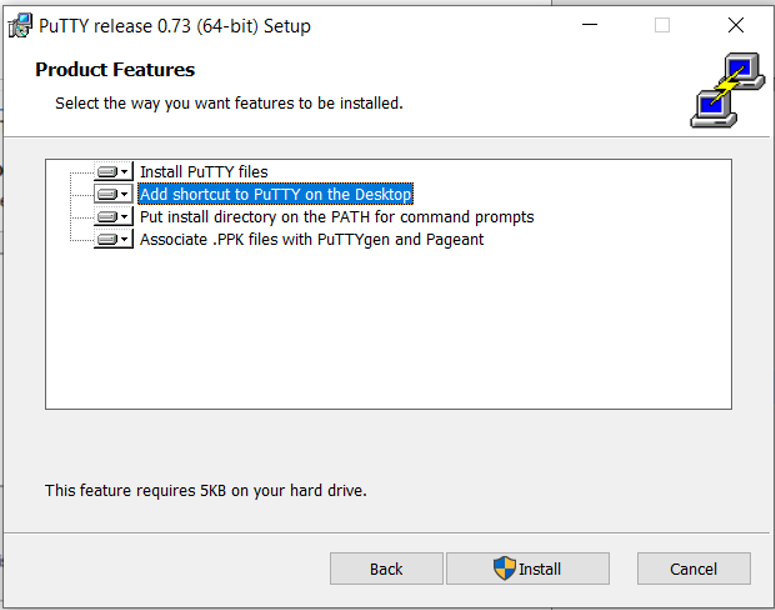
It is convenient to have a shortcut on your desktop. Change the Add shortcut to PuTTY on the Desktop from unavailable (red x) to Will be installed on local hard drive. Click Install. If you are prompted to run the PuTTY Installer, then allow it to run.
Step 6
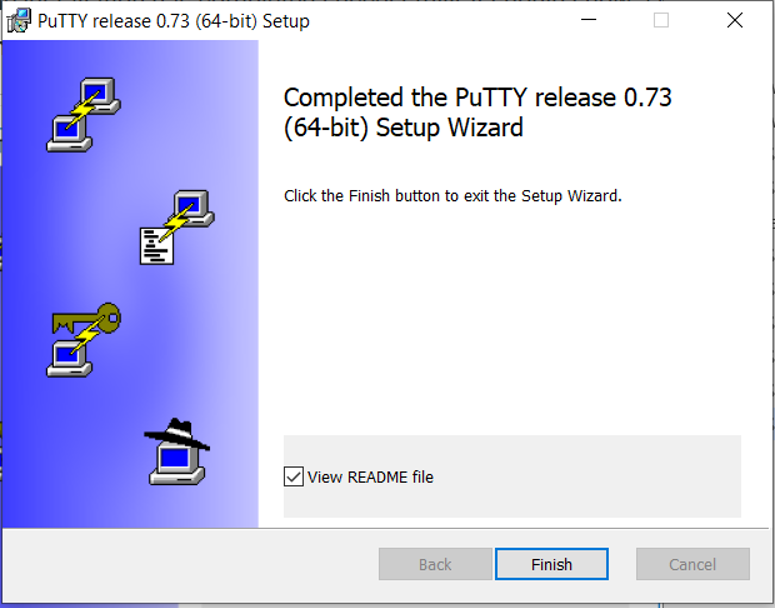
The installer will inform you when the install is complete. Click Finish.
Starting PuTTY SSH
If you created the PuTTY desktop shortcut during the installation, then you have the PuTTY icon on your desktop. Double click the PuTTY icon to start the PuTTY SSH client.
If you did not create the desktop shortcut or cannot find it, then select the Windows Start button located on the bottom left of your desktop. Scroll to menu item PuTTY or PuTTY (64-bit), then select PuTTY.
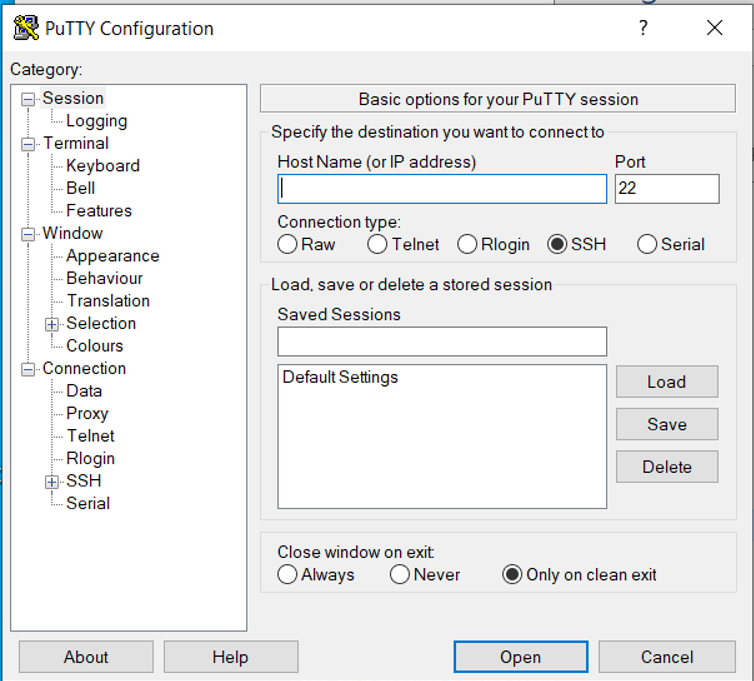
The PuTTY Configuration window will start. Enter the hostname or IP address of the remote host you want to connect in the “Host Name (or IP address)” field, then click Open.
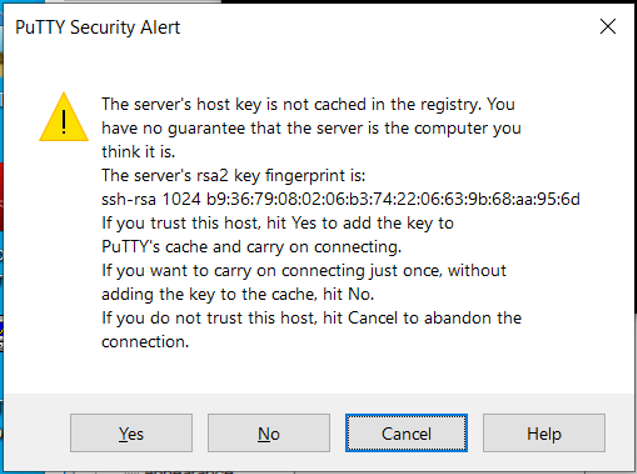
You are alerted the first time you connect to a remote host to inform you the host’s SSH key is not cached in your PuTTY registry. This is normal. Click Yes to save the remote host’s SSH key in your local PuTTY registry to proceed. If in the future you connect to the same remote host, then you should normally not see this alert.
Enter your remote host username and password at the login as: and Password: prompts, respectively.
Starting PuTTY PSFTP
Step 1
Select the Windows Start button located on the bottom left of your desktop.
Step 2
Scroll to menu item PuTTY or PuTTY (64-bit).
Step 3
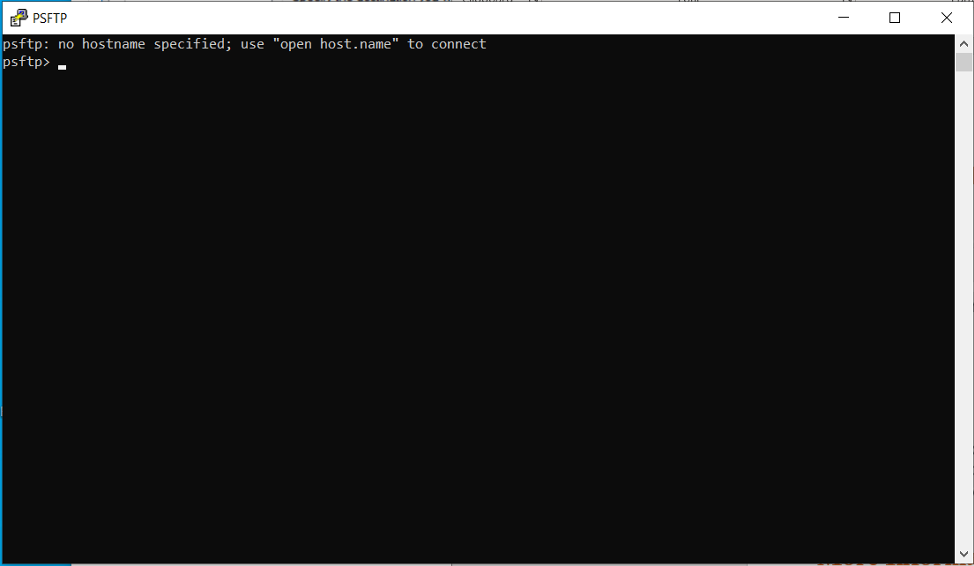
Select PSFTP. PSFTP is the PuTTY secure file transfer (SFTP) client. Use PSFTP to transfer file(s) to and from your local PC and remote host.
Step 4
Enter open hostname where the hostname is the remote hostname or IP address you want to connect. For example, open mason.gmu.edu.
If this is the first time you connect to this remote host using either PuTTY or PSFTP, then you are alerted the remote host’s SSH host key is not cached in your PuTTY registry. This is normal.
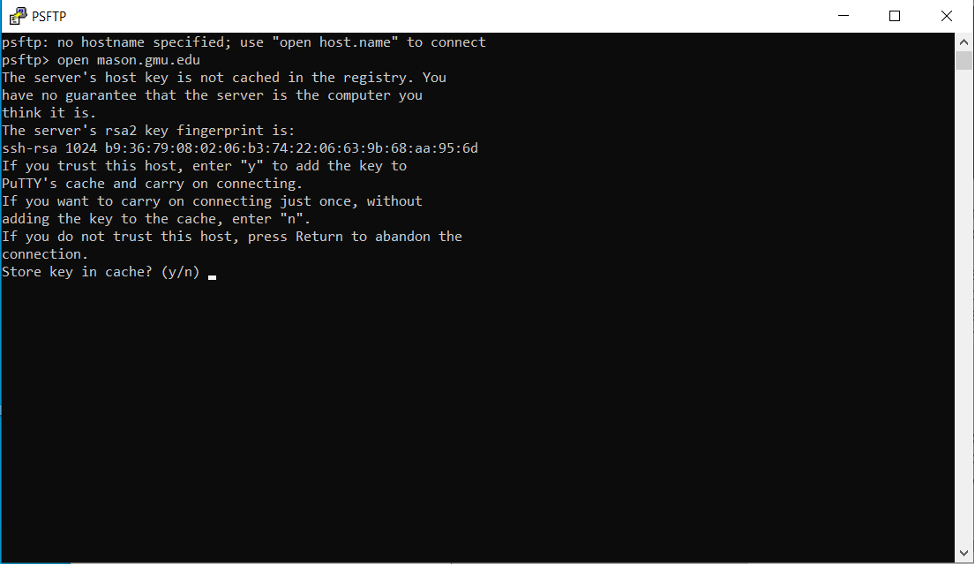
Enter Y to save the remote host’s SSH key to your local PuTTY registry to proceed. If in the future you connect to the same remote host, then you normally should not see this alert.
Step 5
Enter your remote host username and password at the login as: and Password: prompts, respectively.
View documentation on how to use PuTTY, PSFTP, and PSCP (not covered by this guide).
More Information
For information on how to connect to the Mason Cluster, visit webdev.gmu.edu/uploading-files-with-putty/.
View the official PuTTY documentation page.
View the official PuTTY FAQs page.
