A personal view is a custom view of a report that retains your changes to the shared report, such as prompt answers, view filters, sorting, etc. We recommend creating personal views of existing reports when possible instead of saving copies of existing reports to your My Reports folder. The main advantage is that personal views will stay up-to-date with the existing report with any potential report updates, such as adding additional attributes/metrics or improvement of the report design.
Personal views are accessible via the My Subscriptions page. However, unlike e-mail subscriptions, personal views do not run automatically. They are available on demand by using the links within the My Subscriptions page.
How to Create a Personal View for a Grid Report
Step 1
Run a report with the prompt answers that you wish to use for the personal view. Then make changes on the report as needed, such as:
- Change sorting
- Add View Filter
- Add or remove attributes/metrics from the report
Step 2
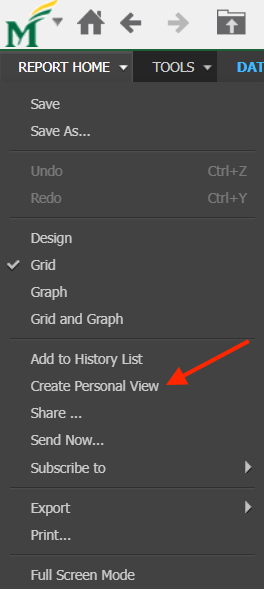
Click the arrow next to Report Home, then click Create Personal View.
Step 3
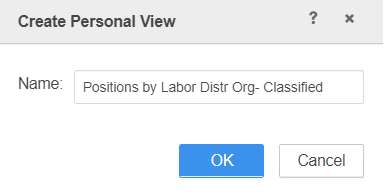
Name the personal view and click OK to save.

Tips
- Consider including prompt/filter info in the name of your personal view, i.e., XXX report for School of Business FY2022. This will help you quickly recall how you modified the original report.
- You can save multiple personal views to the same existing report. Make sure to name them clearly to make distinctions among them.
- The message “You have # personal views to this report” indicates how many personal views you have already created to this report, excluding the one you are about to create. You can click the personal views link to view the existing ones.
How to How to Create a Personal View for a Dossier
Step 1
Run a Dossier with the prompt answers that you wish to use for the personal view. Then make changes on the dossier as needed, such as:
- Make filter selections on the Filter panel
- Change attribute forms
- Add or remove attributes/metrics from the report
- Rearrange the order of attributes/metrics
Step 2
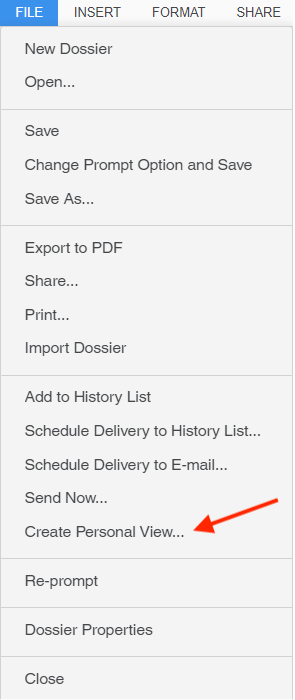
Navigate to File Click Create Personal View…
Step 3
Name the personal view and click OK to save.
How to Use Your Personal View
Step 1
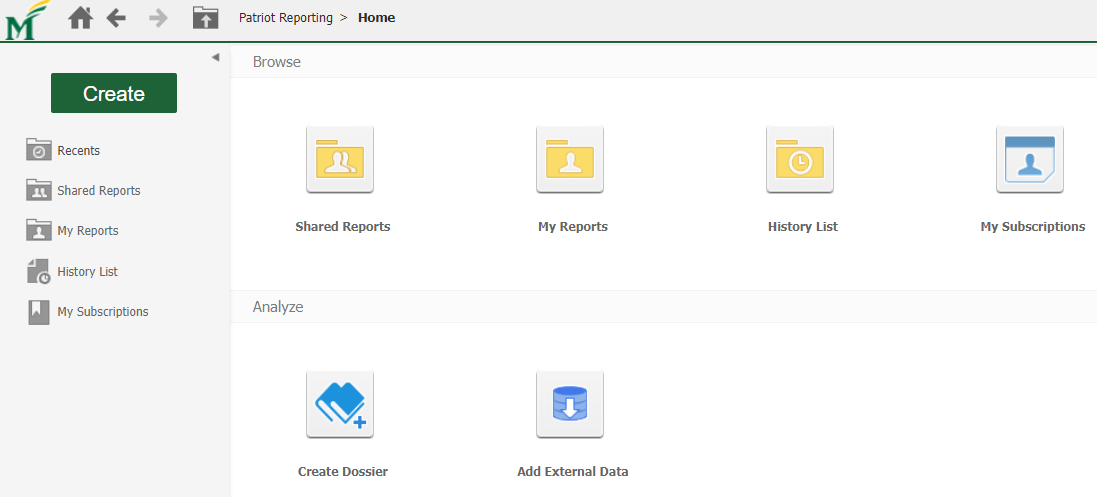
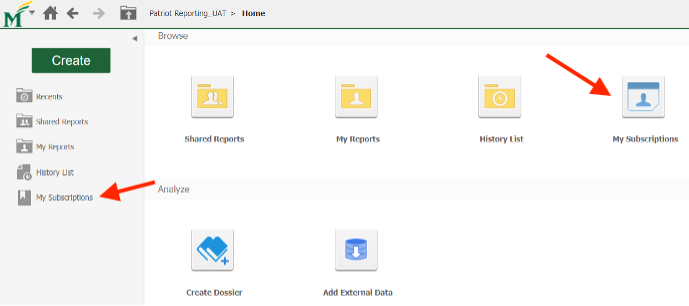
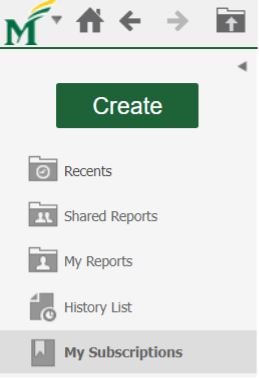
Navigate to the project Home page, then click My Subscriptions either from the left navigation bar, or from the main page with a blue person icon.
Step 2
In this page, you will see all of your subscriptions. The section titled Personal view subscriptions contains your personal views. Click the subscription name to access/run your personal view.

Tips:
- You can click the icon under Action to rename your existing personal view. You can also use the Personalization link to change your prompt answers. Click OK to save.
- Click the icon under Action to change your prompt answers. Click OK to save.
