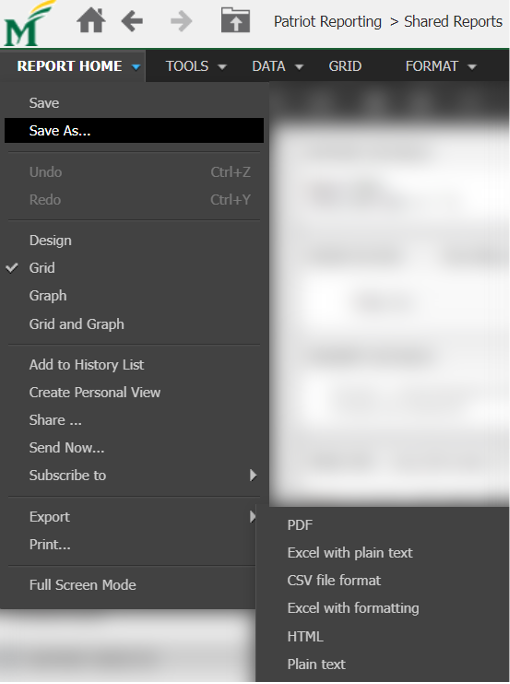
You can export a MicroStrategy report to Excel, CSV, HTML, PDF, or plain text. Once exported, the data in the resulting file will become static.
Step 1
Run your report. Navigate to Report Home → Export → Choose one of the export formats listed.

Step 2
Choose the export options:
- Export: Choose Whole report vs. Portion displayed only (only the displayed page if multiple pages).
- Export Report Title: Selected by default.
- Export Page-By Information: Selected by default.
- Export filter details: Select this option to include the report’s filter details. (Highly recommend for understanding your exported data).
- Remove extra column: Use this option to determine whether the column that displays the word “Metrics” is displayed on the exported report.
- To display the word, select No.
- To hide the word, select Yes.
- To use the report’s default setting, select Automatic.
- Expand all page-by fields: Use this option to expand all page-by fields in the worksheet in the resulting Excel workbook.
- Export Header and Footer: You can edit the header and footer that are displayed when a report is exported. You can add either static text by typing text in the header/footer field, or dynamic text by using the Insert Auto-Text… drop-down list.
- Under Excel options, select the Export metric values as text checkbox to reformat metric values from numeric to text format. Similarly, select the Export headers as text checkbox to reformat row and column headers into text format.
TIP
Here is how to have all pages (each page displays data filtered by one value from one of the Page-by fields) in separate Excel sheets:
- Under Export, select the Excel with formatting checkbox.
- Select the Expand all page-by fields checkbox.
- Under Excel with formatting options, select the Place each page on a separate sheet checkbox.
Step 3
Click Export. The report will be exported in the selected format.
Last modified: July 12, 2022
