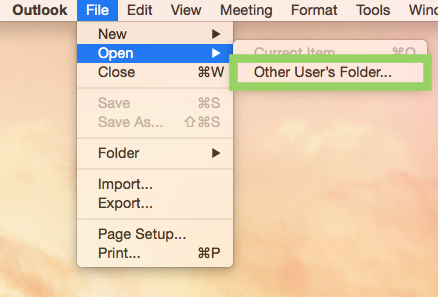
Step 1
On Outlook's File menu, select Open, then select Other User's Folder.
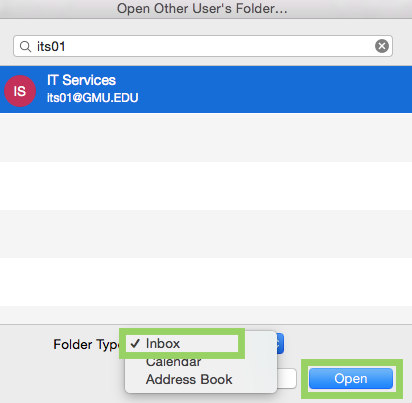
Step 2
In the small dialog box, enter the name or email address of the inbox you are attempting to open. Select Inbox from the drop-down list. Click Open.
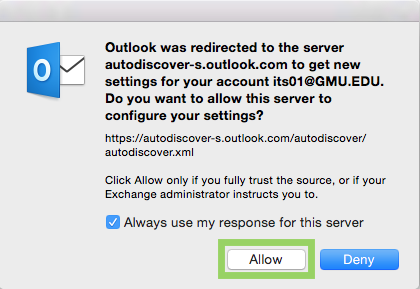
Step 3
Check the box to Always use my response for this server then click Allow.
Step 4
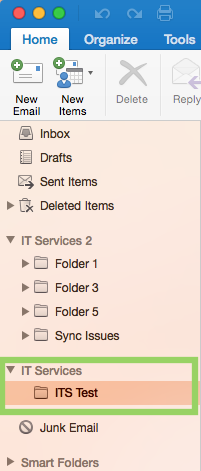
In the Navigation Pane you should now see an additional Mailbox with your manager's name. Within that mailbox you will be able to see the folder(s) your manager has shared with you.
Step 1
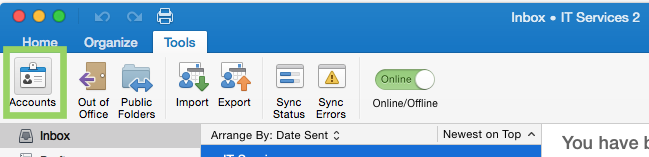
From Outlook's Tools menu, select Accounts.
Step 3
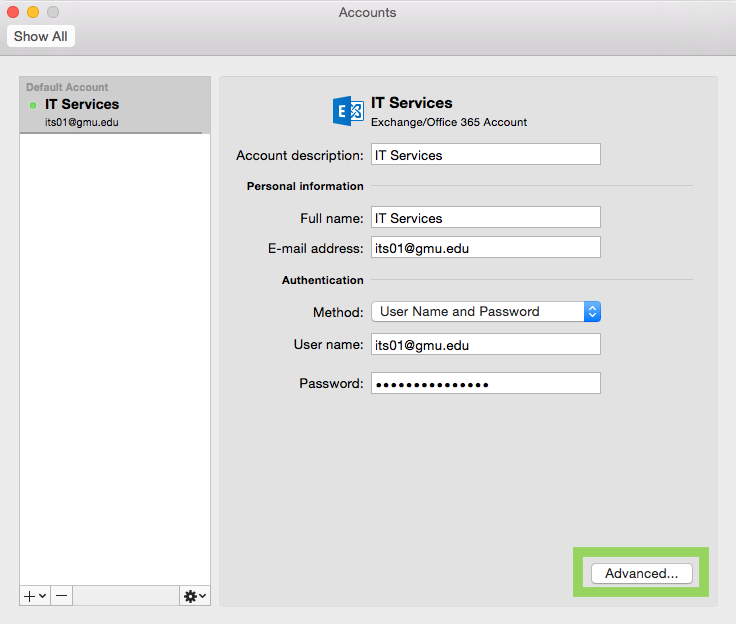
Click Advanced. A smaller dialog box will open, with the Server tab selected.
Step 4
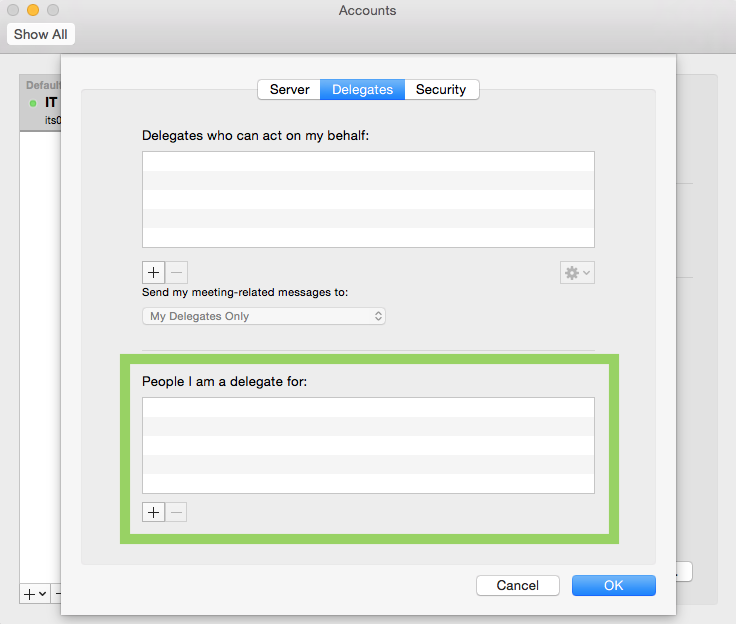
Click the Delegates tab.
Step 7
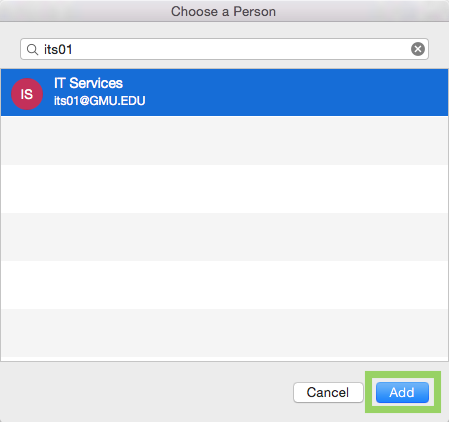
Click the name of the person who will be your delegate, then click ADD.
Step 10
Check the box to Always use my response for this server then click Allow.

Anytime your manager adds a new folder under the inbox you will see a new folder appear.
Step 1
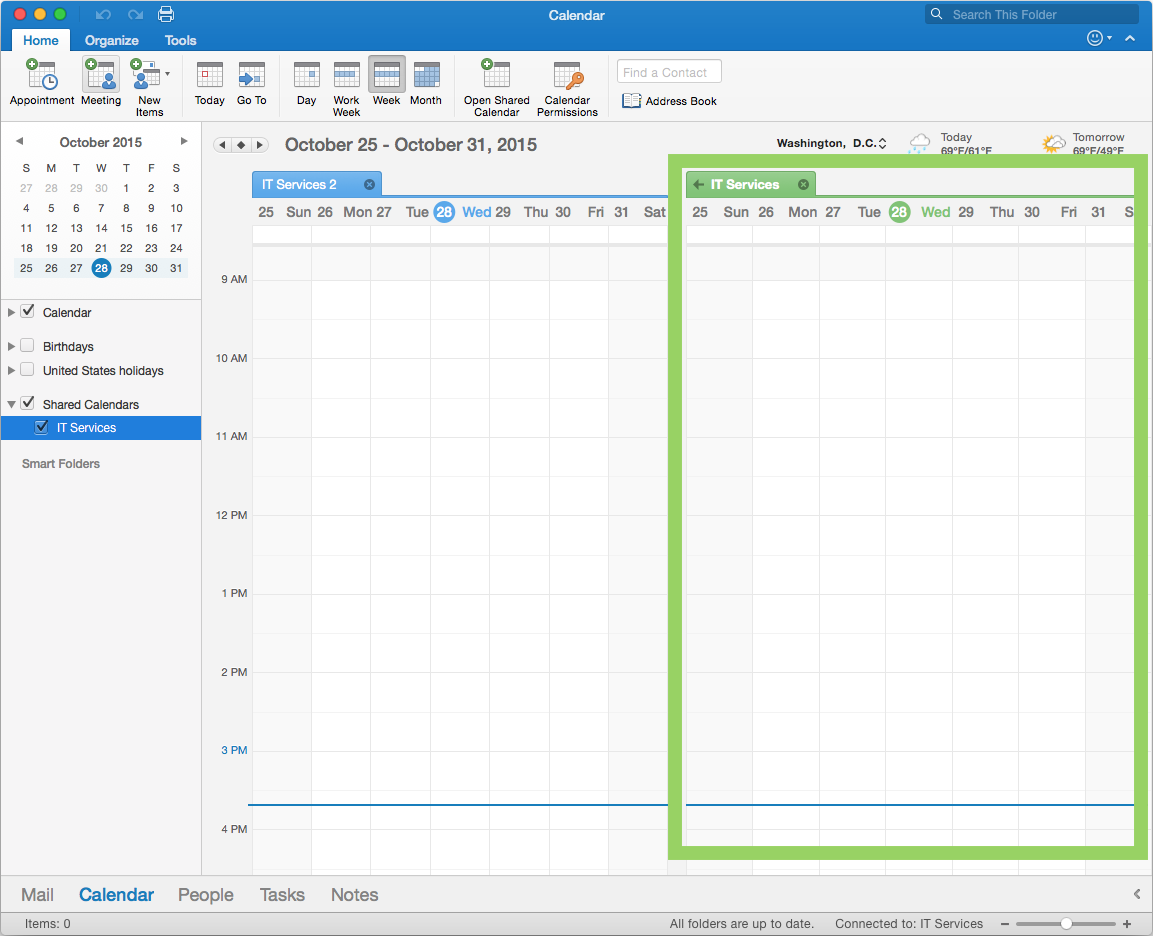
At the bottom of the Navigation pane, click Calendar.
![]()
Step 3
On the Home tab, click Meeting.
TIP: You can also double-click a time period in the day, week, or month view. The date and time of your selection are automatically entered in a new appointment window. Then, to convert the appointment to a meeting, on the Appointment tab, click Invite.
Step 5
You can also see if your invitees are available. On the Organizer Meeting tab, click Scheduling.
Step 6
When you complete all the details and information for your meeting invitation, click Send.
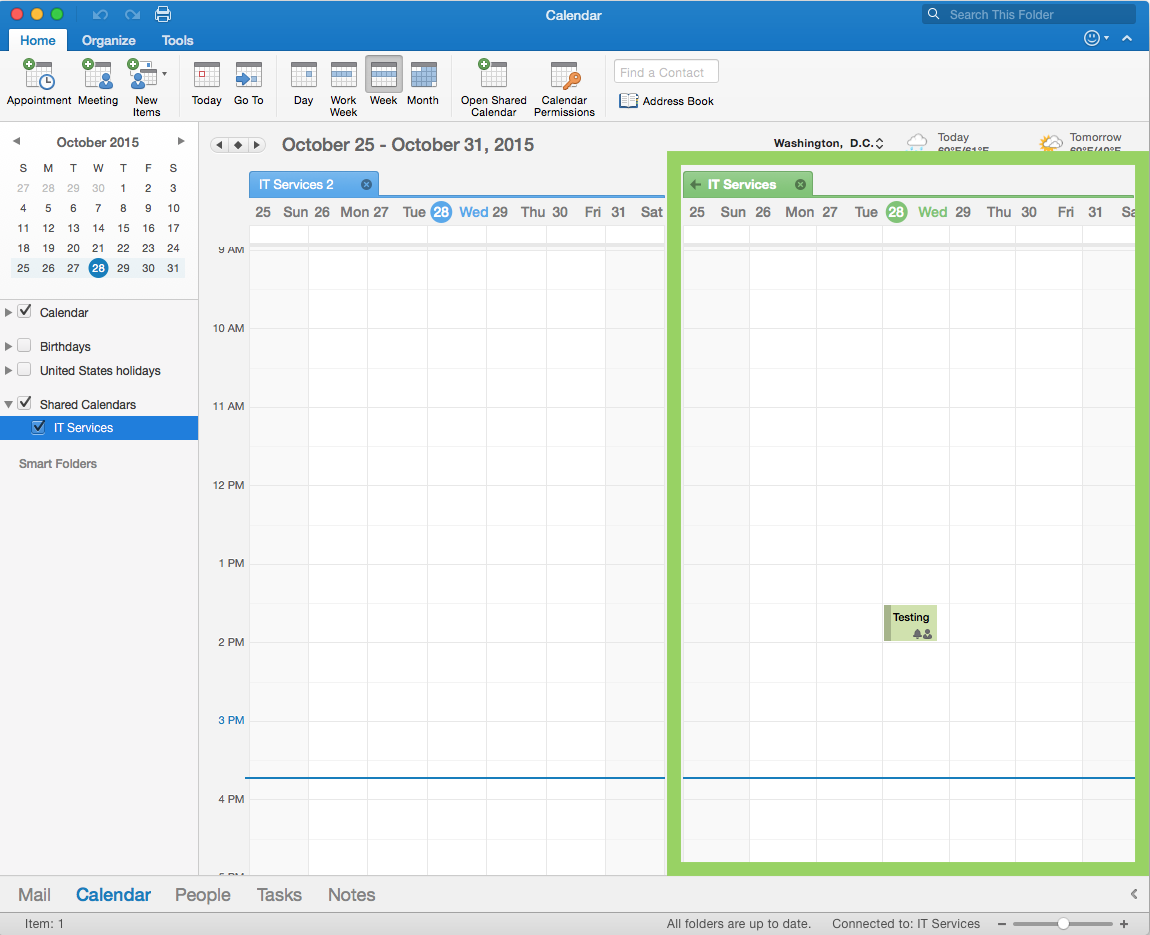
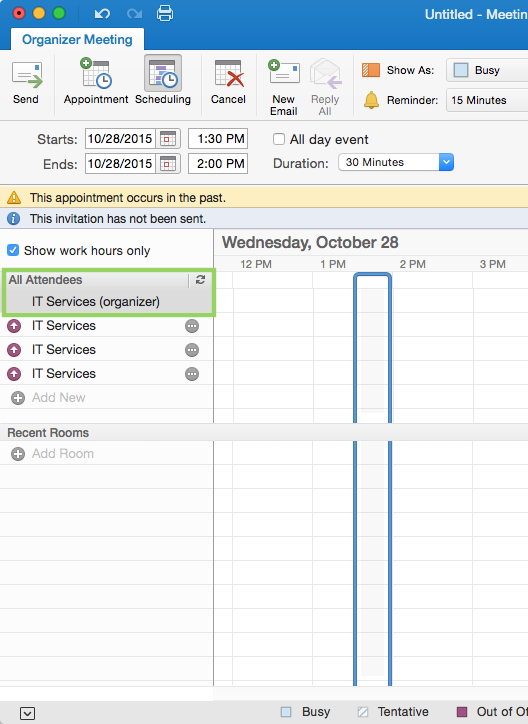
You will then see the meeting on your managers calendar
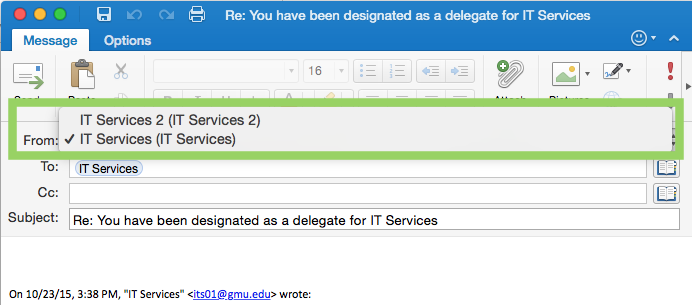
Step 1
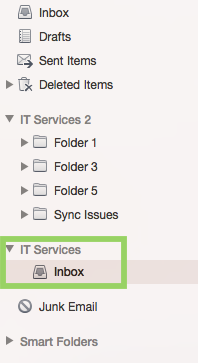
At the bottom of the Navigation pane, click Mail.
![]()
Step 2
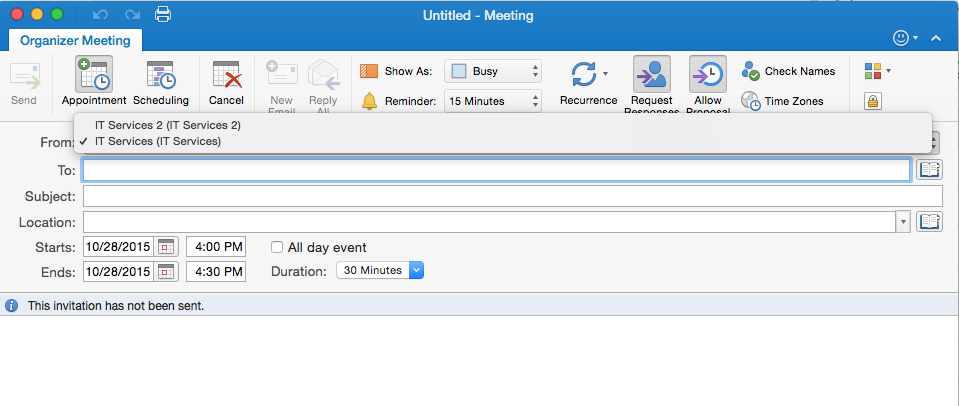
Select your managers calendar from the left Navigation pane.
Step 3
You will see multiple options to send "From". Select your managers email account.