The Kaltura Capture desktop recording tool enables easy screen, webcam, and PowerPoint capture to be used throughout Blackboard.
You can easily create audio, video, screen captures, and multimedia presentations and with advanced features like live drawing, editing, chapter markers, and interactive quizzing you can enhance the viewer's experience. Features include:
- Create audio, video, webcam, screen capture and PowerPoint presentations that easily upload directly to Blackboard.
- Capture multi-stream recordings of up to 2 video inputs (2 screens, 2 cameras or any single combination) synchronized whether it's a PowerPoint presentation with video or a dual screen capture.
- Create searchable, interactive video that can be viewed on any device at any time.
- Viewers can interact with your lectures by navigating to desired content, searching through slide text, switching between video streams, and viewing picture-in-picture.
While the online support is available, below is a quick guide.
Installation
These instructions will help you to download Kaltura Capture, a desktop recording application.
Step 1
Login to your Blackboard portal (mymason.gmu.edu).
Step 2
Access Kaltura from a course or Tools > Kaltura MyMedia.
Step 3
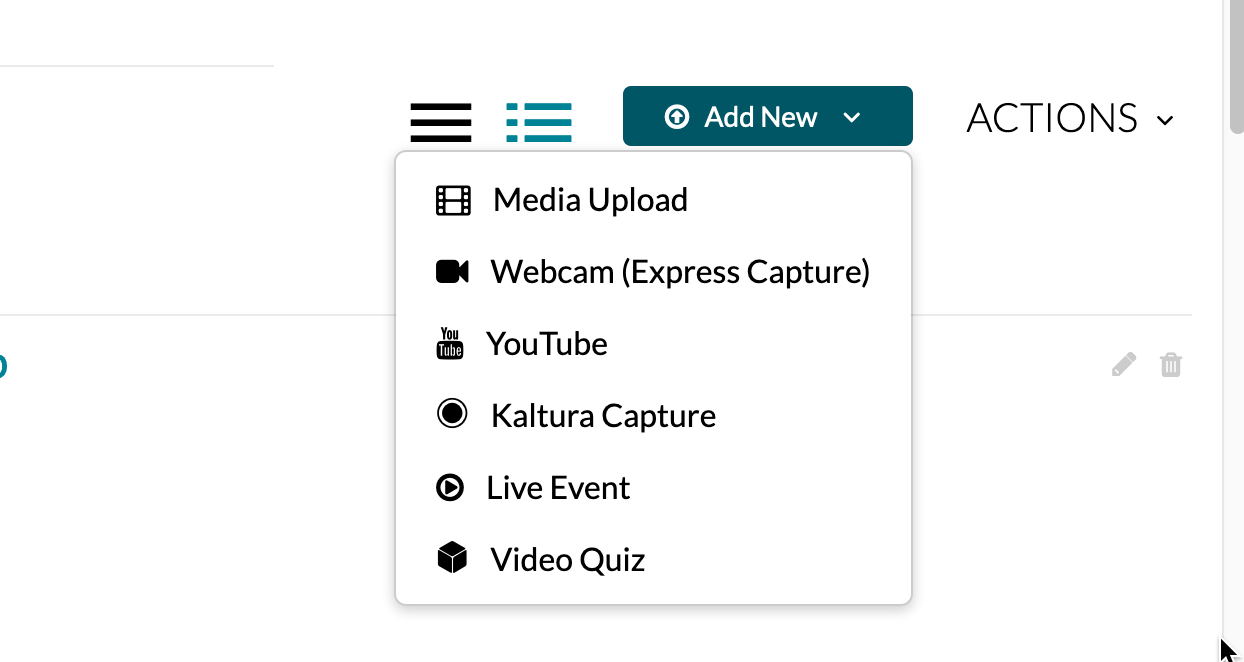
Click on the Add New button and select Kaltura Capture.
Step 4
Choose Windows or Mac to download the Kaltura Capture.
When using the application for the first time you will be prompted by the browser to approve the application. Each browser may prompt you with a unique message.
Step 5
After Kaltura Capture downloads, click Install.
IMPORTANT: After installation is complete, go back to your Blackboard MyMedia and select Add New>Kaltura Capture to complete the installation and launch the recorder. Opening from within Blackboard MyMedia is only required this one time to sync Kaltura Capture to Blackboard. From now on, you can open the program directly from your computer like any other program.