You can have a grid report or dossier automatically delivered in an email. You can schedule deliveries to take place on a regular schedule or when a specific event occurs. By creating a subscription to the report or dossier, you can view them according to your needs.
How to Subscribe to a Grid Report
Step 1
Run the report with the prompt answers that you wish to use for the subscription. Then make changes to the report as needed, such as:
- Make selections on the Page-By attributes
- Make filter selections on View Filter (if applicable)
- Change attribute forms
- Add or remove attributes/metrics from the report
- Rearrange the order of attributes/metrics
Step 2
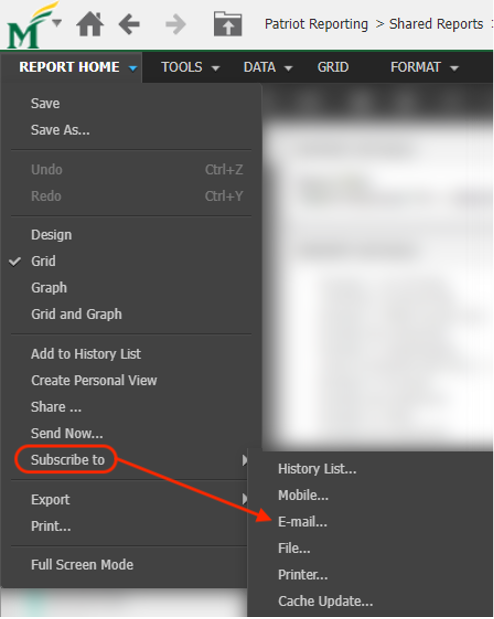
Navigate to Report Home > Subscribe to > Select E-mail…
Step 3
In the E-mail Subscription dialog box, make your selections.
- Name: Type a name for the subscription in this field.
- Schedule drop-down list: Select a schedule for the report delivery. (Note: Contact BIS if you don’t see your desired schedule on this list.)
- To: This is where you define the recipients of the report. By default, your name is in the To: drop-down list. Subscribe to other users by performing the following steps:
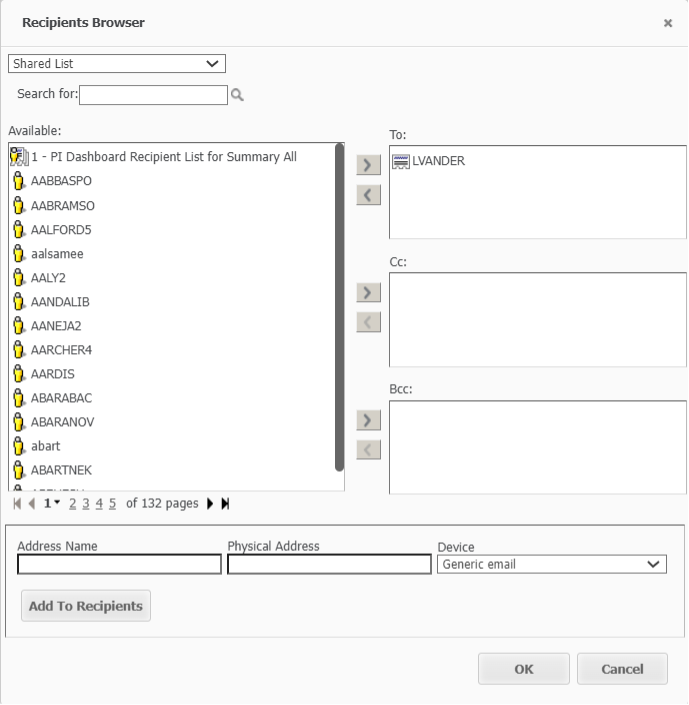
- Click the To: button
- In the Recipients Browser Dialog Box, select one or more contacts.
- Click OK to save your changes and return to the Subscribe to Email dialog box.
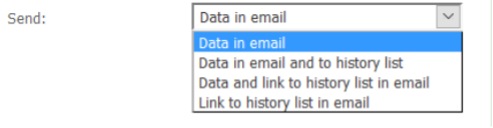
- Send (drop-down list): select how the report is included in the email.
- To include the report in the email, select Data in email.
- To include the report in the email and also deliver it to the History List, select Data in email and to history list. (Note: a History List is a collection of pre-executed reports that have been sent to a user’s personal History List folder.)
- To include the report along with a link to the History List location of the report in the email, select Link to history list in email.
- To only include a link to the History List location of the report in the email, select Link
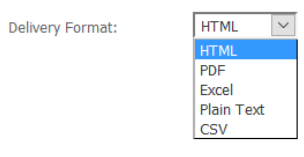
- Delivery Format (drop-down list): select the format in which to send the report.
- Delivery Format: If you select HTML, the report displays in the body of the email. When any other option is selected, the report is included as an attachment.
- Type a name for the attachment in the File Name field.
- You can reduce the attachment file size by including it in a zip file. To do this, select the Compress contents check box.
- If the reports use a page-by axis, you can include data for all page-by elements or for only the page-by elements currently selected. To include all page-by elements, select the Expand page-by field check box.

WARNING
If the report contains sensitive data such as personnel information, we recommend choosing Link to history list in email to avoid having data included in the email. If you have to include data in the email, we recommend choosing Compress contents (not available for HTML format) and adding a password to protect it. See more details in How to Password Protect an Attached Zip File when Subscribing to a Report in MicroStrategy.
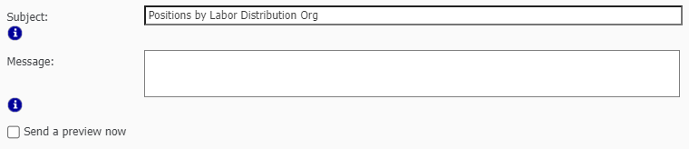
- Subject: Type a subject. It will be displayed in the subject of the email.
- Message: You have the option to type a message here for the recipients. It will be displayed in the body of the email.
- Send a preview now: If you would like to send a test email to have a preview of the subscribed report, select this check box.
Step 4 (Optional)
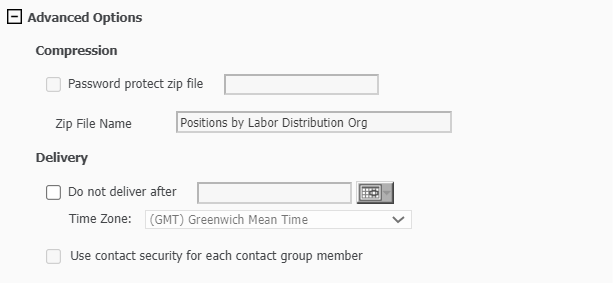
You can expand Advanced Options for some additional features.
- Password protect zip file: See more details in How to Password Protect an Attached Zip File when Subscribing to a Report in MicroStrategy
- Zip File Name: For reports emailed in an attached zip file, you can specify a name for the zip file (only available when the Compress Context check box is selected).
- Delivery: You can specify a date after which to stop delivery of the report by selecting the Do not deliver after check box and entering a date.
Step 5
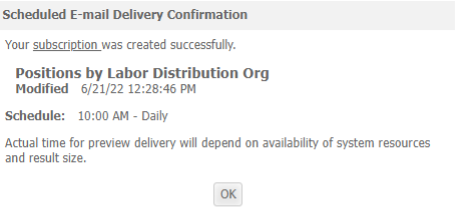
Click OK to create the subscription. You will see a subscription confirmation dialog box.
Tips
- Your personalization to the report, such as prompt and filter selected, will be applied each time the report is delivered.
- Consider including prompt and filter info in the name of your subscription, i.e., XXX report for School of Business FY2022. This will help you quickly recall how you modified the original report.
- You can create multiple subscriptions to the same existing report, i.e., using different prompt answers. Make sure to name each subscription clearly to make distinctions among them.
- The message “You have # subscriptions to this report that will be delivered by e-mail” indicates how many subscriptions you have already created to this report, excluding the one you are about to create. You can click the subscriptions link to view the existing ones.
- Only the person who created the email subscription can cancel it. Therefore, we highly recommend each user subscribe to themselves and if possible, ask other recipients to subscribe for themselves.
How to Subscribe to a Dossier
Step 1
Run a Dossier with the prompt answers that you wish to use for the subscription. Then make changes on the dossier as needed, such as:
- Make filter selections on the Filter panel
- Change attribute forms
- Add or remove attributes/metrics from the report
- Rearrange the order of attributes/metrics
Step 2
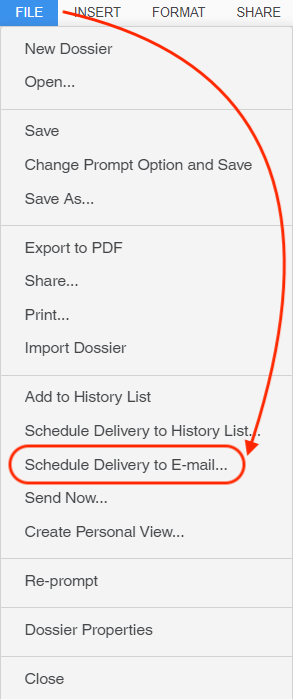
Navigate to File. Click Schedule Delivery to E-mail…
Step 3
Follow the same instruction in Step 3 for How to Subscribe to a Grid Report. Below are features unique to Dossier subscriptions:
- Delivery Format: For Dossiers, you can only subscribe to email delivery in either PDF format or an MSTR (a MicroStrategy file) format. Excel, Plain Data, and CSV files currently are not available.
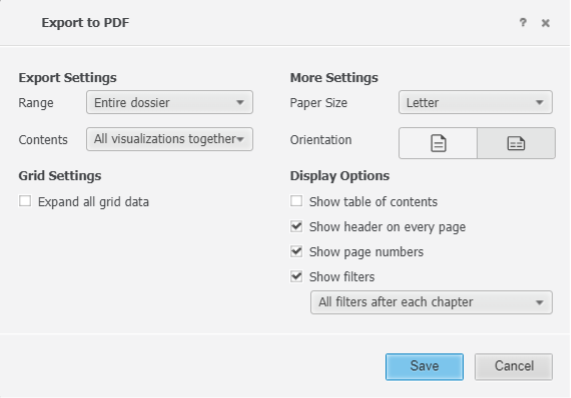
- When choosing a dossier to be delivered in PDF format, you can specify more details by clicking PDF Settings and making your selections in the Export to PDF dialog window.
Step 4
Click OK to create the subscription. You will see a subscription confirmation dialog box.