SharePoint Online also provides the ability to grant access via a group. Unlike Teams, access to the site is maintained through changes to the group.
The instructions below will grant access to the entire site using a group. The instructions can be modified to grant access to particular parts of the site but care should be taken to avoid stopping permission inheritance or breaking permissions, which is not supported.
Access to SharePoint sites can be controlled by M365 Groups and Security Groups. M365 groups can be created via MyHub and are maintained by users or departments. Security Groups are created by ITS and used for access control. Security groups can be set up to be updated regularly via a feed from external systems like Banner. The ability to modify security groups can be delegated to departments.
Step 1
As a SharePoint site owner, go to the home page of your site.
Step 2
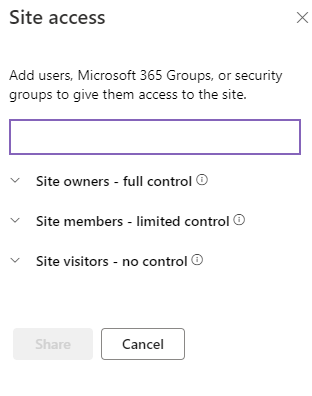
In the upper right side of the screen, there should be an icon marked Site access.
![]()
Click the Site access icon which will bring up the access list.
Step 3
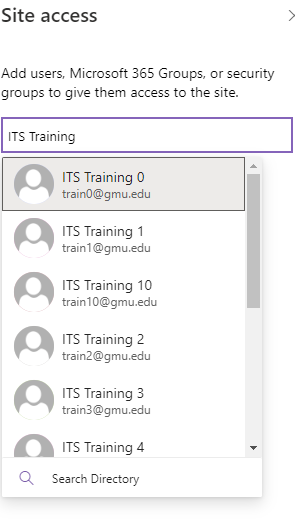
In the box above, enter the name of the M365 or Security Group that you will be using for access control. As you type in the name, a drop down of matching group names will be displayed. Click on the group name you want to use for access control.
Step 4
Once selected, choose the type of access and content for the email notification.
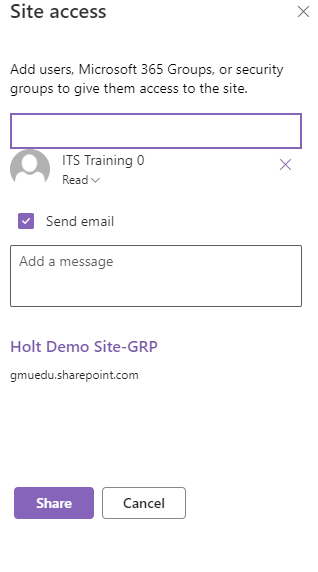
Directly below the group name is the access level. The default access level is Read, which allows group members to browse the entire site. Other access levels are Edit, which allows group members to add and update content on the site, and Full Control, which allows group members to modify site settings. Best practice is to grant the least level of access where possible. Full Control of the site should be limited to only those who need this level of access.
As the sharing is determined, you have the option to send the group members an email notifying them of their access. The content of the notification should be entered into the box provided. If a notification email should not be sent, uncheck the Send email box.
Step 5
Click Share to complete the sharing process.