• Report an IT Security Incident
  • Request Help
  • Help & Support
    • Working/Learning Remotely
    • Request Help
    • Live Chat
    • Track a Ticket
    • Knowledge Base
    • Getting Started
    • Contact Us
    • ITS Alerts Sign Up
  • Service Catalog
    • Accounts & Access
    • Communications & Collaboration
    • Computers & Software
    • Data, Reporting & Analytics
    • Network & Internet Services
    • Pilot Services
    • Professional Services
    • Research Computing
    • Teaching & Learning
    • University Applications
    • Web, Servers & Hosting
  • About ITS
    • Our Team
    • Strategic Plan
    • Annual Reports
    • Awards
    • Student Employment
  • Working with ITS
    • Technical Business Solution Intake Request Process
    • Architectural Standards Review Board
    • Projects & Project Management
    • Technology Investment Request Lifecycle
    • Business Intelligence
    • Enterprise Data Integration Services (EDIS)
    • GMU-TV
    • IT Security Office
  • Alerts & Bulletins
    • Unplanned Outages
    • Phishing Alerts
    • Maintenance
    • Bulletins
    • Spotlights
    • After Action Reports
    • Archives
  • Report an IT Security Incident
  • Request Help
X Hide

Information Technology Services

Skip to content
  • Help & Support
    • Working/Learning Remotely
    • Request Help
    • Live Chat
    • Track a Ticket
    • Knowledge Base
    • Getting Started
    • Contact Us
    • ITS Alerts Sign Up
  • Service Catalog
    • Accounts & Access
    • Communications & Collaboration
    • Computers & Software
    • Data, Reporting & Analytics
    • Network & Internet Services
    • Pilot Services
    • Professional Services
    • Research Computing
    • Teaching & Learning
    • University Applications
    • Web, Servers & Hosting
  • About ITS
    • Our Team
    • Strategic Plan
    • Annual Reports
    • Awards
    • Student Employment
  • Working with ITS
    • Technical Business Solution Intake Request Process
    • Architectural Standards Review Board
    • Projects & Project Management
    • Technology Investment Request Lifecycle
    • Business Intelligence
    • Enterprise Data Integration Services (EDIS)
    • GMU-TV
    • IT Security Office
  • Alerts & Bulletins
    • Unplanned Outages
    • Phishing Alerts
    • Maintenance
    • Bulletins
    • Spotlights
    • After Action Reports
    • Archives

Knowledge Base

Home > Help & Support > Knowledge Base > Network, Internet & Telephone > Virtual Private Network (VPN) > How to Use Remote Desktop on Windows

How to Use Remote Desktop on Windows

George Mason University VPN allows you to connect to Mason networks as if you were on campus, making access to restricted services possible. To connect from your remote Windows machine to your Windows machine on campus, you will need to use Remote Desktop.

You will need the computer name and/or IP address of the machine you are remoting to, so obtain that information before leaving campus.

Enable Remote Access function between computers

Instructions on how to enable Remote Access function on a computer that you would like to connect to remotely.

Step 1

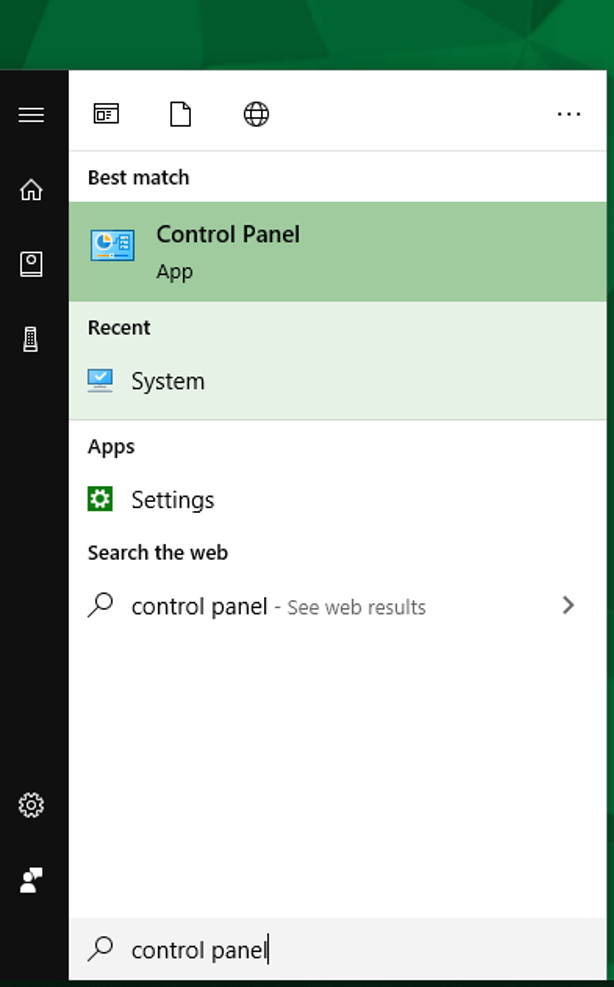
Left-click on the Start Window/Start button and then type Control Panel to search for the Control Panel.

Enable RDP Step 1

Step 2

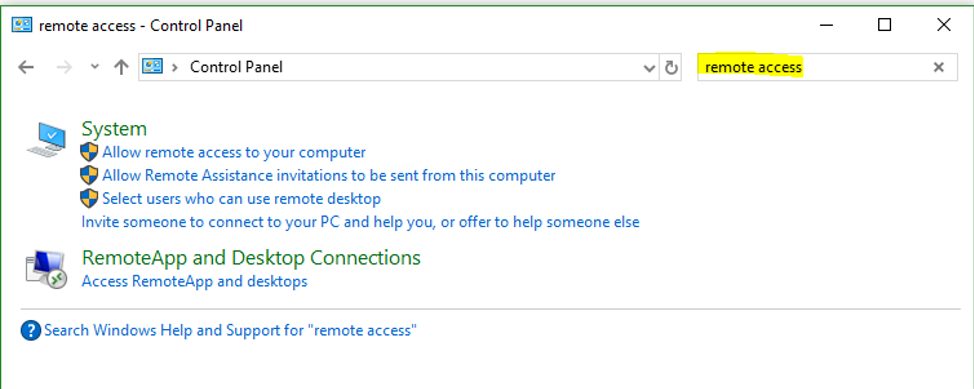
In a Control Panel window, search for Remote Access in a top-right box:

Enable RDP Step 2

Step 3

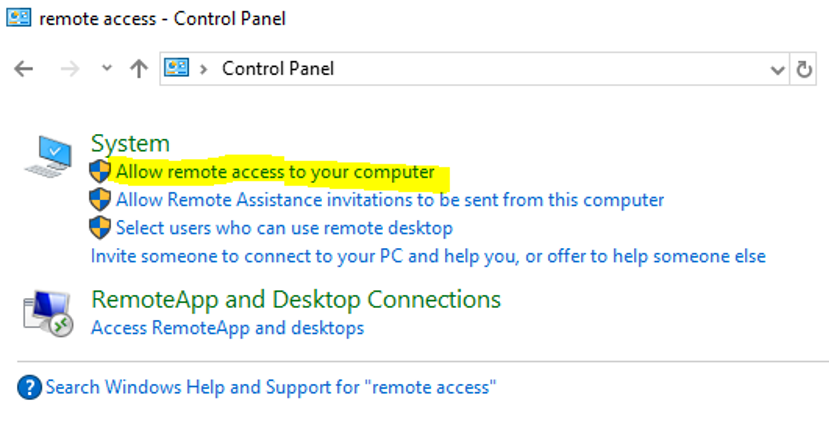
Select Allow remote access to your computer:

Enable RDP Step 3

Step 4

In the System Properties window, under the Remote Desktop section, select Allow remote connections to this computer to enable remote access to a computer, then click on OK.

Enable RDP Step 4

Using Remote Desktop on Windows 7/10

Step 1

Connect to the VPN using Cisco AnyConnect.

Step 2

Start Remote Desktop:

  • Windows 7: Click Start. Navigate to All Programs > Accessories. Click Remote Desktop Connection.
  • Windows 10: Click Start. Navigate to All Apps > Windows Accessories. Click Remote Desktop Connection.

Step 3

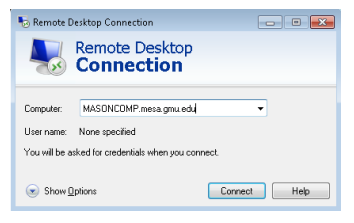
Put your Mason computer’s name or IP address in the Remote Desktop ConnectionWindow.

Remote Desktop Connection Computer ID Screen

Step 4

Click Connect.

Step 5

Enter the following information and then click OK:

Username: MESA\Your Mason NetID

Password: Your Mason Patriot Pass Password

Windows Security Credentials Screen

Last modified: May 27, 2022

Previous

How to Map MESA on a Mac

Next

How to Install Cisco AnyConnect VPN on Linux

Related articles

  • How do I use the VPN?
  • How do I access the MESA share drive from my remote computer (VPN)?
  • How to Map MESA to Windows
  • How to Map MESA on a Mac
  • How to Use Remote Desktop on a Mac

Get Started at Mason

Whether you are a student, faculty, staff member, or a guest visiting the Mason campus, we have resources to help get you started.

Read More

Quick Links

Patriot Pass Password Reset
Submit a Ticket
Track a Ticket
PuTTY
Cisco AnyConnect VPN

Read More

Explore IT Services

A B C D E F G
H I J K L M N
O P Q R S T U
V W X Y Z #

© 2022 George Mason University
4400 University Drive
Fairfax, Virginia 22030

ITS Support Center
703-993-8870
support@gmu.edu
live chat
@GeorgeMasonITS
Innovation, Room 226
Hours of Operation

Monday – Thursday, 8 a.m. – 9 p.m.
Friday, 8 a.m. – 5 p.m.
Saturday, Closed
Sunday, 1 p.m. – 9 p.m.
(closed Thursday 3 p.m. – 4 p.m. for a team meeting)

  • Webmaster