• Live Chat
  • Report an IT Security Incident
  • Request Help
  • Help & Support
    • Live Chat
    • Request Help
    • Track a Ticket
    • Knowledge Base
    • Getting Started
    • Working/Learning Remotely
  • Service Catalog
    • ITS General Help
    • Accounts & Access
    • Communications & Collaboration
    • Computers & Software
    • Information Security
    • Network & Internet Services
    • Professional Services
    • Research Computing
    • Teaching & Learning
    • University Applications
  • About ITS
    • Our ITS Team
    • Strategic Plan
    • Annual Reports
    • Awards
    • Student Employment
  • Working with ITS
    • Architectural Standards Review Board
    • Banner Admin
    • Business Intelligence
    • Data Governance
    • Enterprise Data Integration Services (EDIS)
    • GMU-TV
    • IT Business Analysis
    • IT Security Office
    • Projects & Project Management
    • Technical Business Solution Intake Request Process
  • Alerts & Outages
    • Unplanned Outages
    • Phishing Alerts
    • Maintenance
    • After Action Reports
    • Archives
    • ITS Alerts Sign Up
  • News
    • Bits & Bytes Signup
    • Bits & Bytes Submissions
    • Spotlights
    • Bulletins
George Mason University
  • Live Chat
  • Report an IT Security Incident
  • Request Help
X Hide

Information Technology Services

Skip to content
  • Help & Support
    • Live Chat
    • Request Help
    • Track a Ticket
    • Knowledge Base
    • Getting Started
    • Working/Learning Remotely
  • Service Catalog
    • ITS General Help
    • Accounts & Access
    • Communications & Collaboration
    • Computers & Software
    • Information Security
    • Network & Internet Services
    • Professional Services
    • Research Computing
    • Teaching & Learning
    • University Applications
  • About ITS
    • Our ITS Team
    • Strategic Plan
    • Annual Reports
    • Awards
    • Student Employment
  • Working with ITS
    • Architectural Standards Review Board
    • Banner Admin
    • Business Intelligence
    • Data Governance
    • Enterprise Data Integration Services (EDIS)
    • GMU-TV
    • IT Business Analysis
    • IT Security Office
    • Projects & Project Management
    • Technical Business Solution Intake Request Process
  • Alerts & Outages
    • Unplanned Outages
    • Phishing Alerts
    • Maintenance
    • After Action Reports
    • Archives
    • ITS Alerts Sign Up
  • News
    • Bits & Bytes Signup
    • Bits & Bytes Submissions
    • Spotlights
    • Bulletins

How can ITS help you?

Our services are designed to help you succeed at Mason—
search our services, knowledge articles, how to guides, FAQs, and more.

Knowledge Base

Home > Help & Support > Knowledge Base > Teaching & Learning > Blackboard > Kaltura Information > How to Clip a Media Item in Kaltura Video Editing Tools

How to Clip a Media Item in Kaltura Video Editing Tools

Only the owner or co-editor of a media entry can create clips from media. For entitlements for clipping, the option Enable others to create clips must be checked in the entry Edit Options tab.

The Real-Time marker is always in sync with Manual Time Input (below the player).
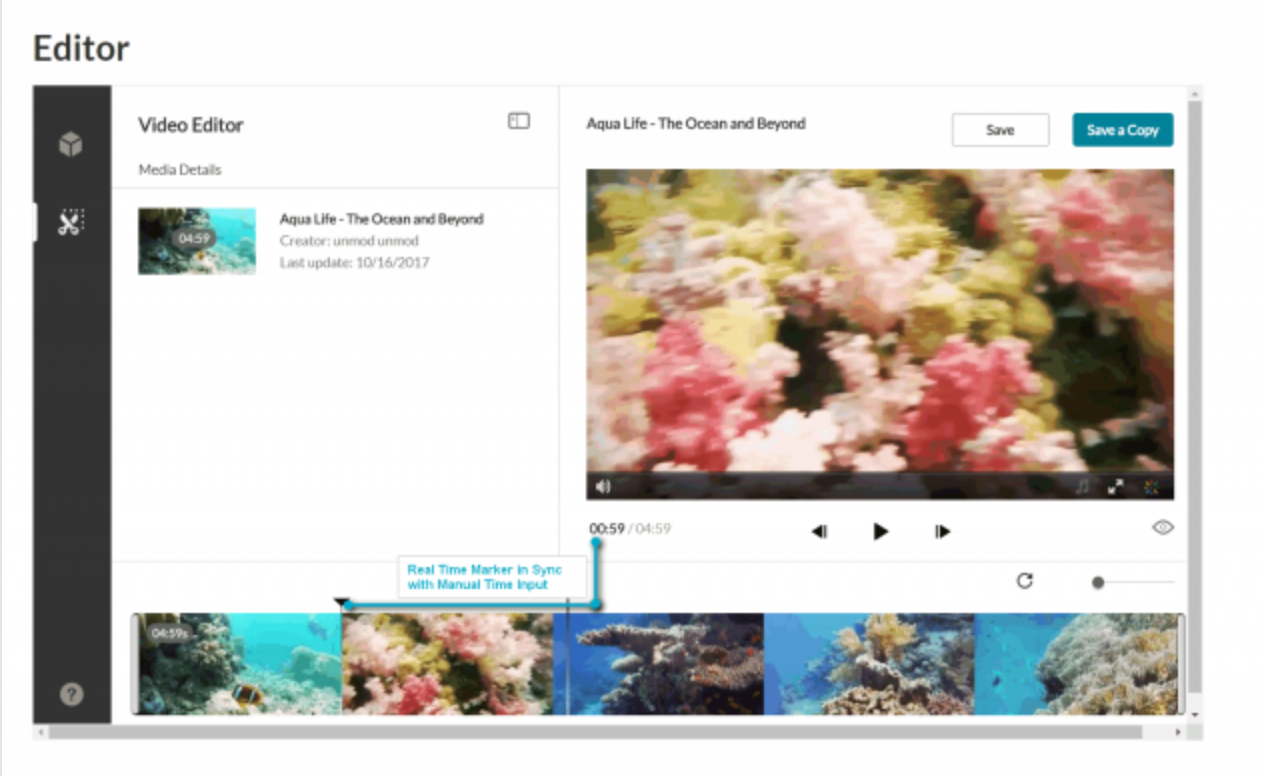
Real-Time Marker

Step 1

Set the Range. Use any of the methods listed in Setting a Range.

Step 2

Click Save a Copy (clip) to create a clip. Saving a copy creates a copy and the original media is unchanged.

Sample Use Case for Making Clips

Step 1

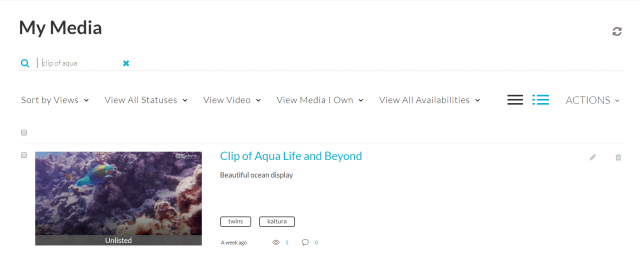
Go to My Media and select the video you want to create a clip from.

Step 2

Launch the Kaltura Editor.

Step 3

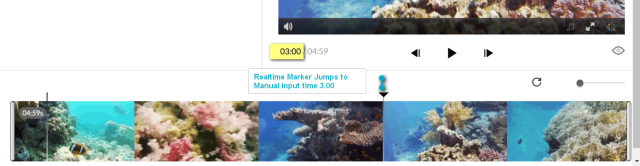
In this example, the desired start time for the one-minute clip is at minute 3.00. Enter 0300 in the Time field and press Enter.

The Real-Time maker syncs with the input time you entered.

Step 4

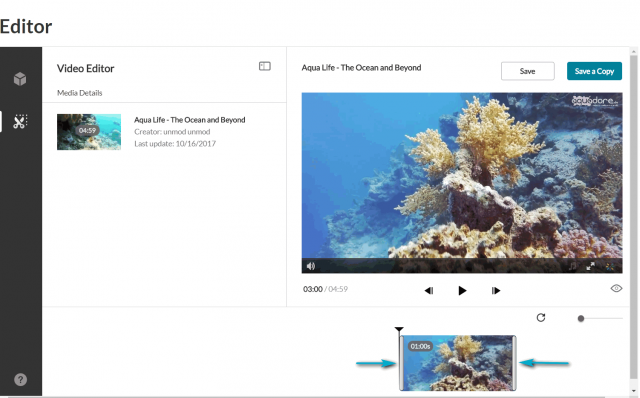
Drag the handlebar to the start of the clip at (the 3.00 minute). The handlebar should snap to the Real Time marker. Drag the other end to the one-minute time mark. You have now created a one-minute clip of the original video.

Step 5—Optional

If you want to change the segment of the one minute clip to another (one minute) segment on the timeline, click on the thumbnail you created and drag it to the desired frame on the Timeline.

Step 6

Click Save a Copy. The following window is displayed:
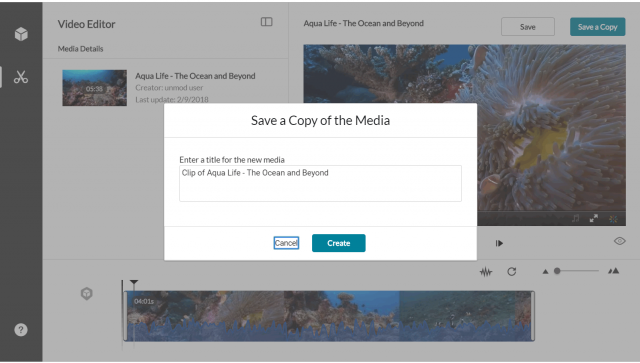
Step 7

Enter a title and click Create. You can either use the suggestion title (indicating that this video is a clip) or create a new title.

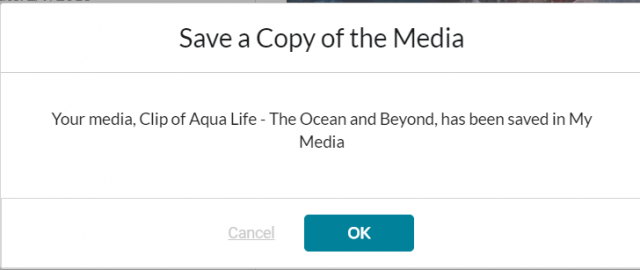
A confirmation box is displayed, and the new media appears in My Media.

Step 8

Go to My Media to affirm that the clip has been created in My Media.

Last modified: March 1, 2022

Previous

How to Submit Video to a Course

Next

How to Trim or Make Clips of a Video

Related Articles

  • How to Trim or Make Clips of a Video
  • How do I clip and trim media with multiple audio tracks in Kaltura Video Editing Tools?
  • How do I zoom in and out and reset the timeline in Kaltura Video Editing Tools?
  • How do I clip and trim media with multiple video streams in Kaltura Video Editing Tools?

Get Started at Mason

Whether you are a student, faculty, staff member, or a guest visiting the Mason campus, we have resources to help get you started.

READ MORE

Quick Links

Patriot Pass Password Reset
Create a Ticket
Track a Ticket
PuTTY
Cisco AnyConnect VPN

READ MORE

Explore IT Services

A B C D E F G
H I J K L M N
O P Q R S T U
V W X Y Z #

I T S Logo

© 2024 George Mason University
4400 University Drive
Fairfax, Virginia 22030

Follow Us
location pin for in-person IT support   @GeorgeMasonITS
location pin for in-person IT support   @georgemasonits
ITS Support 24/7
   703-993-8870
   Live Chat
  • Webmaster
X

ITS Technical Support Now Available 24/7

Students, faculty, and staff can receive technical support any time—day or night, on weekends, and even on holidays. If you need IT help, call 703-993-8870 anytime or create a ticket.