Support Note: ITS does not support mobile versions of Secure Client.
Cisco supports the Secure Client version that is currently available in the app store; however, fixes and enhancements are provided only in the most recently released version.
Step 1
Download the Cisco Secure Client App from the App Store.

Note: The Cisco Legacy AnyConnect will not work with the VPN.
You will see the following on your iPhone screen while Cisco Secure Client installs:
 >
>  >
> 
Step 2
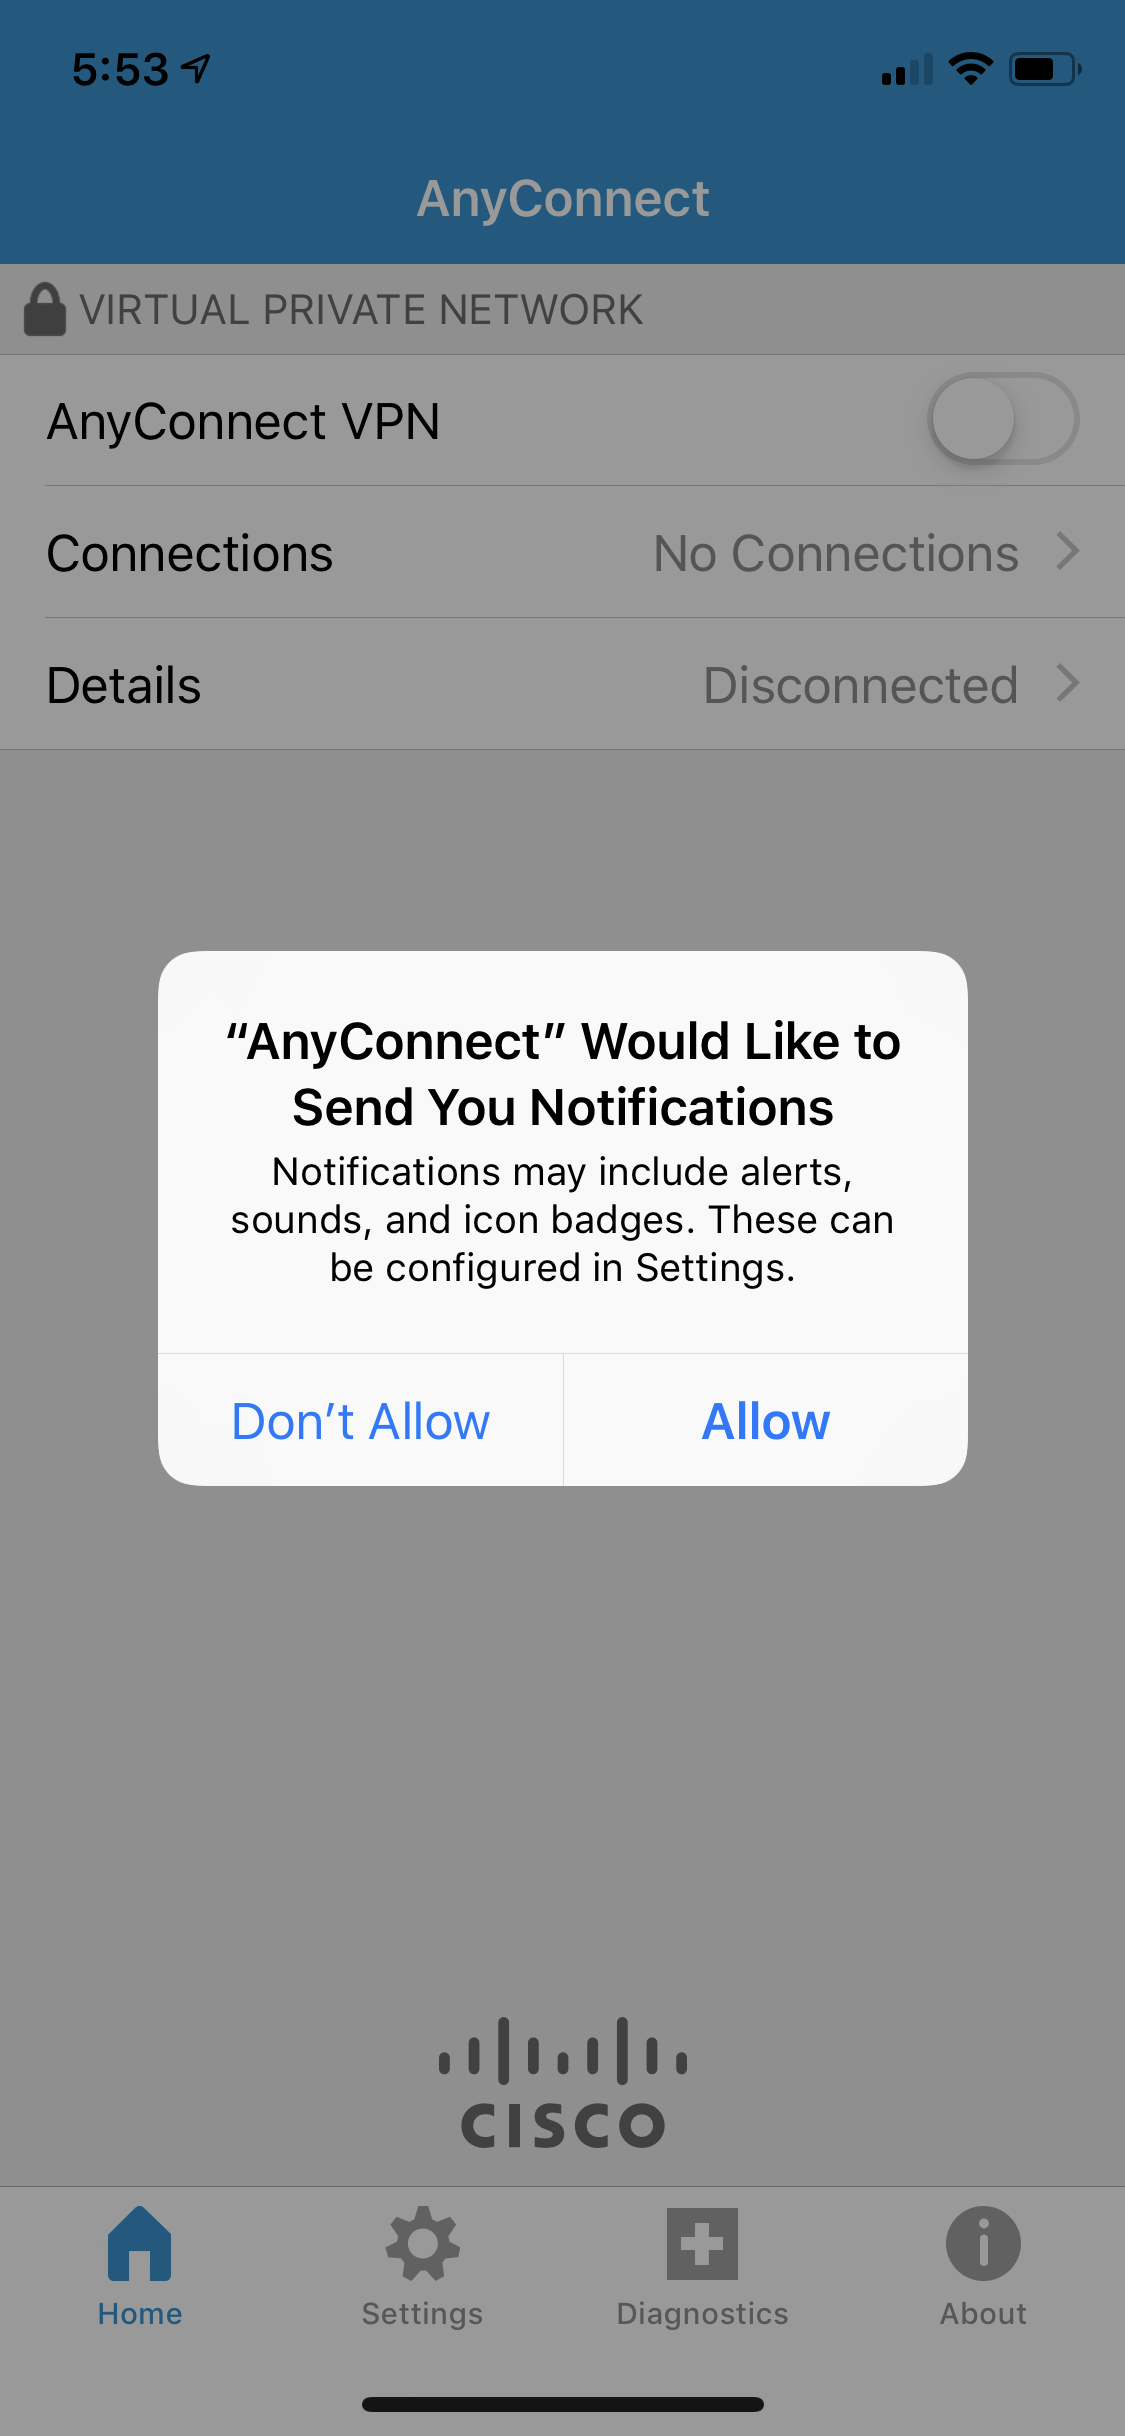
The Notifications prompt will appear. You may choose either Don’t Allow or Allow.
Step 3
You will see the Secure Client Connections screen. Tap on the Connections bar.
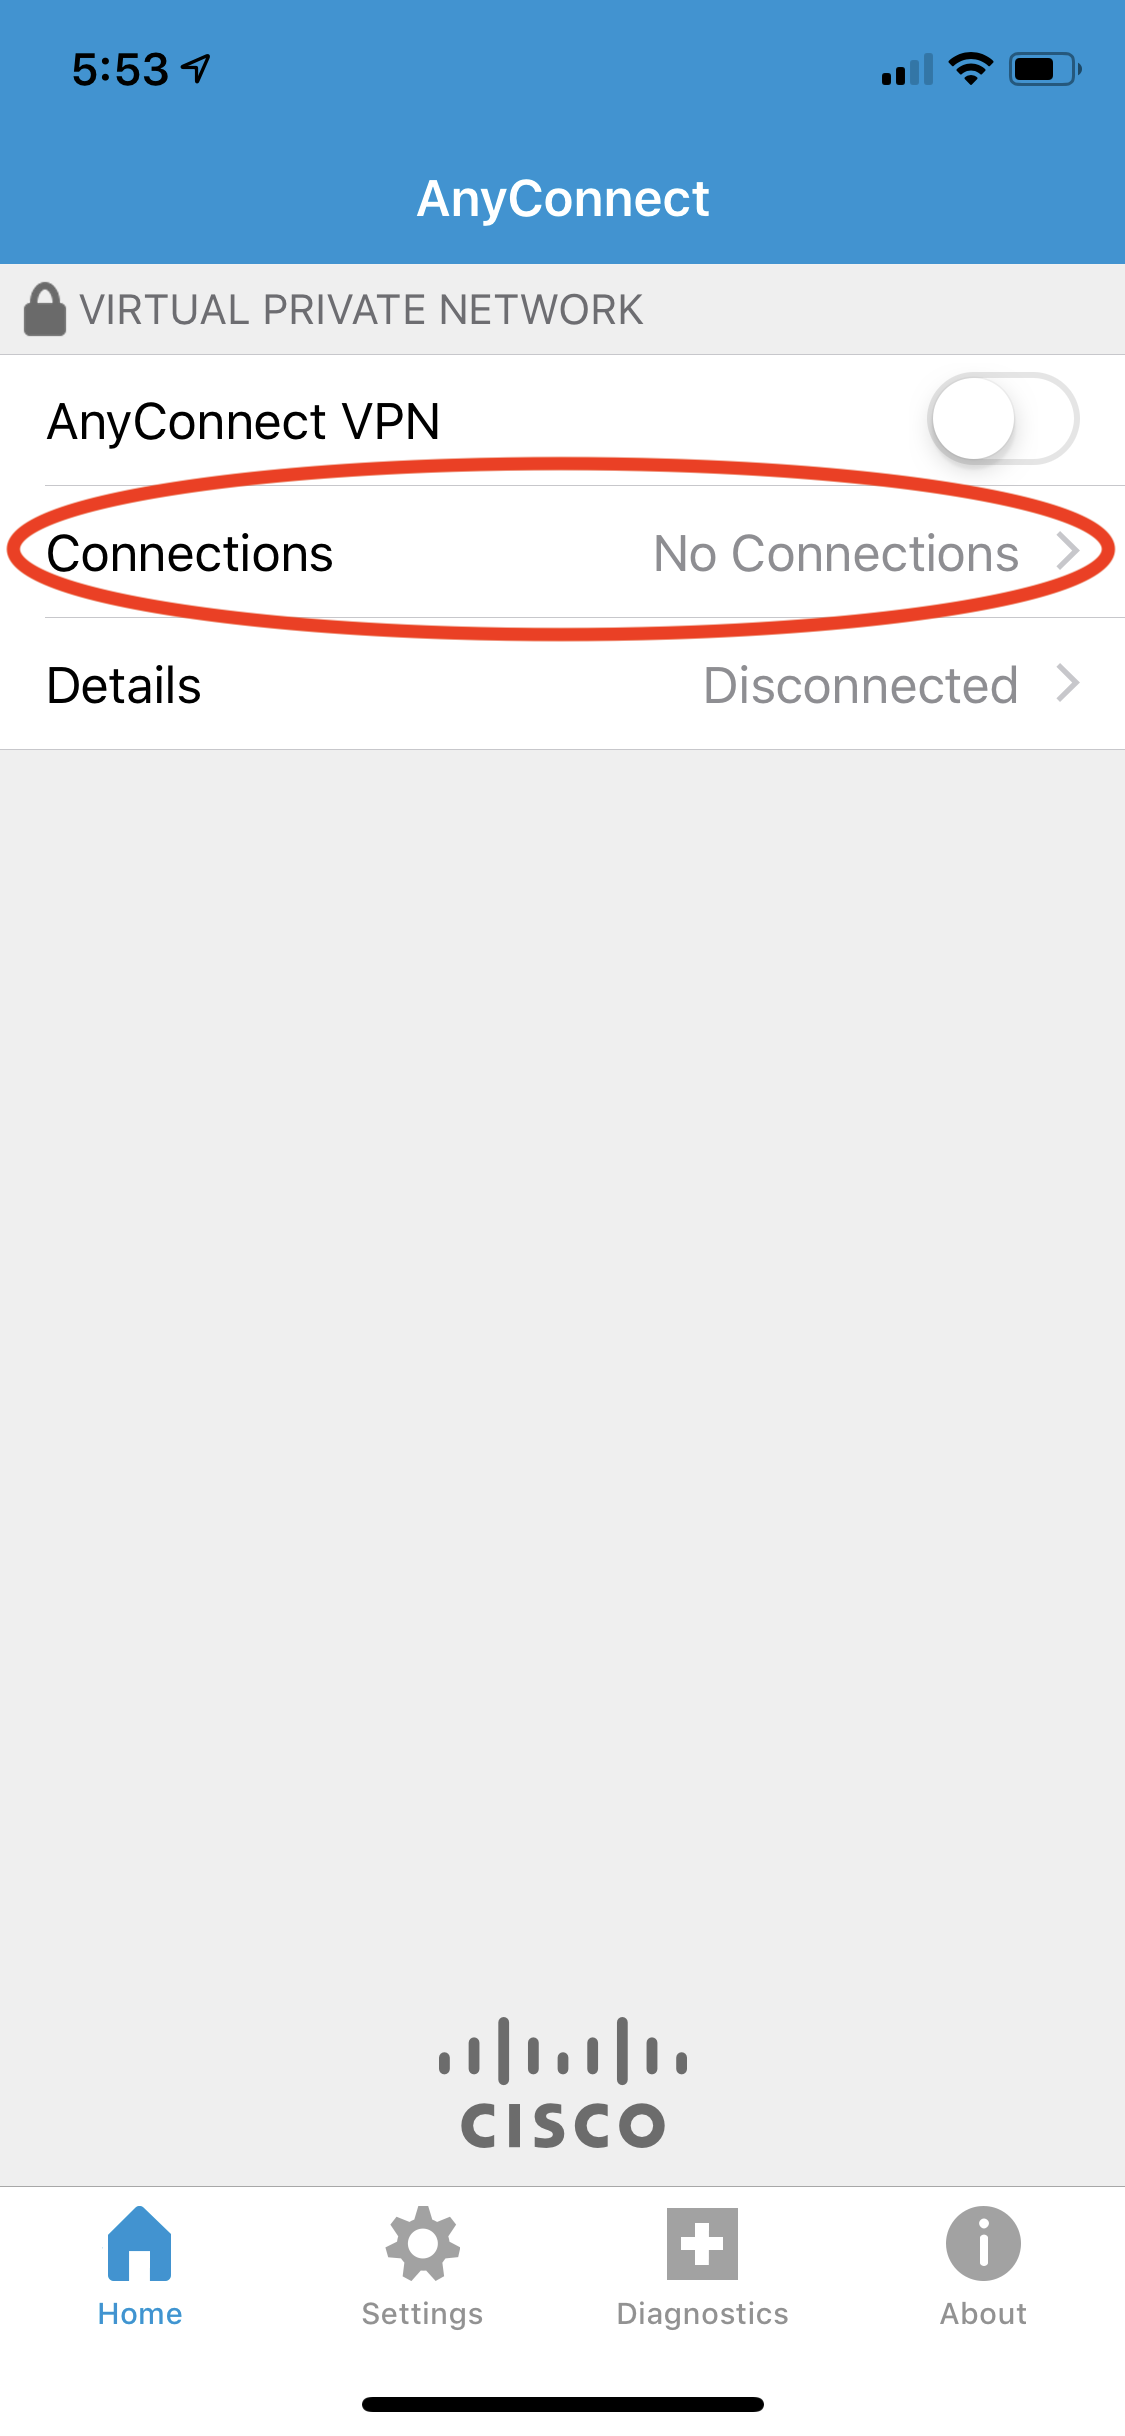
Note: The slider button on the top right will try to connect you to the VPN.
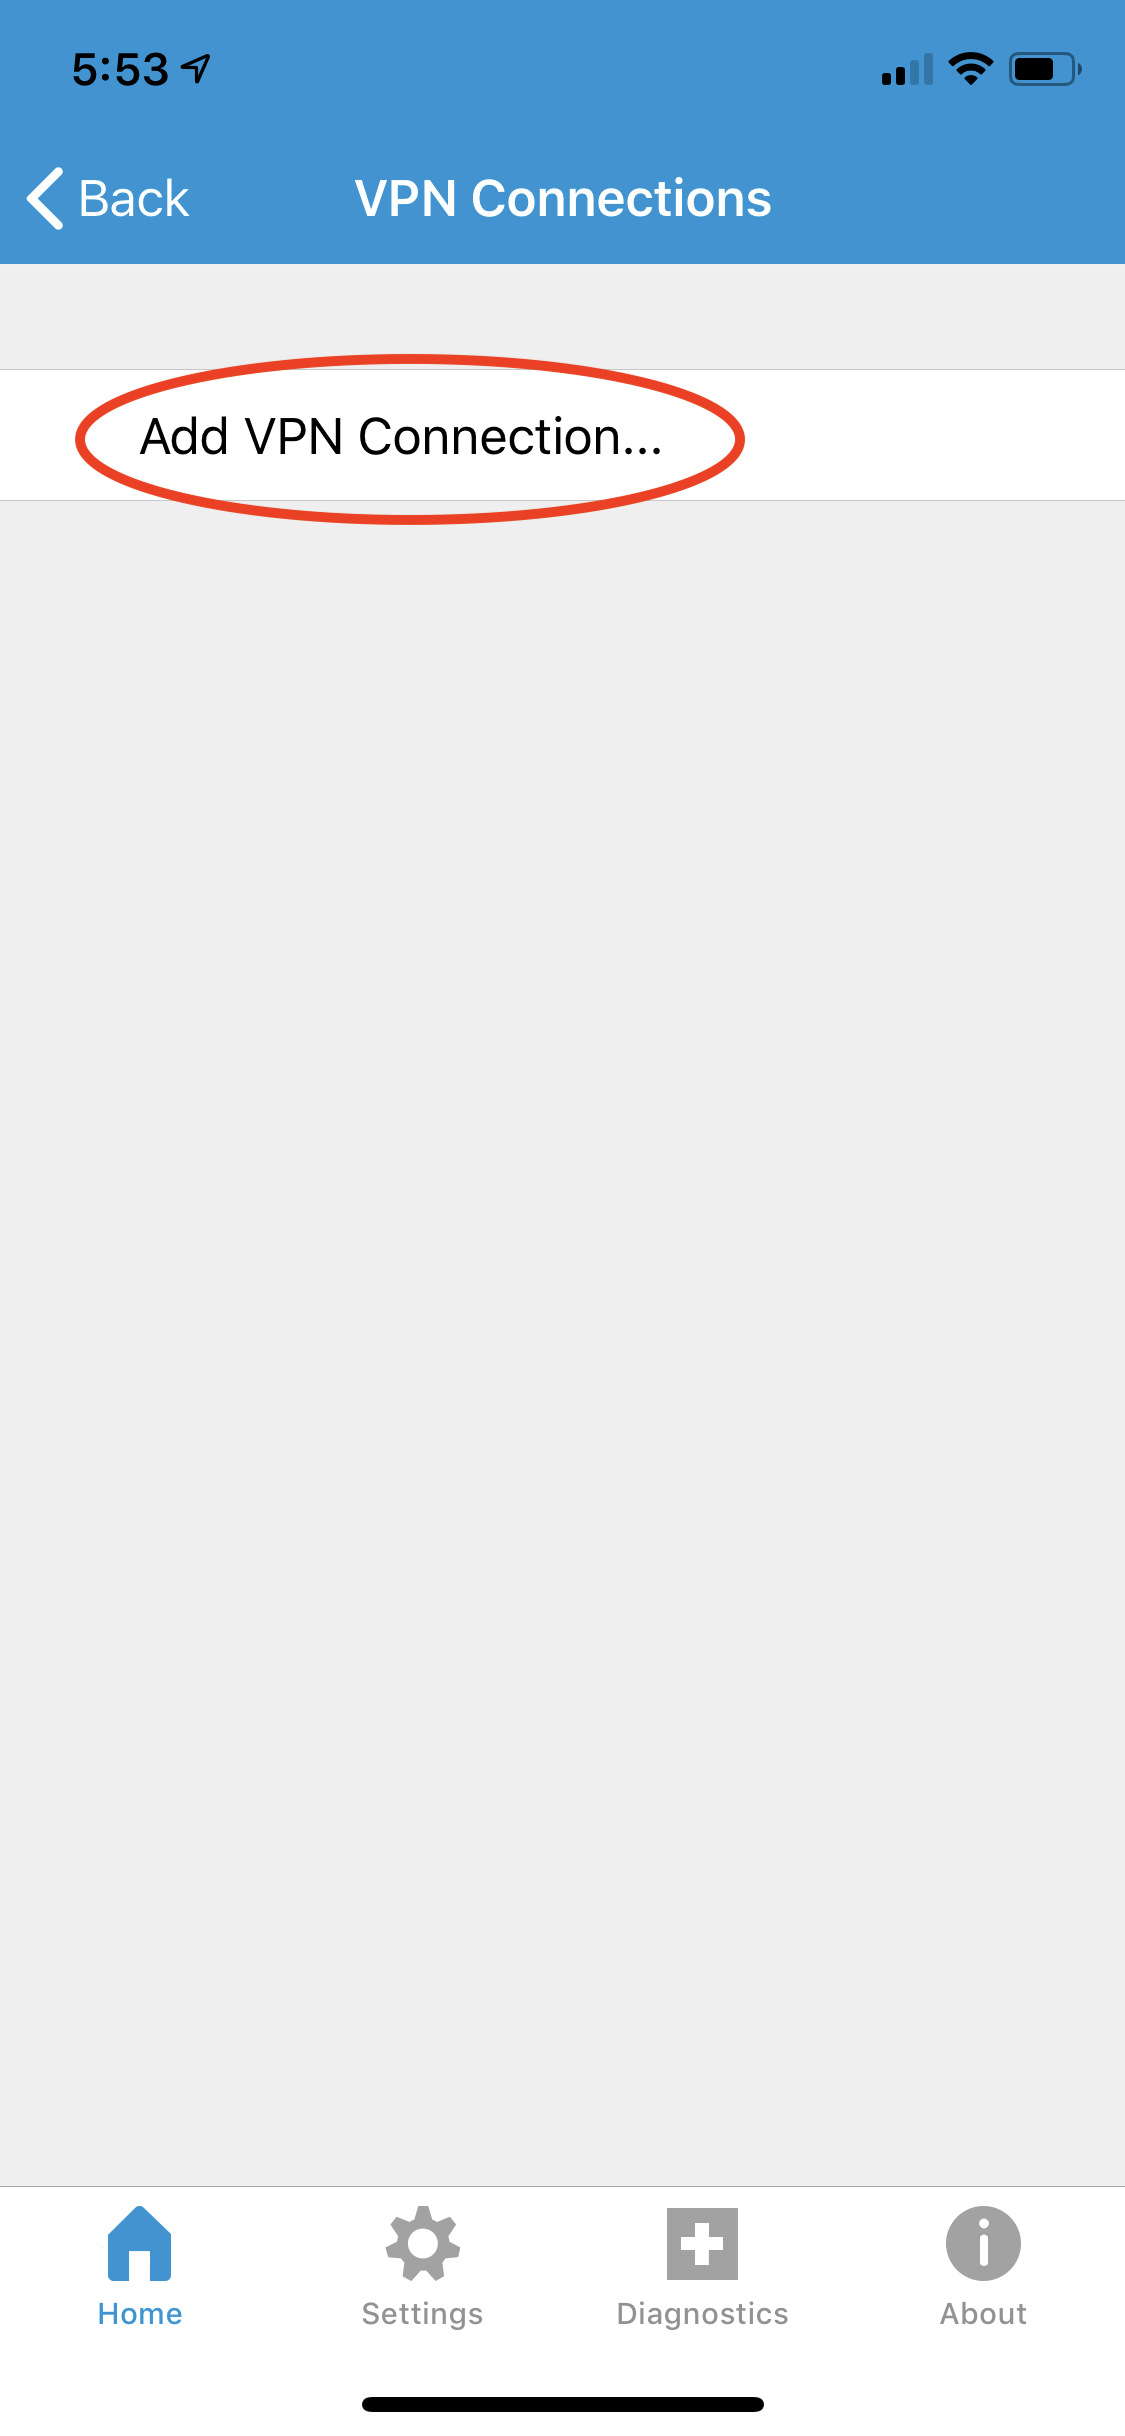
Step 4
Tap on the Add VPN Connection….
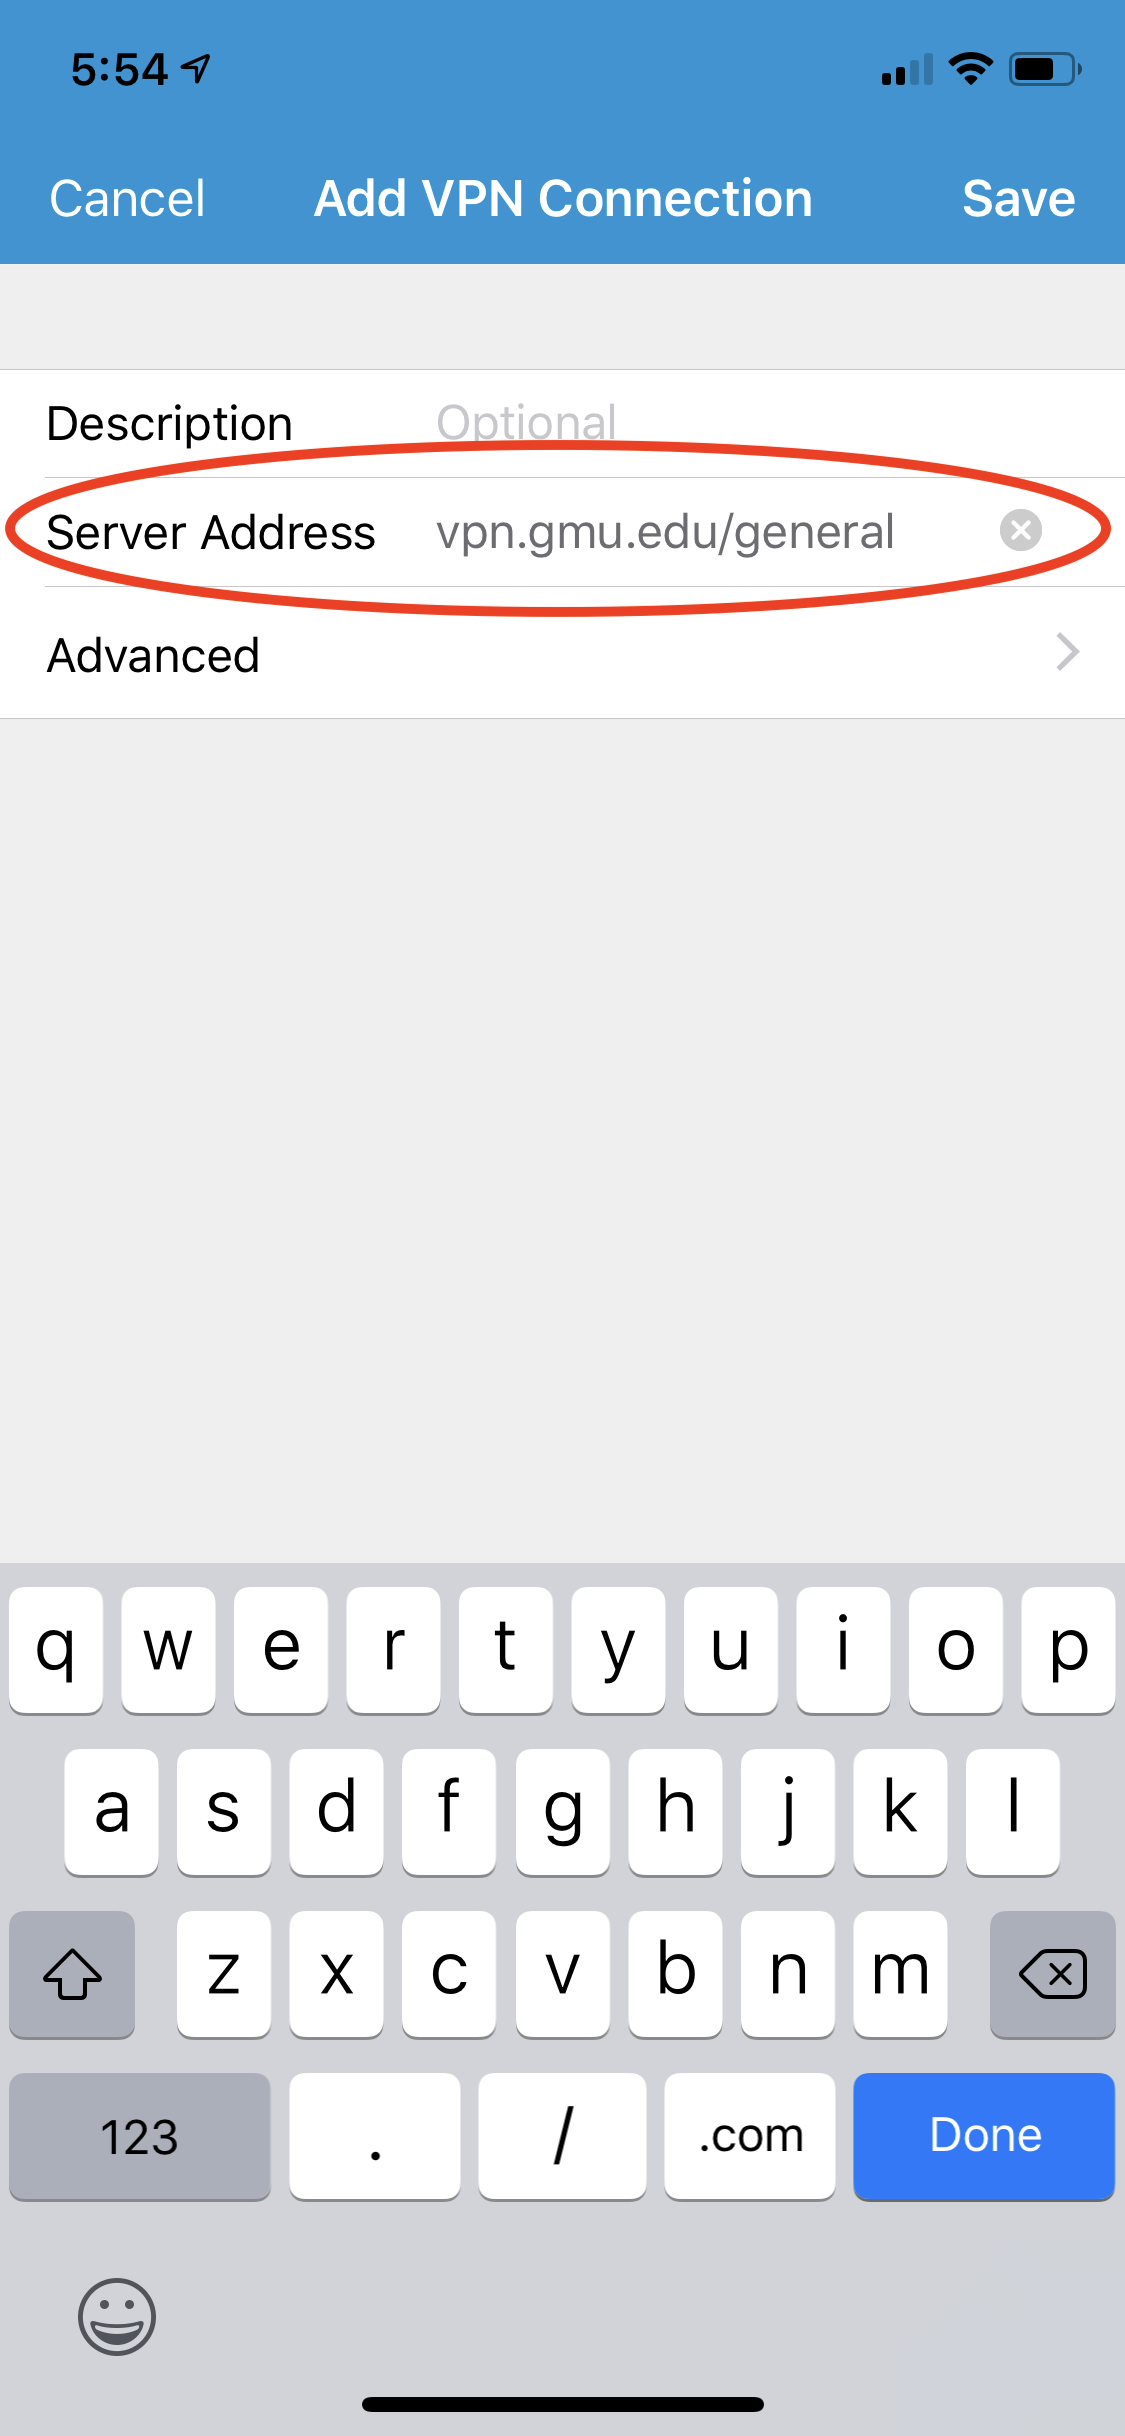
Step 5
Enter the Server Address, which will be vpn.gmu.edu/[name of your VPN container]. For example:
- Students should enter vpn.gmu.edu/student
- Employees should enter vpn.gmu.edu/general unless they have a specific VPN container
The Description is optional and will be the name of the VPN connection. Once you are done editing, tap Save in the upper right-hand corner.
VPN Containers
- Student: For student access to Mason assets such as mason.gmu.edu. This VPN container does not require 2FA at this time.
- General: This container should be used by Mason employees unless your department has a designated container. This and department containers do require and will prompt for 2FA approvals.
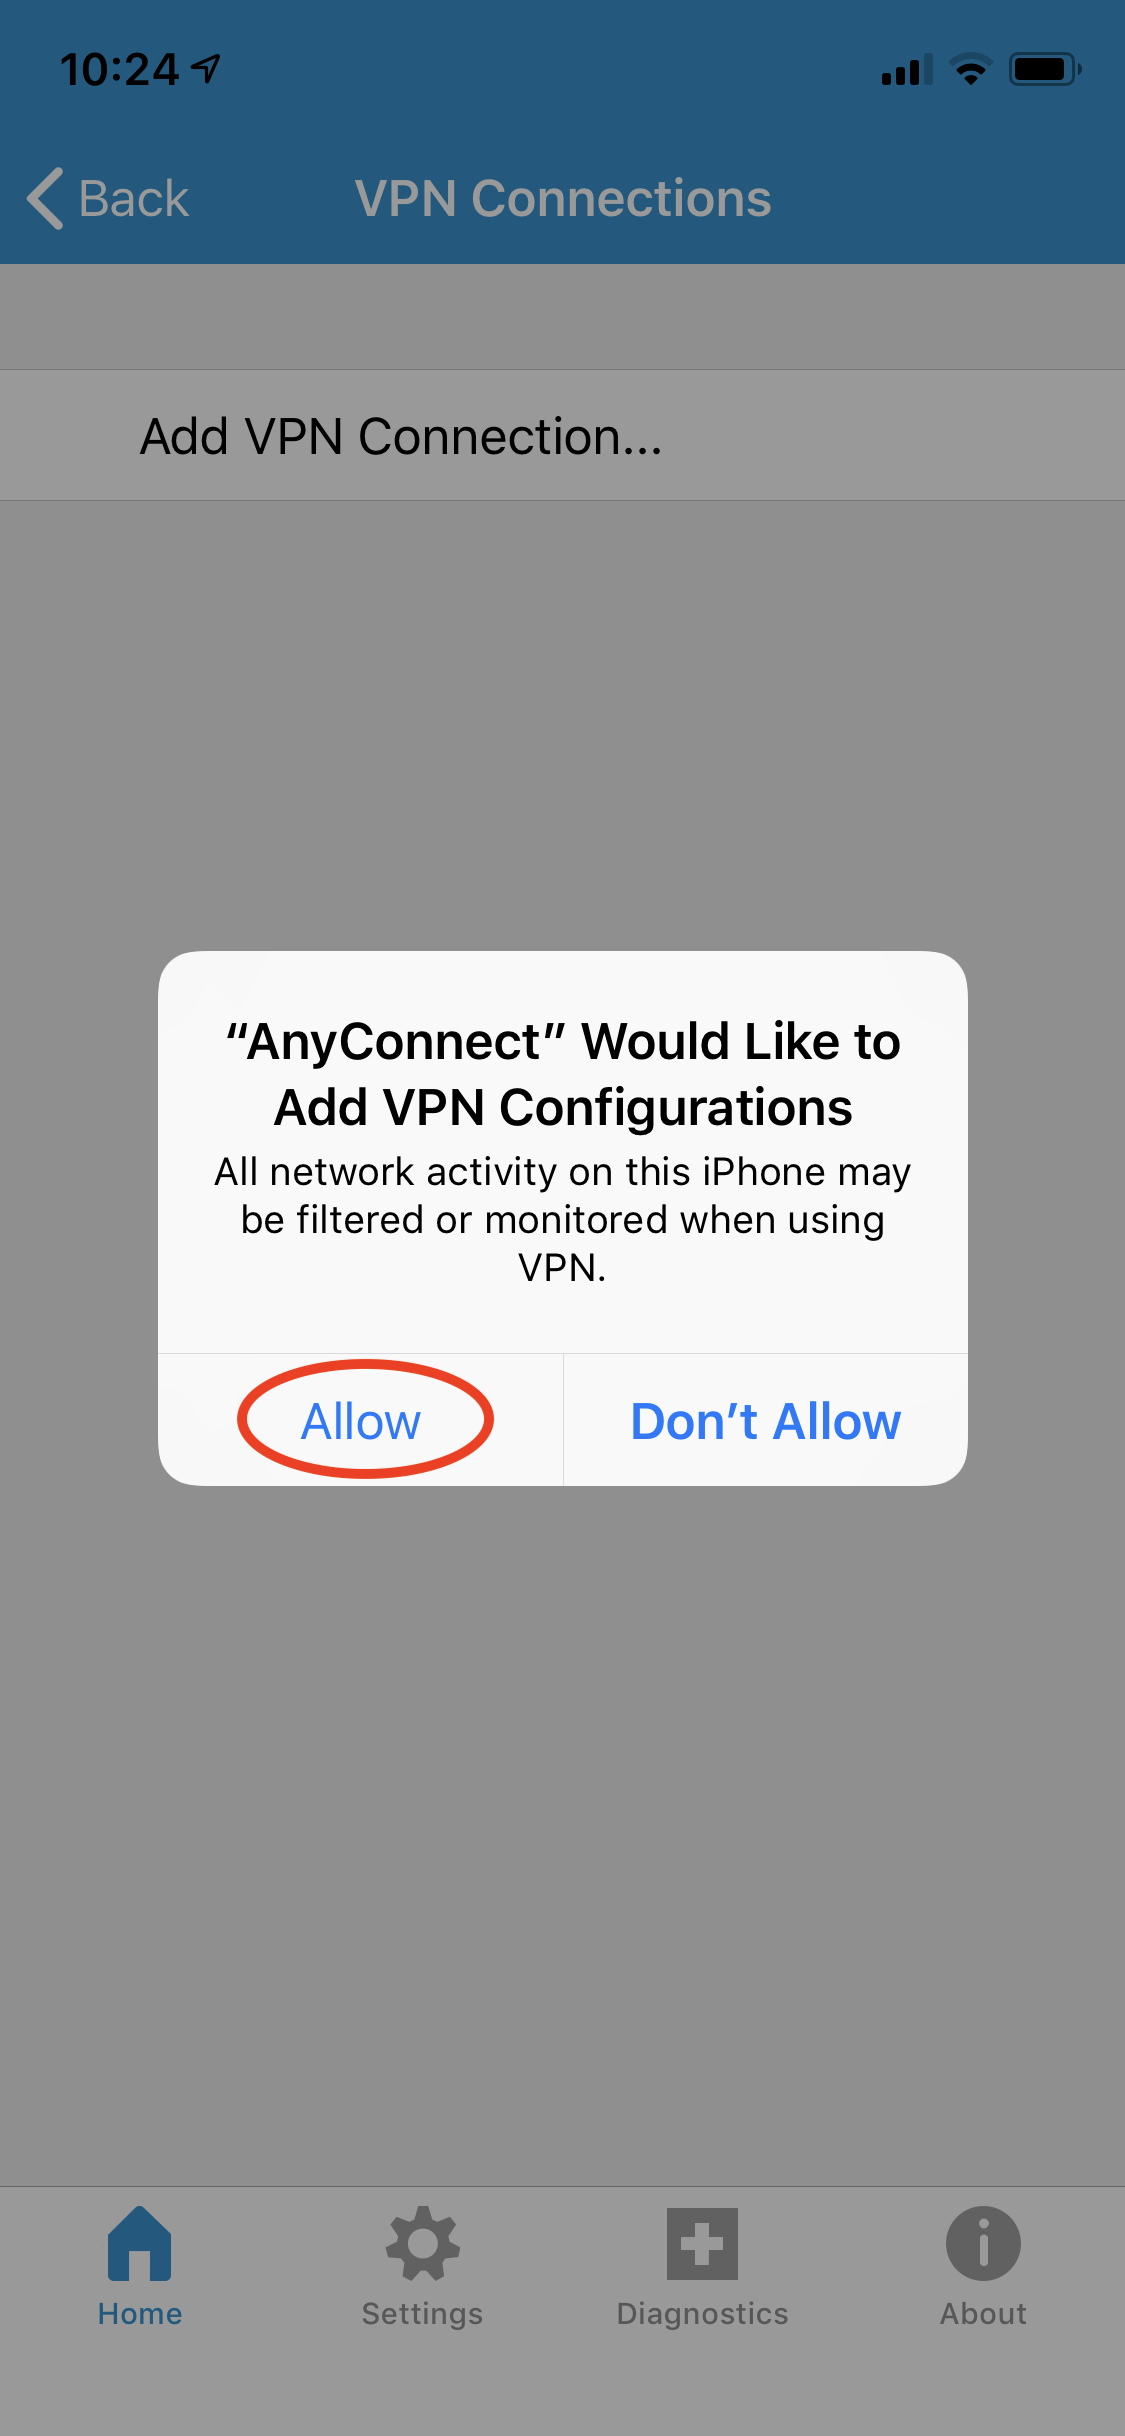
Step 6
Tap Allow.
Step 7
If you have Face ID or passcode enabled, you will need to enter your passcode for the VPN Configuration to save.

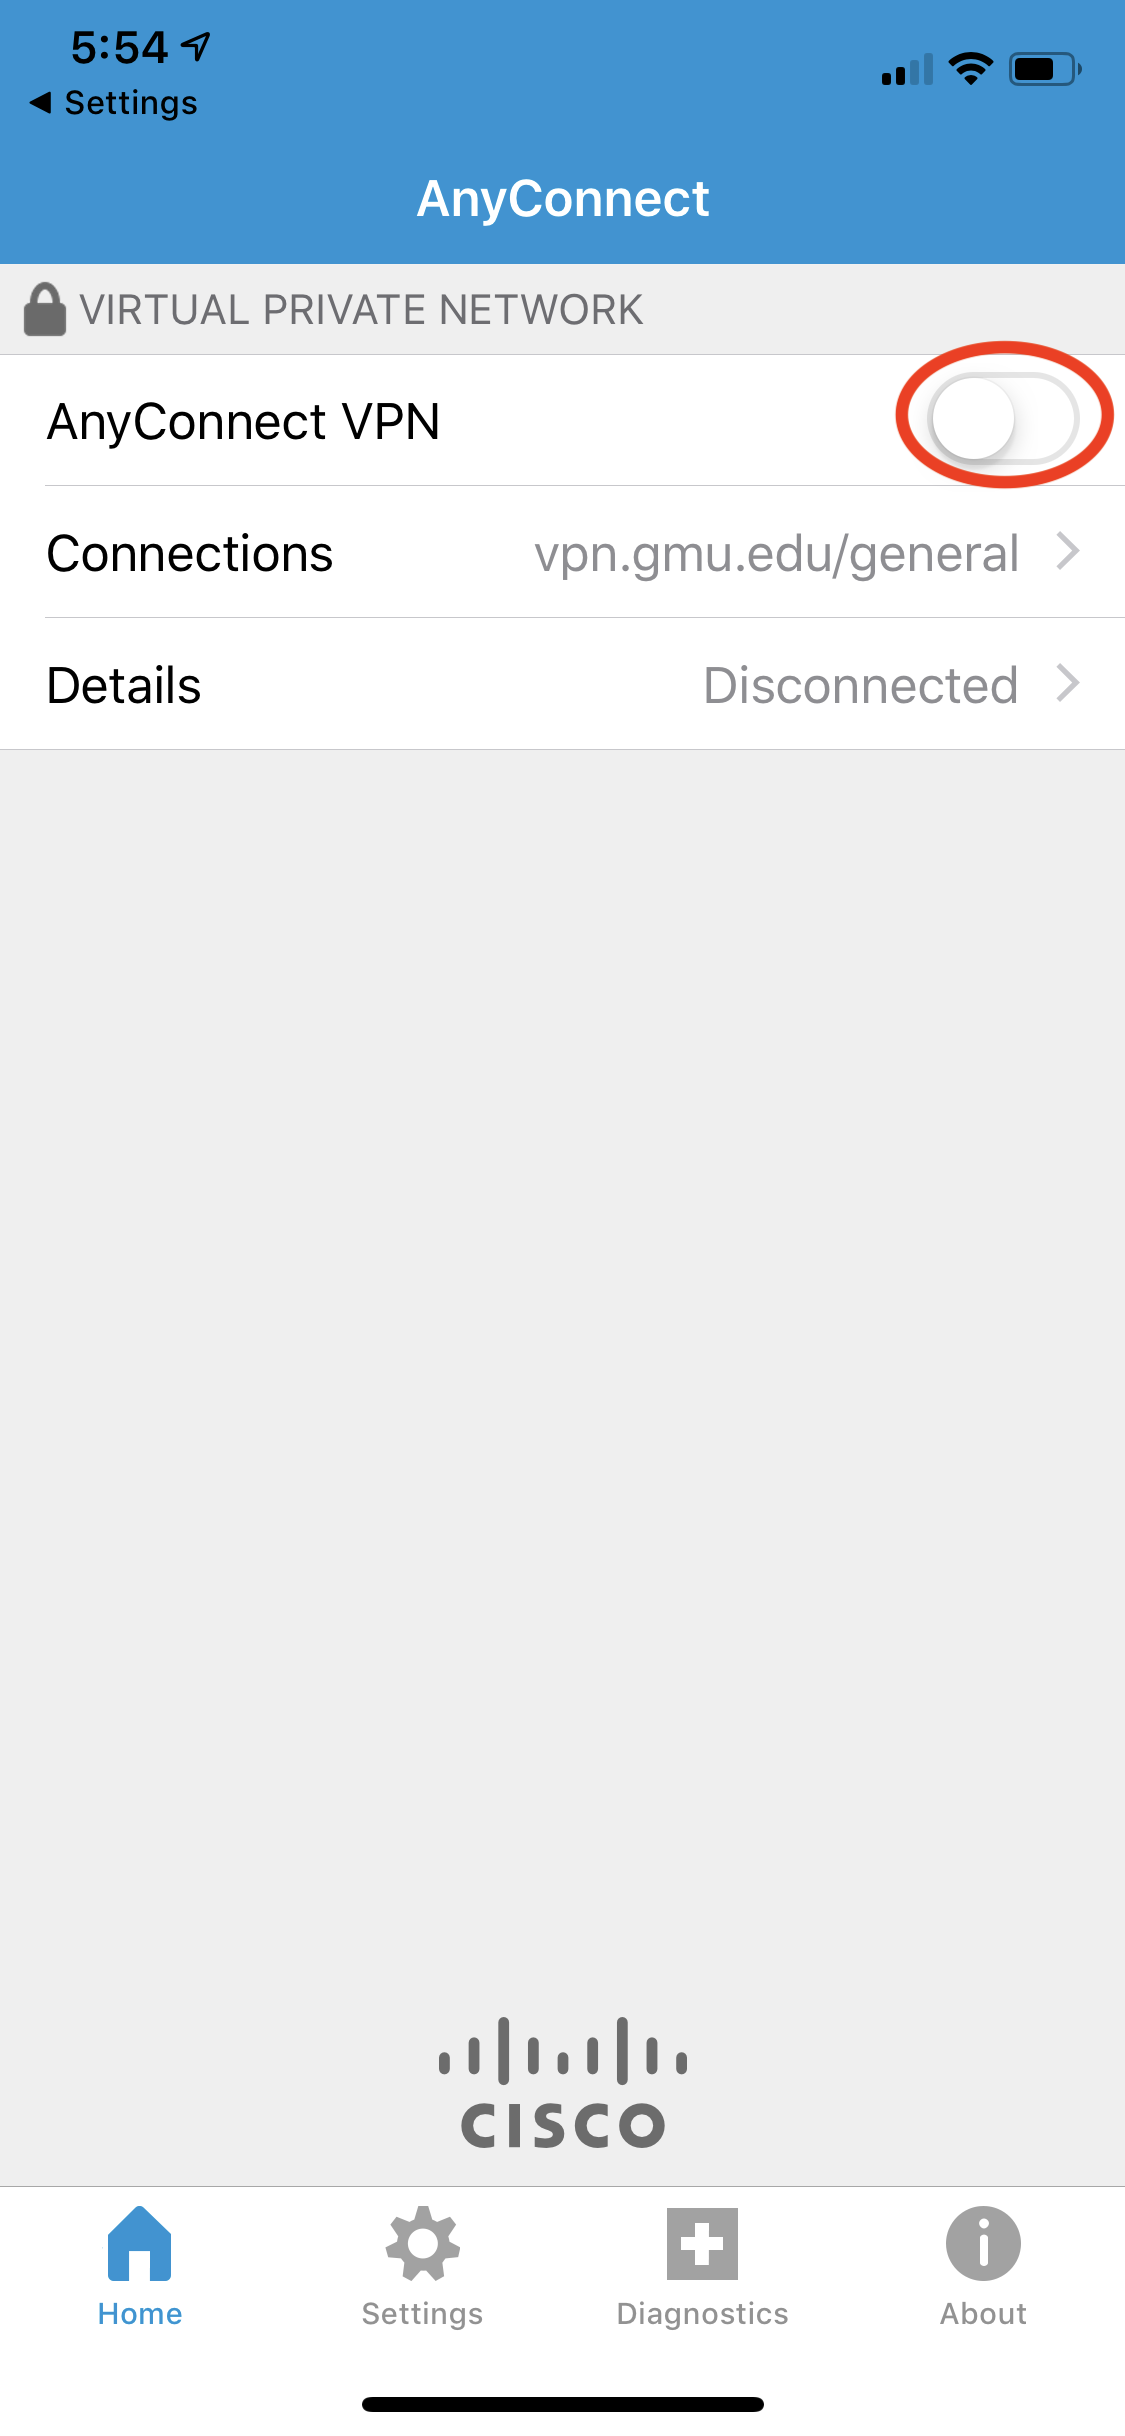
Step 8
Tap on the Secure Client VPN slider button.
Step 9
Enter your Patriot Pass credentials then tap on Connect in the upper right-hand corner.
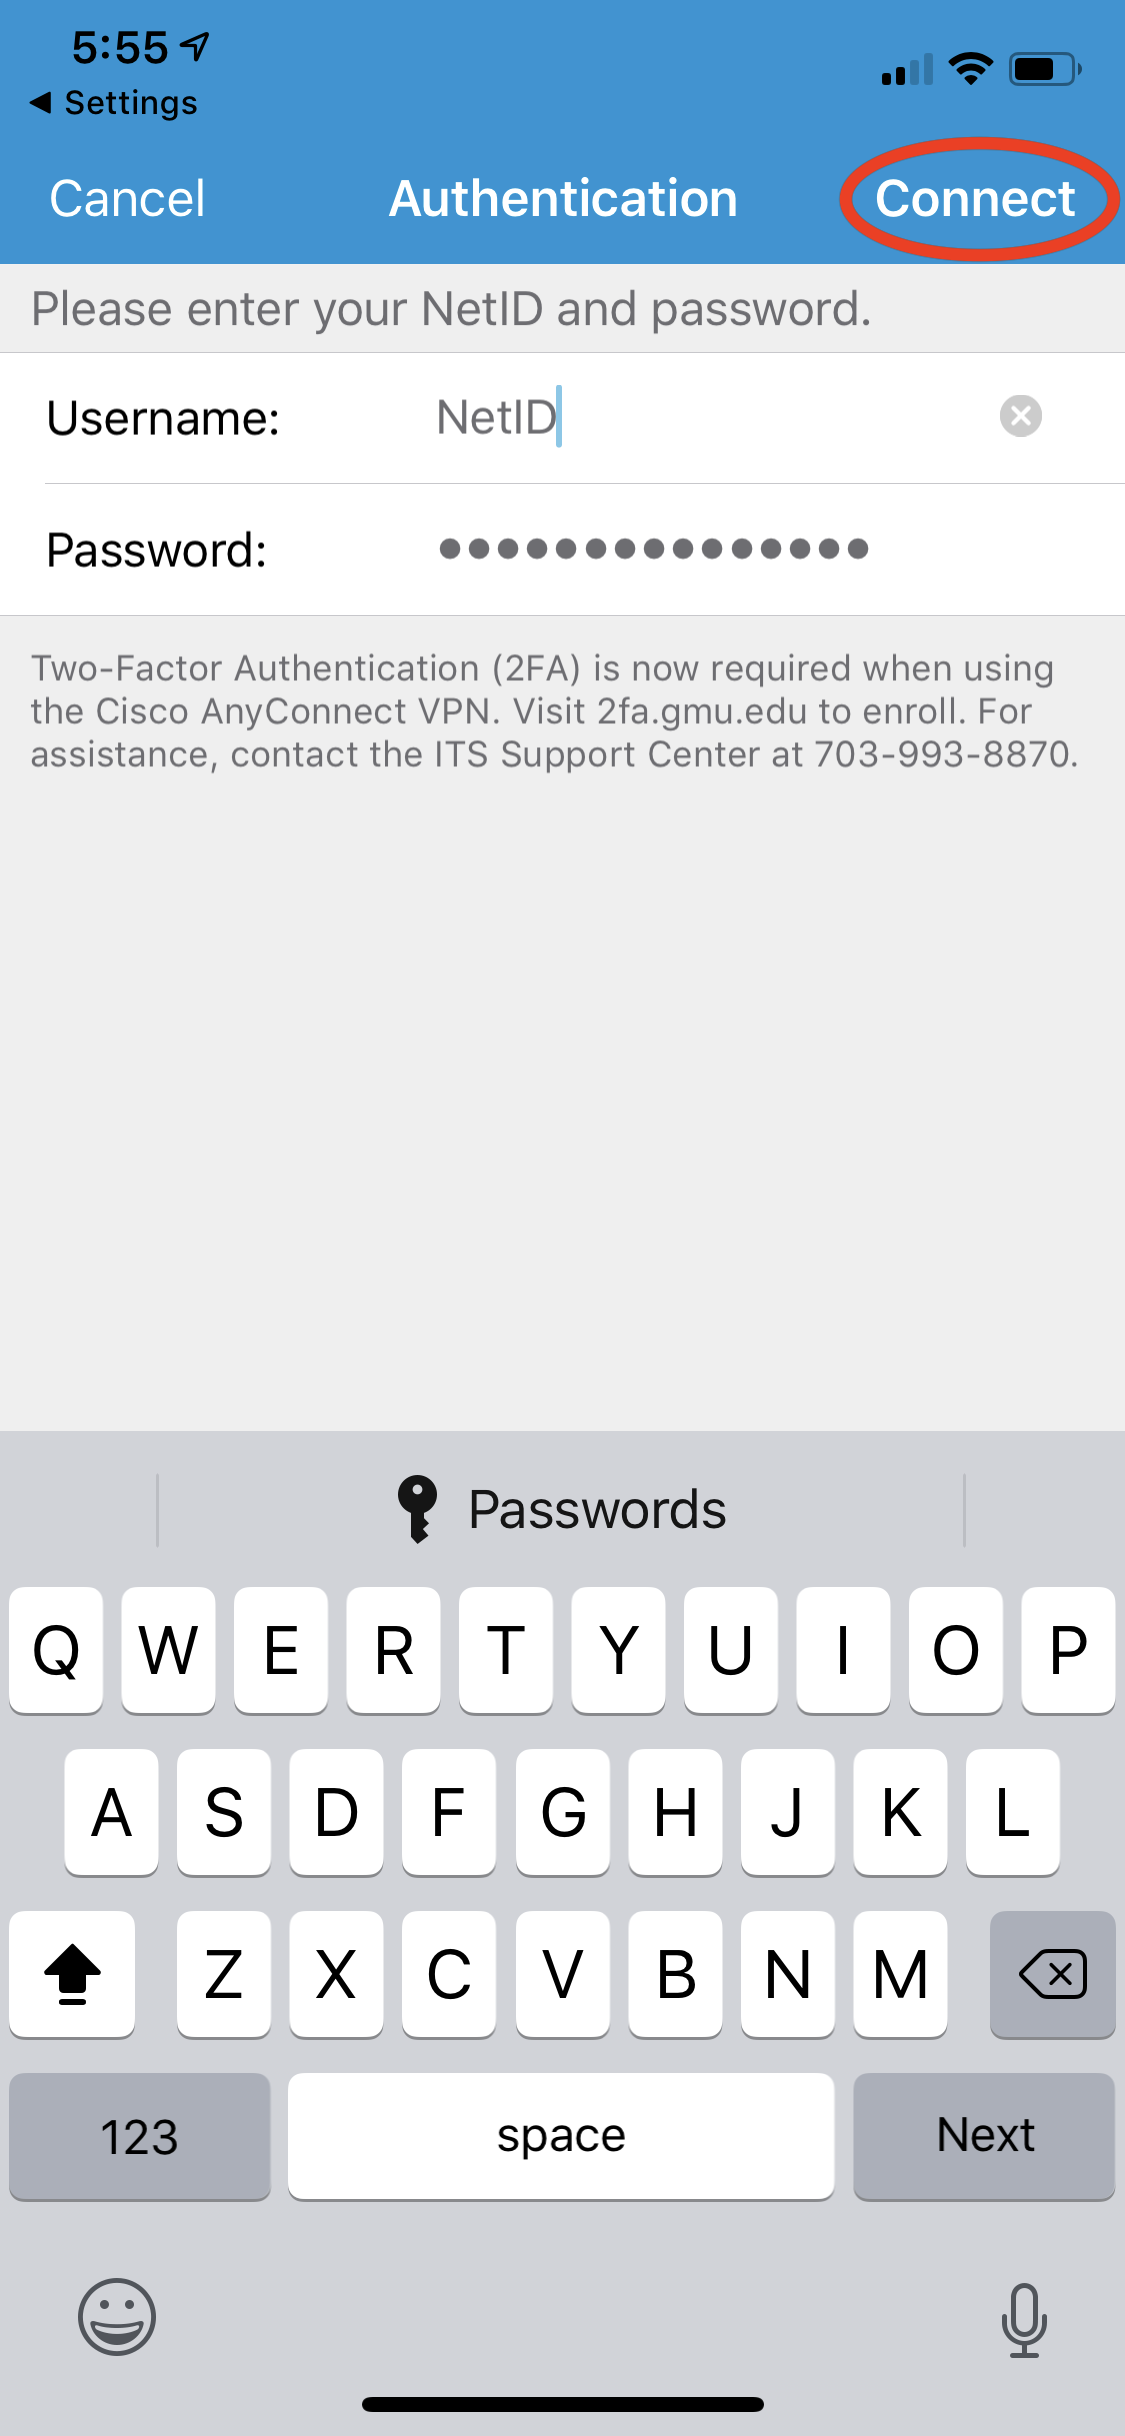
Note: Two-Factor Authentication is not required for the student VPN container.
If you log in using General or any department VPN container, you will see the following screen:
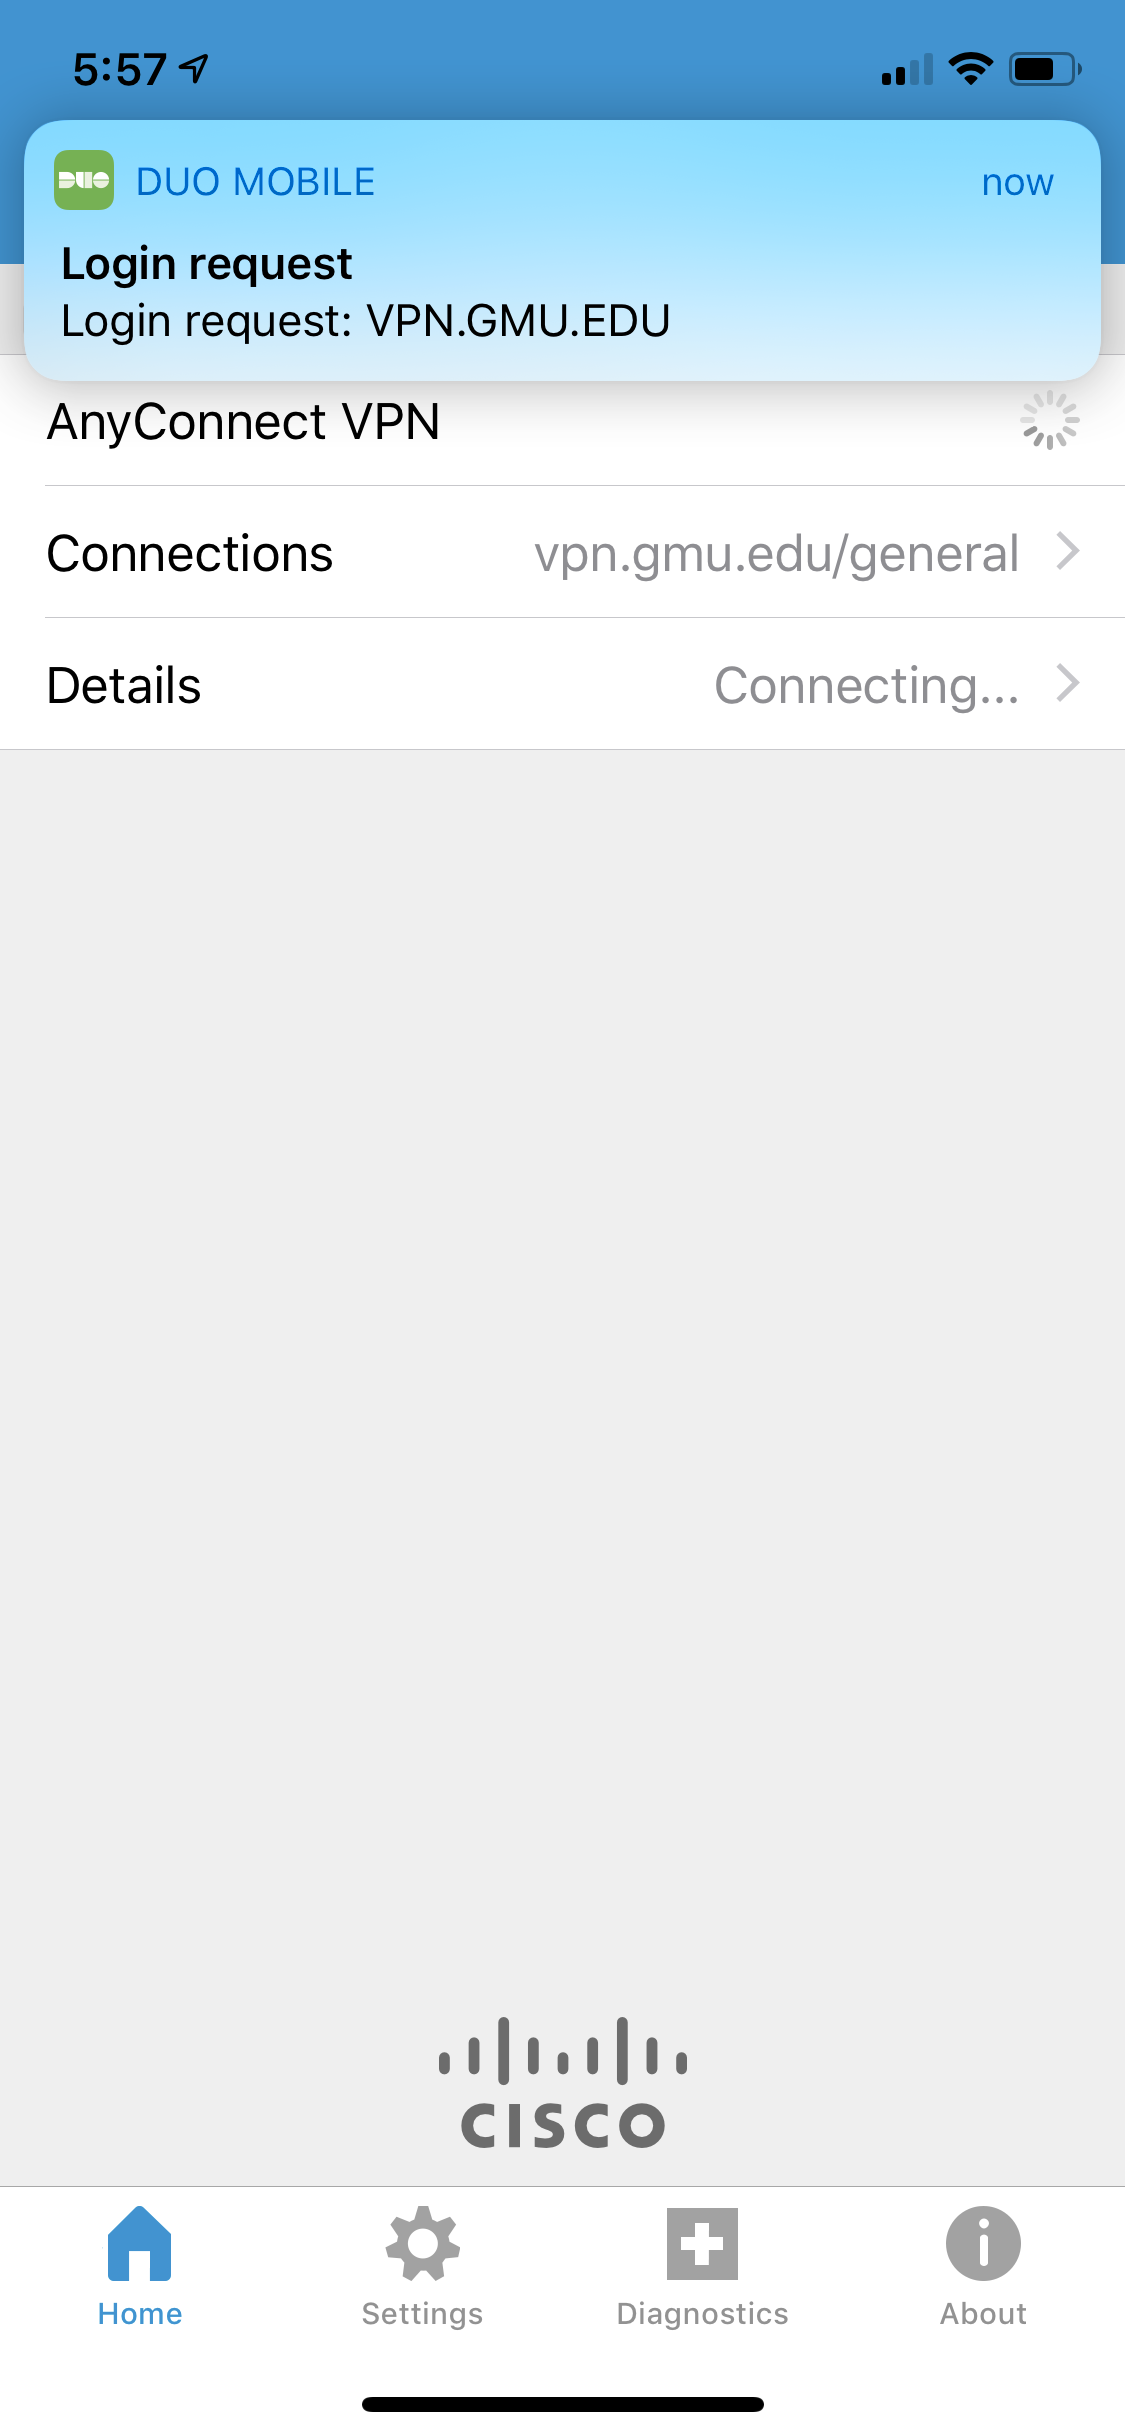
IMPORTANT: You will need to tap Accept in the Duo App in order to connect to the VPN.
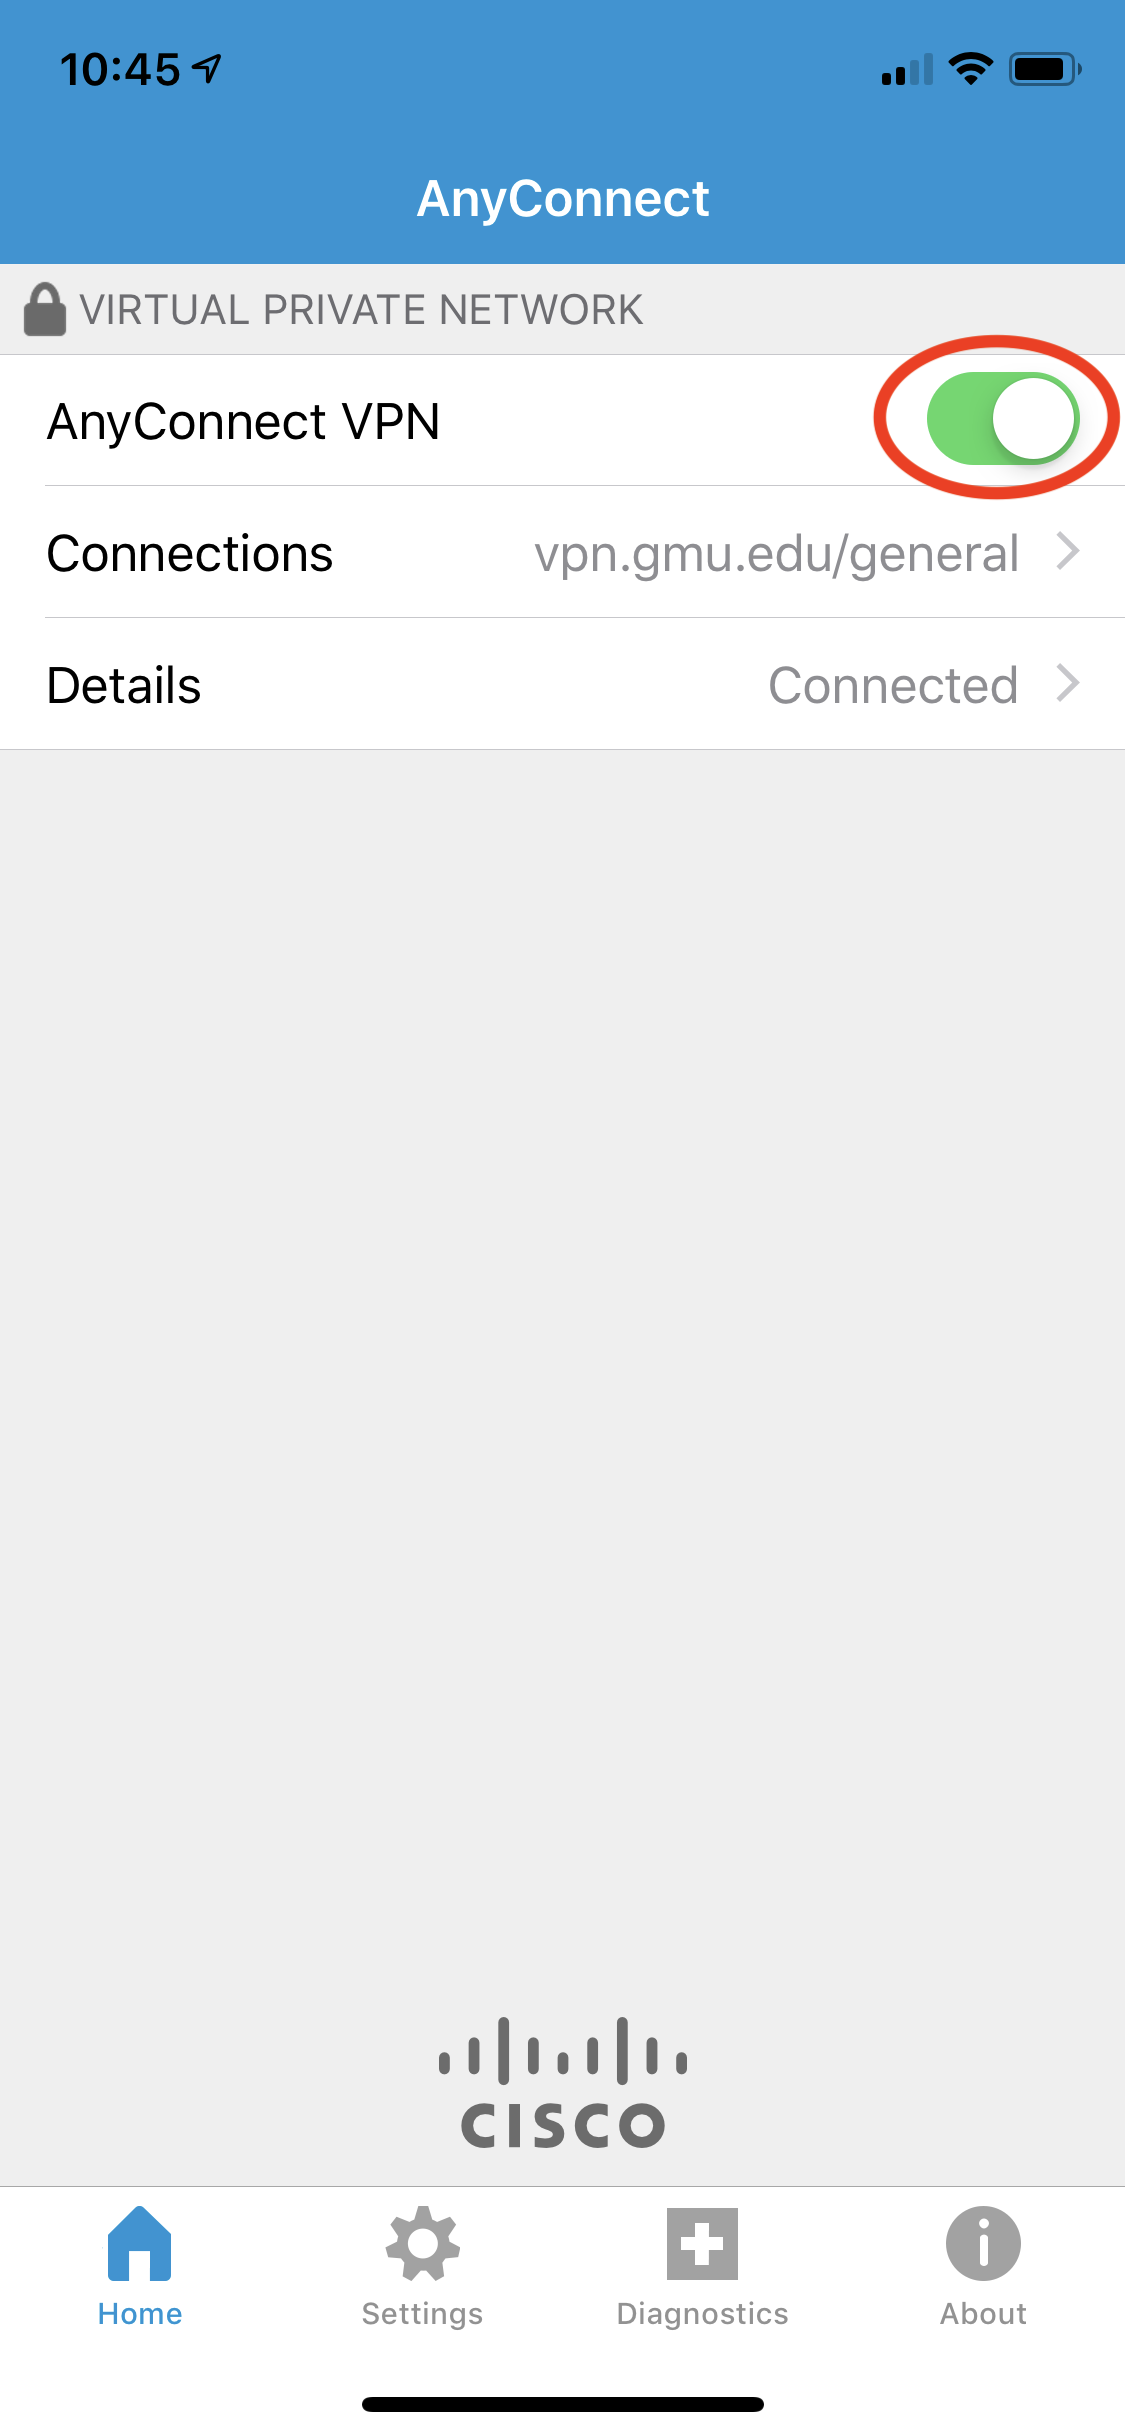
You will see Connected in Details. When you are ready to disconnect, tap on the Secure Client VPN slider button.
If you want to add more VPN containers (i.e., student or department containers), click on Connections and follow steps 4 through 7.
Note: Do not change Settings.