The Kaltura Video Quiz tool enables instructors to provide students with online quizzes defined by the Instructor and custom-tailored to the needs of the students.
Grading Feature
You can add a quiz to any video using the Kaltura Video Quiz creation tool in MyMedia. Once created, video quizzes can be embedded anywhere in your Canvas course—just like any other media item.
You can also automatically send quiz scores to the Gradebook, using Canvas Assignments.
How to Add a Kaltura Video Quiz to the Canvas Gradebook
To automatically send Kaltura Video Quiz scores to the Canvas Gradebook, you must add the quiz using the Kaltura Video Quiz external tool in an Assignment.
- Go to your Canvas course and click Assignments > + Assignment.
- Enter a title and optional instructions for the assignment.
- Under Submission Type, select External Tool.
- Click Find, then choose Kaltura Video Quiz from the list.
- From the My Media pop-up, select the video quiz you want to assign.
- Set the points, due date, and other grading settings.
- Click Save (or Save & Publish).
Note: Embedding a Kaltura quiz using “MyMedia” or “Rich Content Editor>Kaltura Media” will not send grades to the Canvas Gradebook — you must use the Assignments > External Tool method for grading integration.
You will now see a new column created in the grade center and scores will populate as students complete the video quiz.
How to View Quiz Results
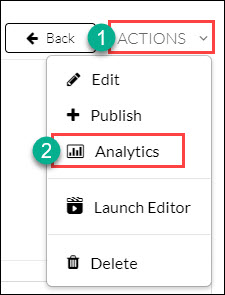
To view aggregated and individual quiz results, go to MyMedia and select the quiz to go to its page. Below the video preview, click the Actions button and select Analytics.
Attention: Kaltura Quizzes Allow Only One Attempt per Student
Kaltura video quizzes only allow one attempt per student per video, regardless of any settings you apply in Canvas.
What this means:
- Once a student submits a Kaltura quiz, it is locked for that student.
- Clearing or resetting the attempt in the Canvas Grade Center will not allow the student to retake the quiz.
- The “Multiple Attempts” setting you may see in Kaltura Quiz creation tool does not override this restriction when using Kaltura inside Canvas.
How to Allow a Student to Retake a Video Quiz
- Go to MyMedia and open the quiz video.
- Click Analytics.
- Select the Quiz Users tab.
- Find the student and click Delete to remove their attempt.
- (Optional) You may also want to remove the grade from the Canvas Gradebook if one was already recorded.
Create a Quiz
Step 1
In Canvas, click the Kaltura MyMedia link in the left-hand navigation menu.
Step 2
Find the video you want to use and click title, and then in the new window click Actions dropdown menu bottom right of the player.
Select Launch Editor.
Step 3
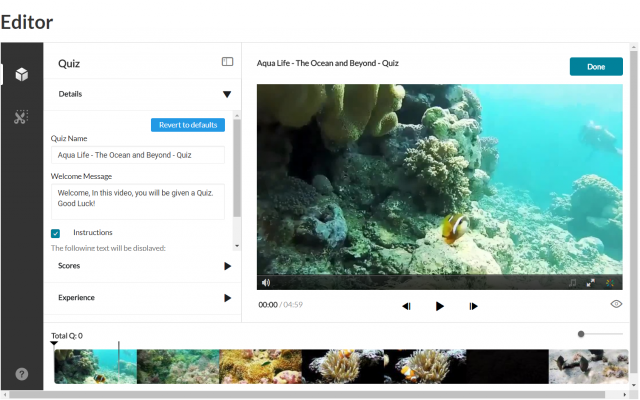
The Kaltura Editor will open in a new screen. By default, it will show the Editor/Trim view.
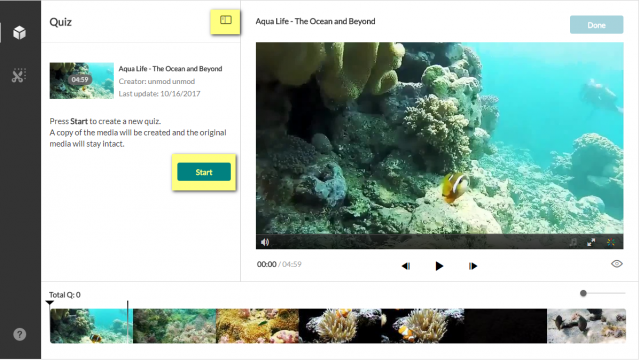
Click the Quiz tab at the top left to switch to quiz creation mode.
Step 4
Click Start to begin creating the quiz.
A copy of the original video will be created for the quiz. Your original video remains unchanged.
Step 5
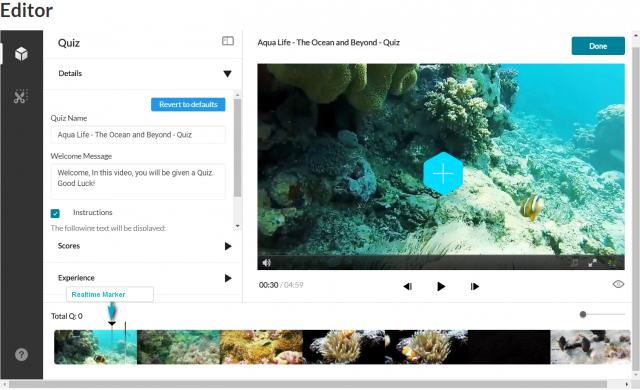
Add your quiz questions by scrubbing through the video timeline and clicking the + icon where you want a question to appear.
Step 6 (Optional)
Click the Expand/Minimize icon on the left pane to get a cleaner view while editing.
Step 7 (Optional)
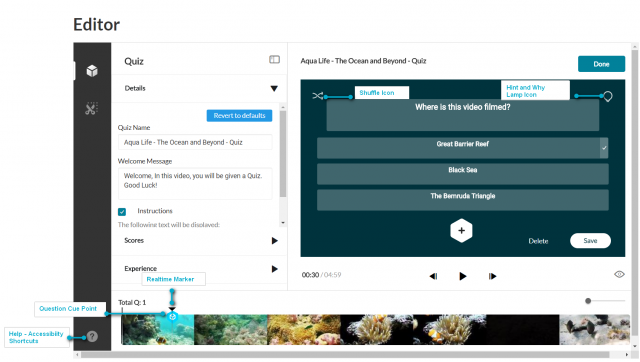
All options in the Quiz Editor include default values. Open each section to modify the default values for the selected media entry.
- Click on the Details tab. Default values are displayed. You may Revert to defaults at any time.
- You can modify the following fields (optional).
- Quiz Name
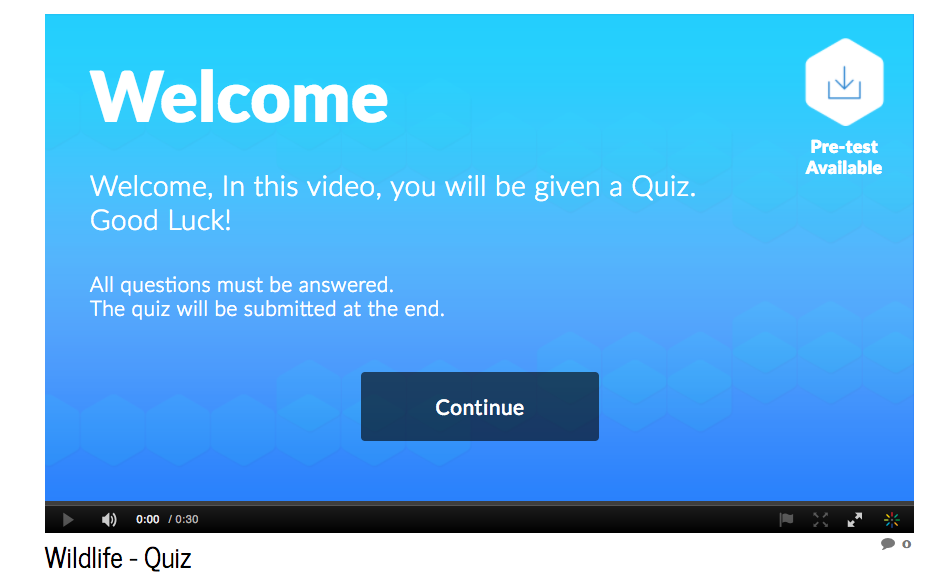
- Welcome Message – appears on the first screen of the quiz
- Instructions – includes basic instructions on how to complete the quiz
Step 8
Click the Scoring tab to set or modify the scoring options. Default values are displayed. You may revert to defaults at any time.
Note: Multiple attempts does not apply to automatically graded video synced to the grade center. Students can only take and submit 1 attempt. The quiz attempt must manually be reset to allow any additional attempts.
| Upon Submission | Resulting Display for the End User |
|---|---|
| Do Not Show Scores | A ‘Thank You’ message will display after submitting the quiz. No scores will be presented to the quiz taker. |
| Show Scores | Your viewers will see the quiz score page after the quiz is submitted. |
| Include Answers | Your viewers will be able to see correct/incorrect answers, as well as the correct answer’s rationale if you chose to add it during the quiz creation (add link to where we talk about the “Why” button). |
Step 9
Click the Experience tab to set or modify the experience options. Default values are displayed. You may Revert to defaults at any time.
| Option | Resulting Display for the End User |
|---|---|
| Question List | Your viewers will be able to download the quiz question list and possible answers before they start playing the media. |
| Edit Answer | Your viewers will be able to change an answer before submitting the entire quiz, during review mode. |
| Skip for Now | Your viewers will be able to skip a question and come back to answer it later. Setting this off, will mean that your viewers will be blocked from continuing the playback until the answer the question. |
Adding Questions and Answers to Your Quiz
After you click the Plus sign, the Quiz Creator screen is displayed on the player. Use this screen to:
- Add/Delete Questions
- Add/Delete Answers
- Create Hints
- Create Rational (Why)
- Shuffle the order of answers
It is highly recommended that you place your final question close to the end of the video. After every question, the video continues from the point the video stopped before the question). Placing the final question near the end keeps the user engaged until the video topic is completed.
How to Create Quiz Questions and Answers
Step 1
Play the video or move the media’s realtime marker to the desired point in the video’s timeline.
Step 2
Press the + button and the following screen is displayed:
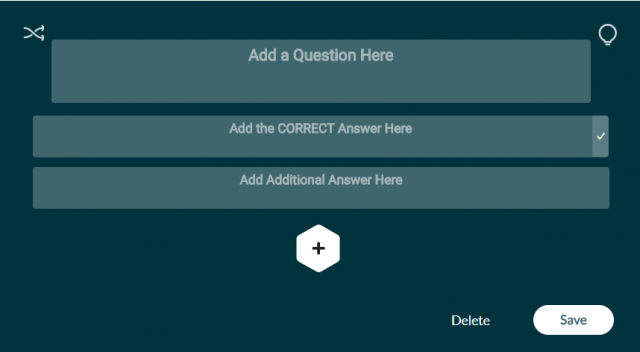
Step 3
Click Add a Question Here and enter the question text
Step 4
In the Add the CORRECT Answer Here field – enter the correct answer.
Step 5
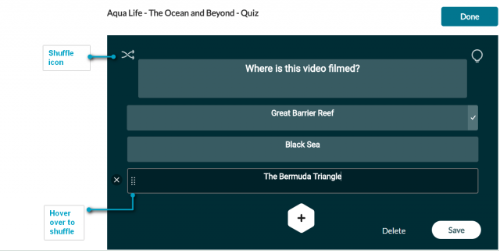
In the Add Additional Answer Here field– enter other possible answers to choose from. Two answers are mandatory. Click the Plus sign to add more answers. You may add up to four answers (maximum).
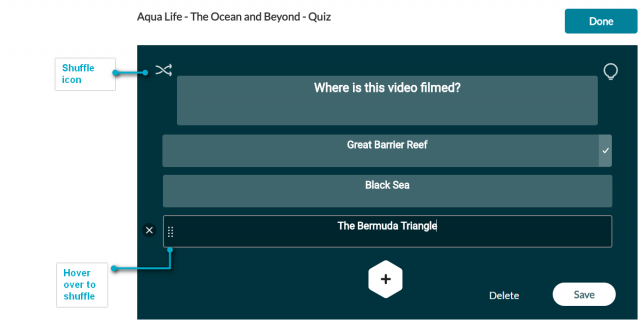
Step 6
Use the Shuffle icon (top left) to shuffle the order of the answers, or hover over the three dots in the answers to manually drag the answers to re-order them. Shuffling your answers will ensure that the correct answer is not presented at the same order every time. The correct answer displays a checkmark at the right end of it.
Step 7
To delete an answer, click on the x near the answer. The correct answer cannot be deleted, only modified. Click Save to save the question or Delete to delete the question. The question is saved with the question indicator on the timeline.
Note: Before you save the question, you may add a hint to the correct answer. When you finalize the quiz, you may add the Why rationale.
Step 8 (Optional)
Click the Lamp Icon. The Hint and Why icons are displayed. A hint contains additional information the user can choose to see while answering the question. It does not affect the score or any other behavior or parameter of the IVQ. The Why icon is the rationale of the correct answer, which can explain to your users why this is the correct answer.
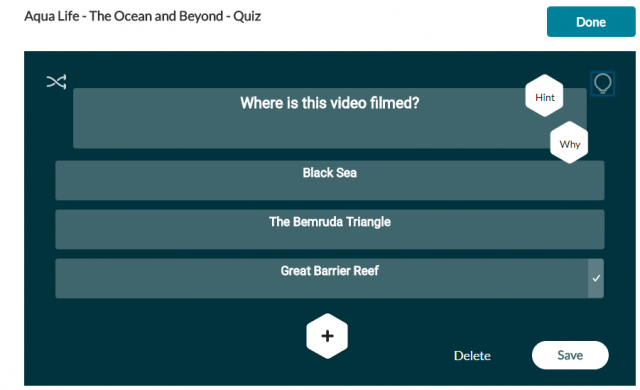
- Click Hint and enter a Hint. Click Apply or Remove. If the question has a hint a small ‘V’ icon is displayed in the Hint icon.
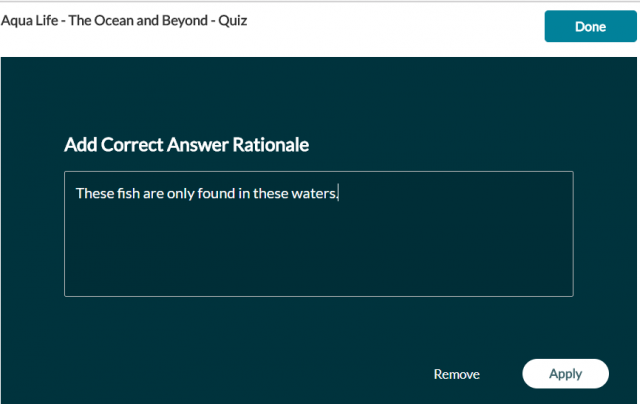
- Click Why and enter the rational. Click Apply or Remove. The Why comes up only at the end of the quiz and only when the option to Include Answers is checked in the Scoring tab.
Step 9
Click Save to save the question or Delete to delete the question.The question is saved with the question indicator on the timeline.
Step 10
Move the media’s realtime marker to the desired point in the video’s timeline to add additional questions and repeat the steps in this section.
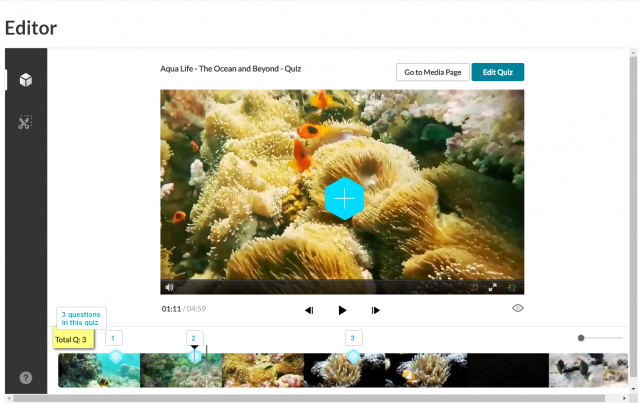
Step 11
Click Done when you have finished. The Editor screen is displayed with the quiz questions displayed as cue points on the timeline. In this example, the quiz has 3 questions. The total number of questions is also indicated on top of the timeline.
Preview the Quiz
Step 1
Click on the Eye icon below to the right of the player window. You will see the quiz Welcome screen.
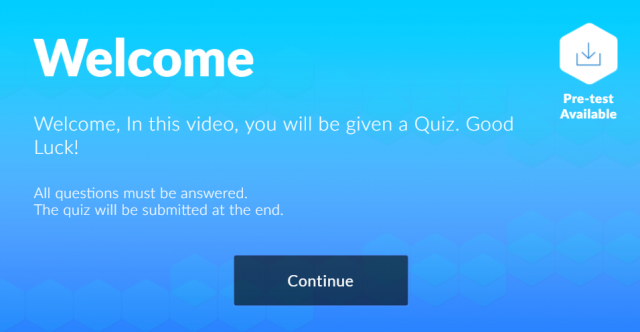
Step 2
Click Continue to see the quiz you created. Click Escape to exit Preview mode.
Step 3
Play the video to be certain that the questions and answers are correct and in their proper places in the media. Click on the question cue point to jump to the question.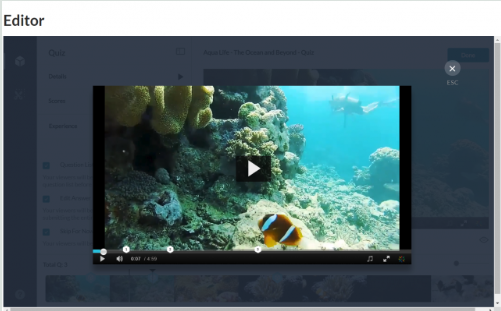
How to Edit a Quiz in Preview Mode
Step 1
While still in the quiz, click Edit Quiz.
Step 2
Click on the question cue point on the timeline.
Step 3
Enter your changes on the quiz editor screen and click Save.
Step 4
Click on the x near the answer to delete an answer. Click on the 3 dots to shuffle the order of the answers. Click Delete to delete the entire question.
Step 5
To Preview the quiz, click the Eye icon below the player.
Step 6
When you are done creating or editing the quiz, click Done.
How to View or Continue Editing Your Quiz
Step 1
Use the Edit tab to continue editing your quiz, or to trim or clip the media. You will see the question icons spread on the Timeline as a reference.
Step 2
Click “Go To Media” to view the quiz in your media list on KMS/KAF.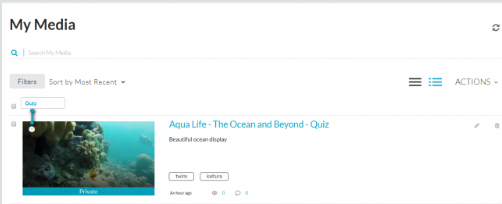
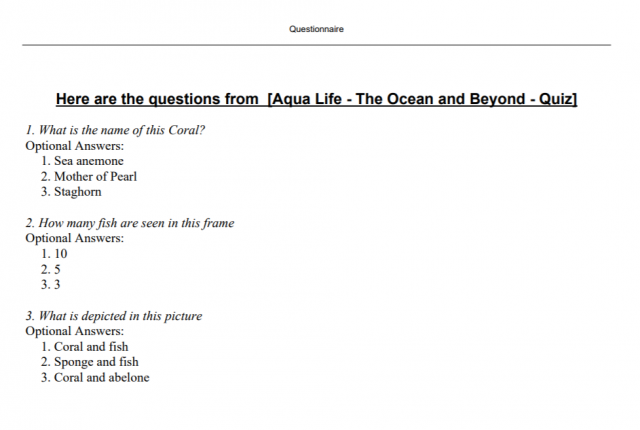
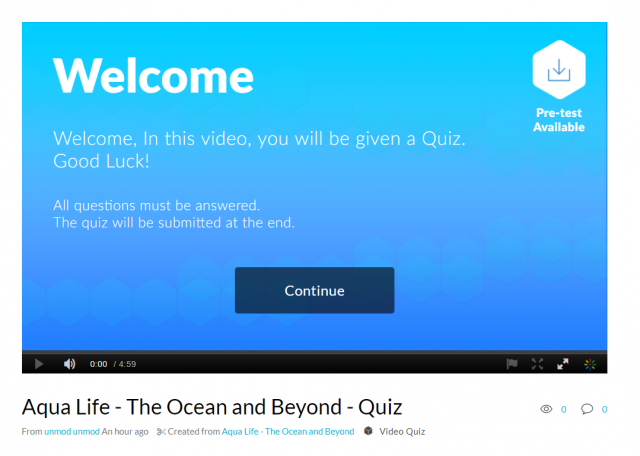
View the Pre-Test
You can view all the questions and their possible answers before you take the actual quiz. The option Question List must be checked in the Experience tab. Viewing the Pre-test is very useful to students or users that want to prepare the subject matter of the quiz ahead of time.
Step 1
In Canvas, go to Kaltura MyMedia link located in the left main menu.
Step 2
Click on the media entry.
Step 3
Play the video.
Click on Pre-test Available to open the questions and answers list in PDF format.
Step 4
The questionnaire and possible answers are downloaded to your PC.