Kaltura Capture is George Mason’s desktop recording application that allows you to create lecture recordings, demonstrations, or tutorials directly from your computer.
- Record your screen and webcam at the same time, or choose a single source.
- Use the automatic slide detection feature with PowerPoint in presenter mode: slides are detected and captured so viewers can search and browse by slide later.
- Upload recordings directly to your Kaltura MyMedia library in Canvas for easy sharing with students.
System Requirements: Kaltura Capture runs on both Windows and macOS. For best results, ensure your operating system and browser are up to date.
Kaltura Capture How-to Video
Installing Kaltura Capture
- Log in to Canvas and open Kaltura MyMedia from the global navigation menu.
- Click Add New > Kaltura Capture.
- Download the installer for Mac or Windows and follow the prompts to install.
- After installation, return to Canvas > MyMedia > Add New > Kaltura Capture and launch the recorder once.
- This step links Kaltura Capture with your Canvas account (future launches from Canvas > Kaltura MyMedia > Add New > Capture are recommended).
- After syncing, you can open Kaltura Capture directly from your computer like any other application.
Tips:
- Mac Users (macOS Ventura/Sonoma): You may need to allow screen recording, microphone, and camera access in System Settings > Privacy & Security. Restart Kaltura Capture after granting permissions.
- Windows Users: If prompted by Windows Defender or another antivirus, approve the installation and allow access for microphone and camera.
- Browsers: The first time you launch Kaltura Capture from Canvas, your browser may prompt you to approve camera/microphone/screen sharing access to the application. Click Allow to continue.
- Test Recording: It’s a good idea to make a short test recording to confirm your audio and video are working correctly before recording a full lecture.
Launch the Application
After installation, you can launch Kaltura Capture in two ways:
- Recommended Method (syncs with Canvas):
- In Canvas, go to MyMedia > Add New > Kaltura Capture.
- This ensures the application is linked to your Canvas account.
- Direct Launch (after first sync):
- Open Kaltura Capture directly from your computer, just like any other application.
- On Windows: Use the Start Menu or desktop shortcut.
- On Mac: Use Finder > Applications.

Recording Options
When you open Kaltura Capture, you can choose what inputs to include in your recording. There are three options—use any combination that fits your needs:
- Screen – Record anything on your computer screen (such as a PowerPoint presentation or demo).
- Camera – Record video from your webcam.
- Audio – Record your microphone.
If an icon is blue, that input will be included. Click the icon to deselect it if you don’t want it recorded.
By default, Kaltura Capture uses the highest quality available for each input. You can start recording right away, or adjust your input settings (camera, screen, or audio) if needed. For details on customizing inputs, see Kaltura Capture Recording Options.
Create a Recording
- Choose what you want to record (screen, webcam, audio).
- Select the red button to start recording.
- You will see a 3-second count down, and then your recording will start.
- When the recording begins, the duration of your recording is displayed in the Recording Menu.

The Recording Menu
While recording, the Kaltura Capture control bar gives you several options:
- Stop Recording (white square): Ends the recording. You will be asked to confirm before stopping.
- Pause/Resume (red circle): Pause or resume the recording at any time.
- Cancel (gray X): Discards the recording. You will be asked to confirm before cancelling.
- Elapsed Time: Shows the total time recorded so far.
- Annotations (pencil icon): Opens drawing tools for screen recordings. You can draw on the screen or use the whiteboard. Click the pencil again to return to cursor mode. (Note: Annotations are available only when recording your screen, not webcam-only recordings.)
- Audio Gauge: Displays the microphone’s audio level so you can confirm it is capturing sound.
Keyboard Shortcuts
The following list the shortcuts that you can use with Capture. Use Command(⌘) for Mac and Control(CTRL) for Windows.
- Start Recording: Command(⌘)/Control(CTRL)+Shift+R
- Stop Recording : Command(⌘)/Control(CTRL)l+Shift+S
- Cancel Recording: Command(⌘)/Control(CTRL)+Shift+C
- Clear all Notifications: Command(⌘)/Control(CTRL)+Shift+E
- Go to Management: Command(⌘)/Control(CTRL)+Shift+M
Completing and Uploading Your Recording
When you stop a recording in Kaltura Capture, you’ll be taken to the Capture Library.
- If you clicked Stop by mistake, you can select Cancel to return to your recording in a paused state.
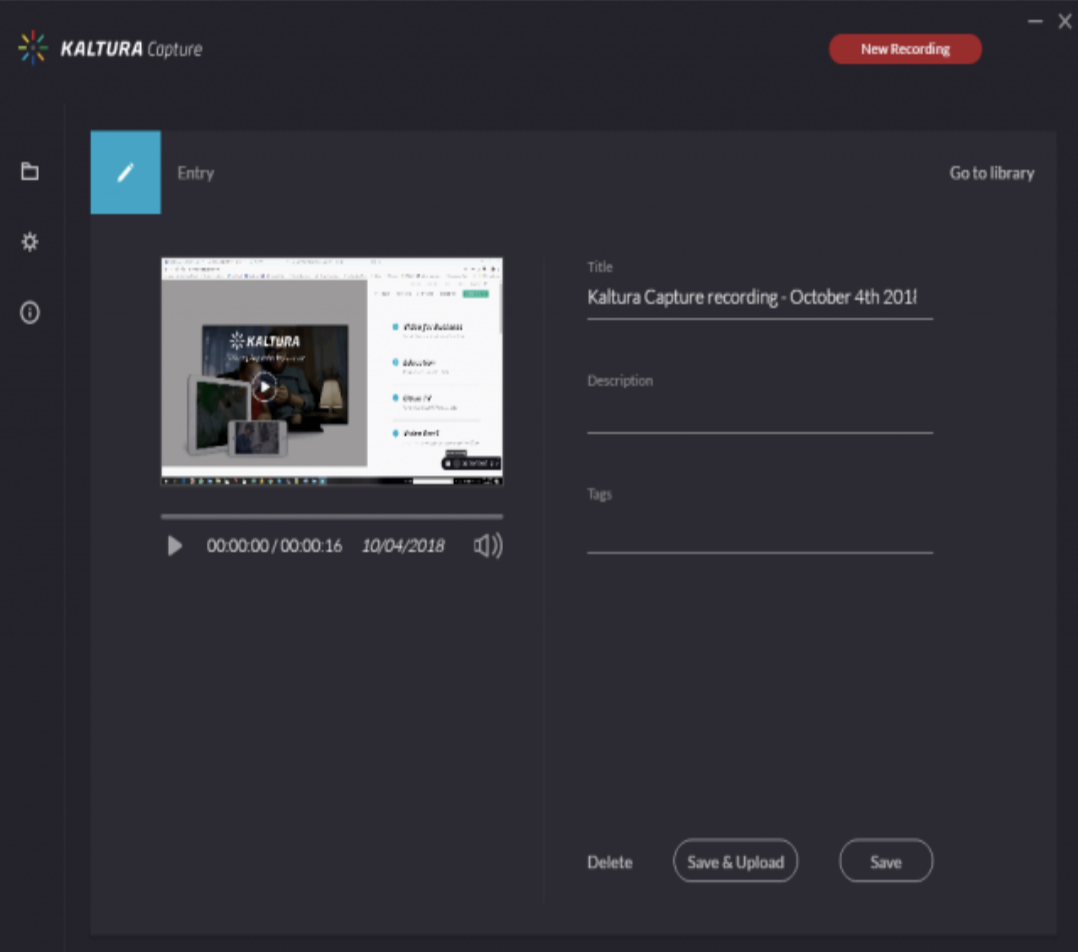
- In the Capture Library, you can:
- Preview your recording.
- Edit the Title, Description, and Tags (optional).
- To save the recording locally for now, click Save.
- To upload it directly to your Kaltura MyMedia library in Canvas, click Save & Upload.
Your video will begin processing in Kaltura and appear in your MyMedia once ready.
Editing your recording (such as trimming the beginning and end or clipping sections) is only available in your MyMedia library online after the recording has been uploaded. You cannot edit within the Kaltura Capture desktop application before uploading.
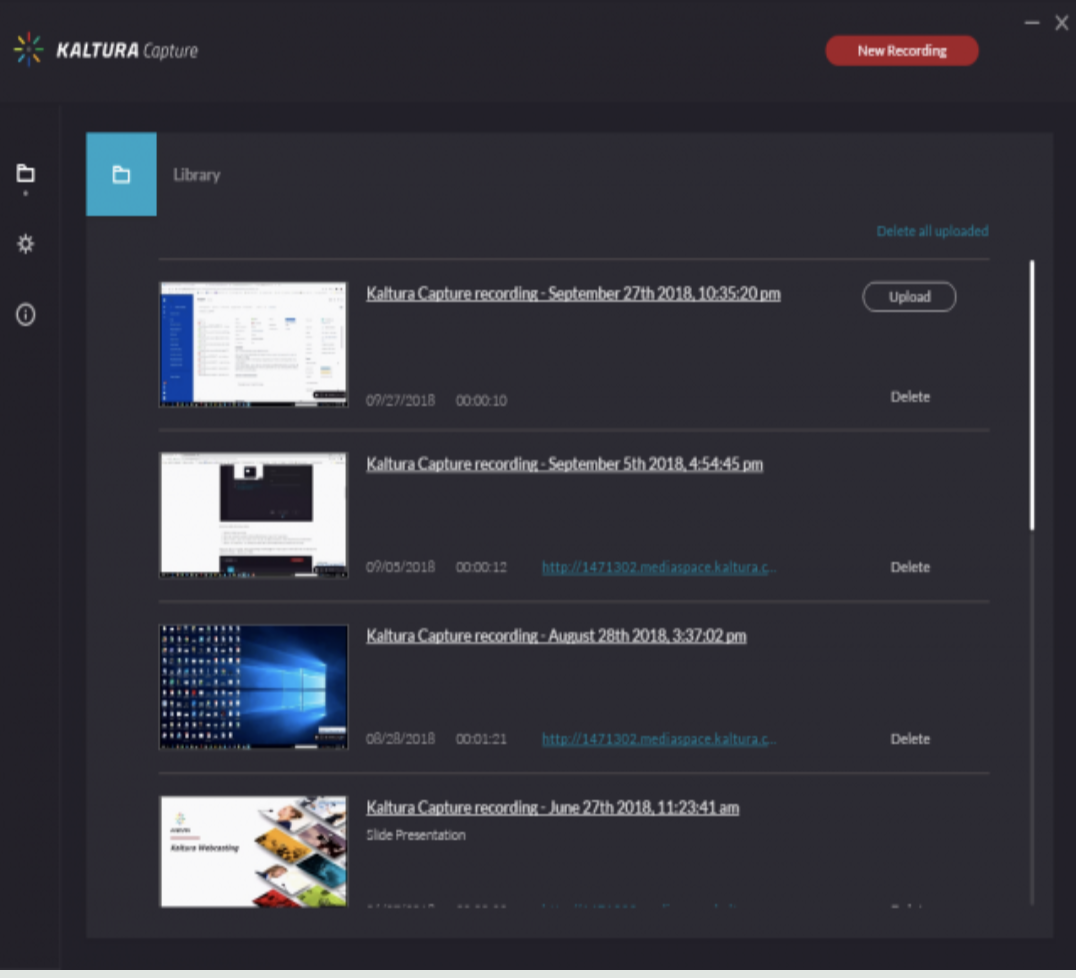
If you choose Save without uploading, your recordings will appear Manage> Library of Kaltura Capture. From here, you can:
- Upload saved recordings to your My Media library in Canvas.
- Delete recordings you no longer need.
- Re-upload recordings if the first upload did not succeed.
Find Recordings on Your Computer
While you will usually work with your recordings in Canvas > Kaltura MyMedia, all Kaltura Capture recordings are also stored locally on your computer. This can be helpful for backup or troubleshooting.
Windows
- Right-click the Kaltura Capture desktop icon and select Properties.
- Click Open File Location, then go up one folder to find the Capture folder.
- Or navigate directly to:
C:Users<username>AppDataLocalKalturaCapture
⚠️ Note: The AppData folder is hidden by default. To show it:
- Open File Explorer
- Go to the View tab > Options > View
- Under “Hidden files and folders,” select Show hidden files, folders, and drives
Mac
- Open Finder.
- From the Go menu, select Go to Folder.
- Enter:
~/Library/Preferences/Kaltura/Capture/ - Click Go.
- Or navigate directly to:
/Users/<username>/Library/Preferences/Kaltura/Capture/
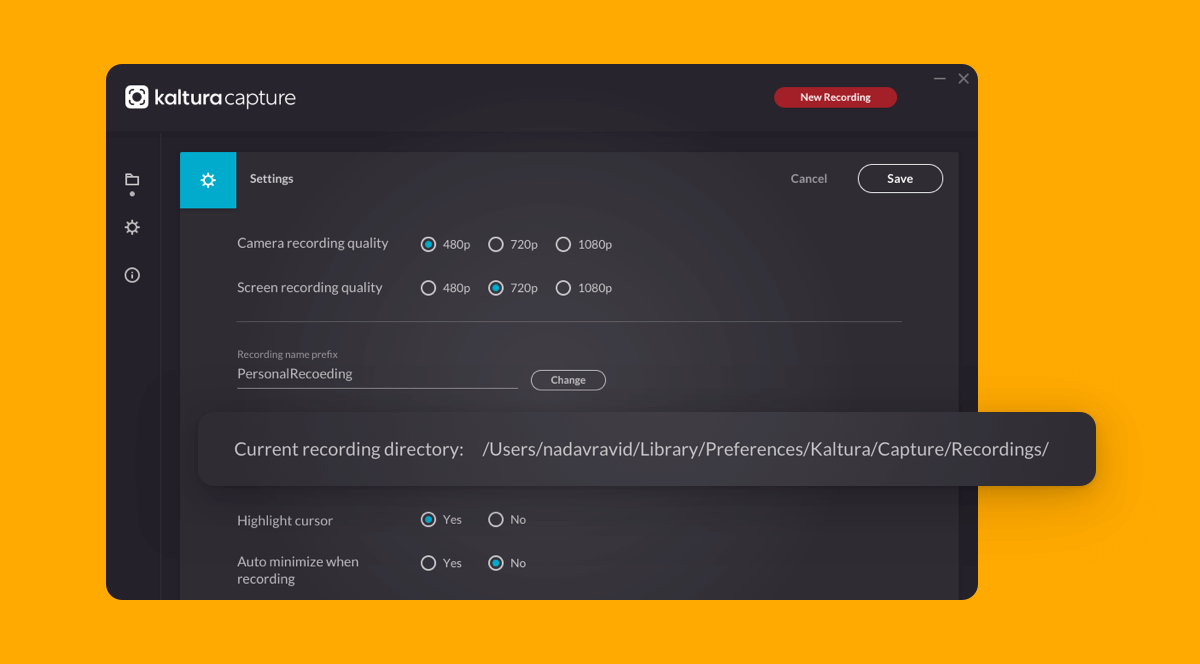
The local file location also appears in Kaltura Capture>Manage on the Settings page.