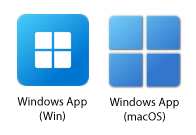
Step 1
Open the the Windows App.
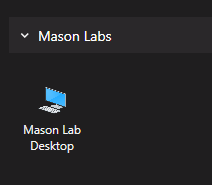
Step 2
Double-click the desired desktop environment.
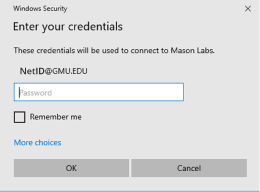
Step 3
Log in with your George Mason username and password.
Open the the Windows App.
Double-click the desired desktop environment.
Log in with your George Mason username and password.