The Kaltura Video Editing Tools offer basic browser-based editing features that are ideal for quick trims and simple edits.
- Trim the beginning or end of a video
- Chop out sections from the middle (split + delete)
- Add simple fade-in/fade-out effects
If you need advanced editing features like rearranging clips, overlaying titles, or working with multiple tracks, consider using video editing software Camtasia (license required).
Kaltura How-to Instructions
About the Video Editor
You can use the Kaltura Video Editor to trim or clip a media entry.
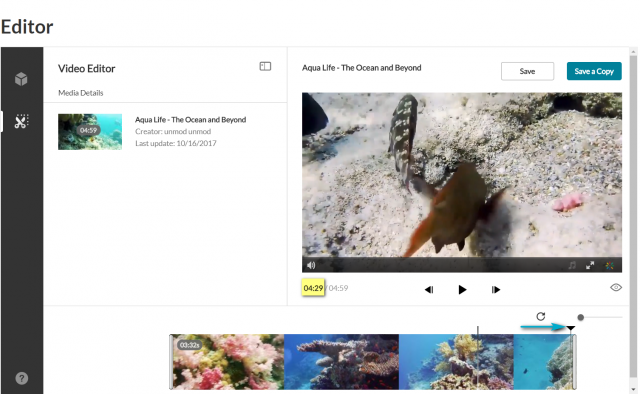
The Video Editor has three main areas:
- The left pane displays your media details. The left pane may be minimized by selecting the open/close left pane button
- The right pane consists of:
- Media Player
- Real-Time Input
- Play/Pause/Skip to Start/Skip to end Buttons
- Preview button—marked as the eye icon
- Reset icon
- Zoom marker
- The bottom pane includes the Timeline, which can be zoomed in/out to allow improved granulation of the timeline, and fine-tuning, and give a broader perspective when zoomed out
Supported Media
Kaltura Video Editing Tools offers different features based on the type of media:
| Type of Media | Edit/Create Quiz | Clipping | Trimming |
|---|---|---|---|
| Quiz | Yes | Yes | Yes |
| Audio | Yes | Yes | Yes |
| YouTube Entry | Yes | N/A | N/A |
| VOD | Yes | Yes | Yes |
| Live | N/A | N/A | N/A |
| Image | N/A | N/A | N/A |
How to Launch the Kaltura Video Editing Tools
Step 1
Login to Canvas.
Step 2
Go to Kaltura MyMedia.
Step 3
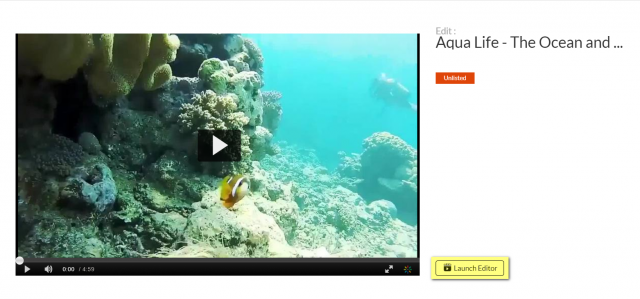
Select on the entry’s Edit icon.
Step 4
Select Launch Editor.
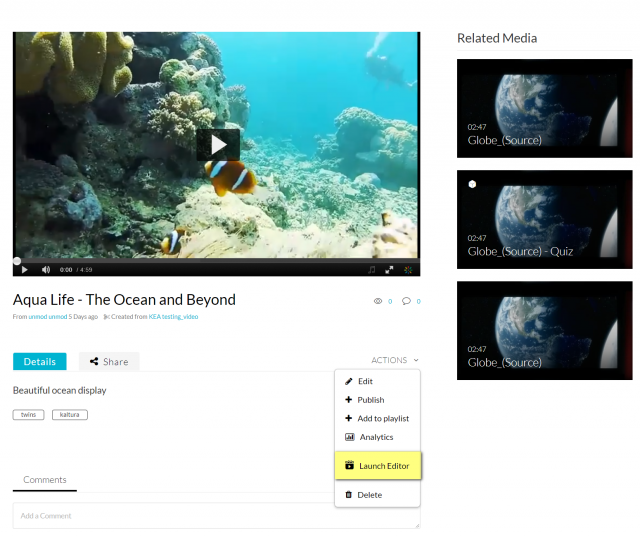
OR
Select on the video thumbnail and then select Launch Editor from the Actions drop-down menu.
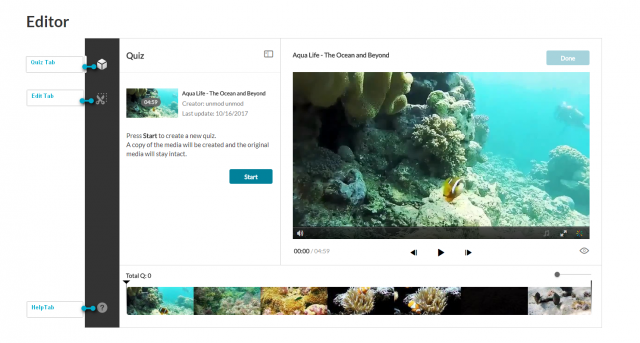
The Kaltura Editor window will now be displayed. The Kaltura Editor contains two navigation tabs:
- Quiz Tab: Creating and Editing Interactive Video Quizzes
- Edit Tab: Video Editor
Depending on the type of media you selected, the Kaltura Editor will open the relevant tab.
How to Zoom In/Out and Reset the Timeline
Step 1
Drag the Zoom marker to the level of granularity you want to see. This naturally will increase the length of the visible Timeline, since more frames will be viewable.
Step 2
Select the Reset Icon to reset the Timeline to its last saved state.
Set the Range of Your Media Clip
Define the range you want to keep or make a clip from by setting the range by doing one of the following:
Step 1
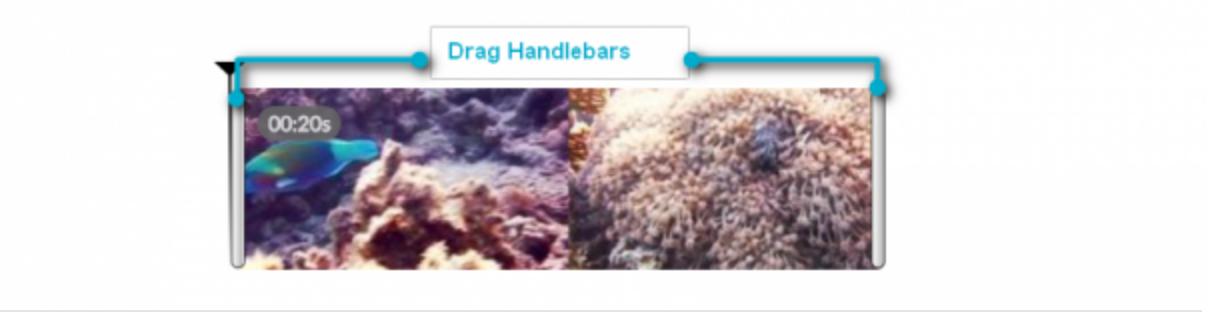
Drag the handlebars of the start or endpoints with your mouse to set the range.
Step 2
Enter a start time or end time in the Real-Time Input field, and press Enter. The Real-Time marker will position itself on the timeline at the manually set time. You can then drag either handlebar on the Timeline edge to snap it to the real-time marker.
Step 3
Select anywhere on the Timeline, the real-time marker will position itself there. Drag either Timeline edge to snap it to the real-time marker.
Step 4
Play the media, and pause at desired time. the Real-Time marker will position itself at that time. Drag either Timeline handlebar to snap it to the real time marker.
Step 5
When arrows are displayed on the Real-Time marker, you can move the Real-Time marker on the timeline to a different position, either backward or forward.
Note: You cannot trim or clip any segment under 2 seconds.
Trim a Media Item
Use the trimming tool to trim the start and/or end of your media.
Note: Trimming is only available to entitled users.
WARNING: Trimming media will modify the source media permanently. Create a clip to trim a copy and preserve the original media in Kaltura.
How to Trim Media
Step 1
Set the Range. Use any of the methods listed in Setting a Range.
Step 2
Select Save to create a new media item.
Sample Use Case for Trimming
Step 1
Go to Kaltura MyMedia and select the video you want to trim or create a clip from.
Step 2
Launch the Kaltura Editor.
Step 3
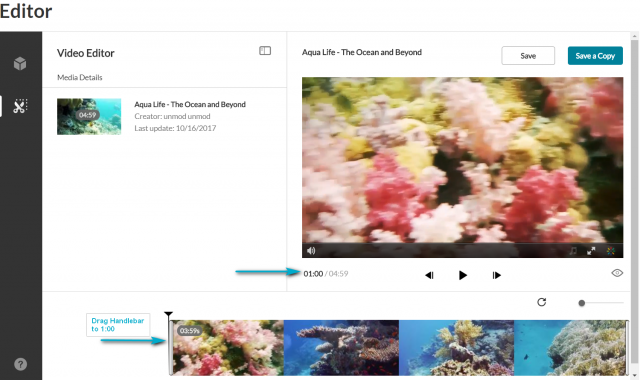
In this example, the desired start time will be one minute. Drag the handlebar to the 1.00 point on the video. You can also select to input the 1:00 time manually.
The manual input time syncs with Real-Time maker you set.
Step 4
The handlebar should snap to the Real-Time marker. Drag the other end to the time mark 30 seconds less prior to the end and use the manual time input as a guide to the exact time.
You have now the desired segment of the original video.

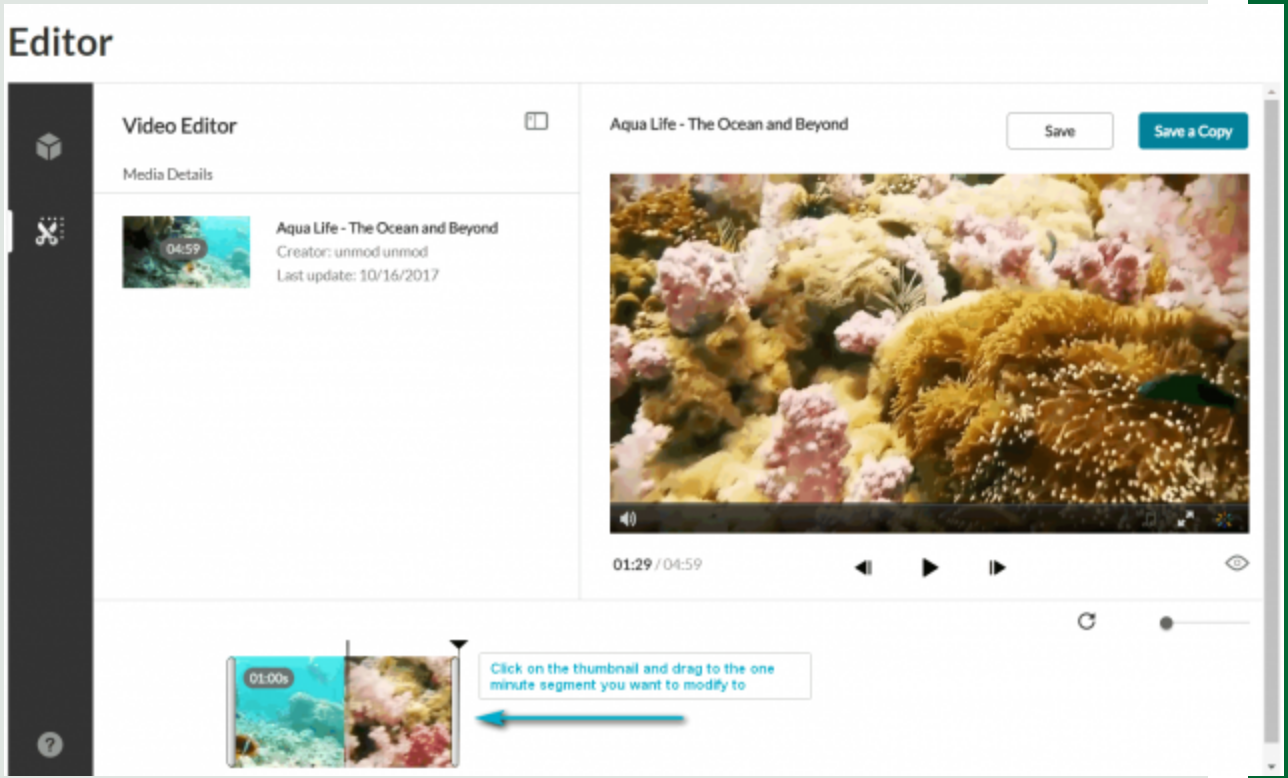
Step 5 (Optional)
(Optional) If you want to change the segment of the selected trimmed media to another segment on the timeline, click on the thumbnail that you created and drag it to the desired frame on the timeline.
The trimmed segment that you created for 1 minute is now on a different part of your media.
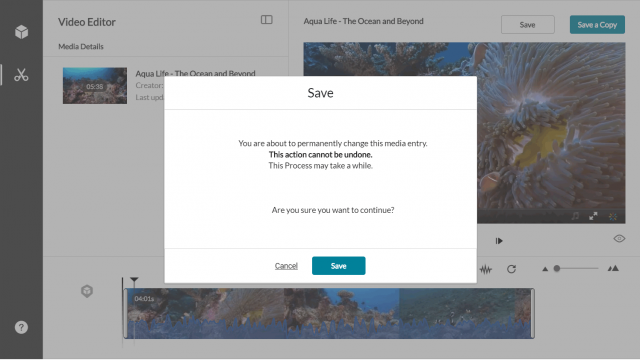
Step 6
Select Save. The following window is displayed—Select Save again.
Step 7
Select Save. A progress bar is displayed.
Step 8
Go to Kaltura MyMedia to affirm that the clip has been created in MyMedia.

Clip a Media Item
Only the owner or co-editor of a media entry can create clips from media. For entitlements for clipping, the option Enable others to create clips must be checked in the entry Edit Options tab.
The Real-Time marker is always in sync with Manual Time Input (below the player).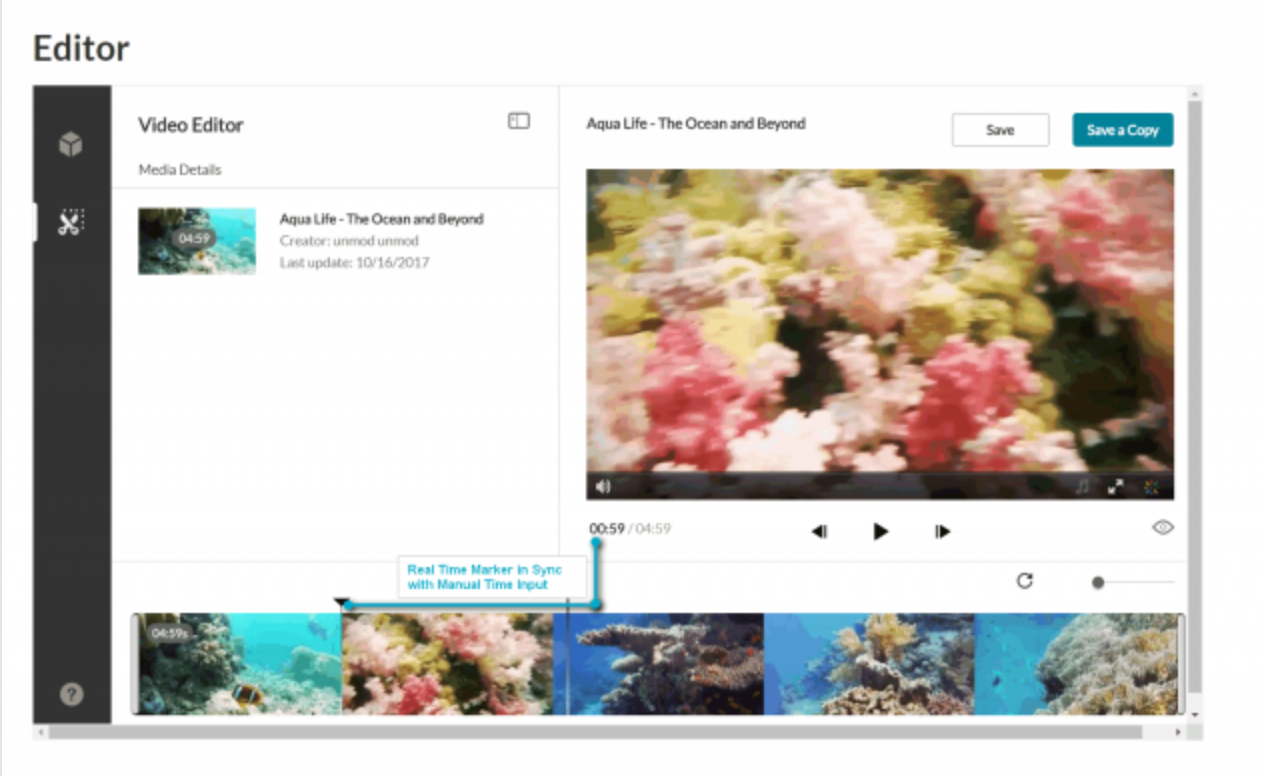
How to Create a Clip
Step 1
Set the Range. Use any of the methods listed in Setting a Range.
Step 2
Select Save a Copy (clip) to create a clip. Saving a copy creates a copy and the original media is unchanged.
Sample Use Case for Making Clips
Step 1
Go to My Media and select the video you want to create a clip from.
Step 2
Launch the Kaltura Editor.
Step 3
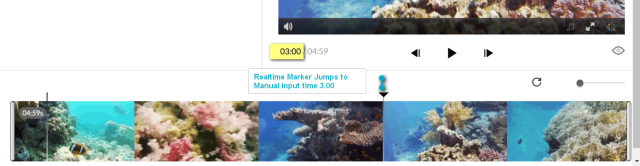
In this example, the desired start time for the one-minute clip is at minute 3.00. Enter 0300 in the Time field and press Enter.
The Real-Time maker syncs with the input time you entered.
Step 4
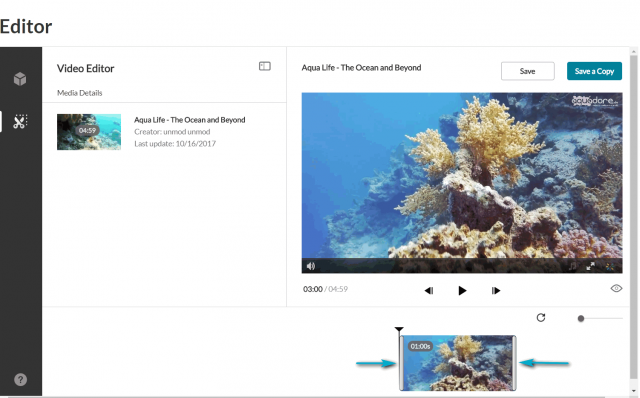
Drag the handlebar to the start of the clip at (the 3.00 minute). The handlebar should snap to the Real Time marker. Drag the other end to the one-minute time mark. You have now created a one-minute clip of the original video.
Step 5 (Optional)
If you want to change the segment of the one minute clip to another (one minute) segment on the timeline, select on the thumbnail you created and drag it to the desired frame on the Timeline.
Step 6
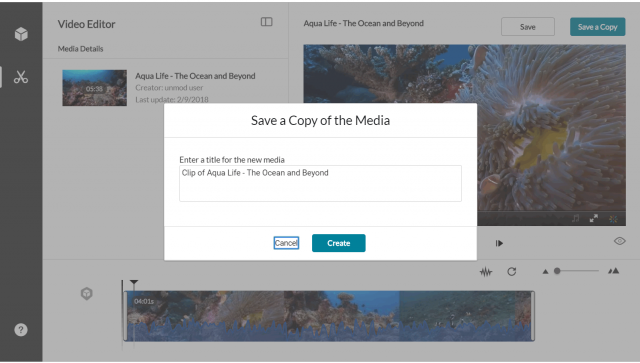
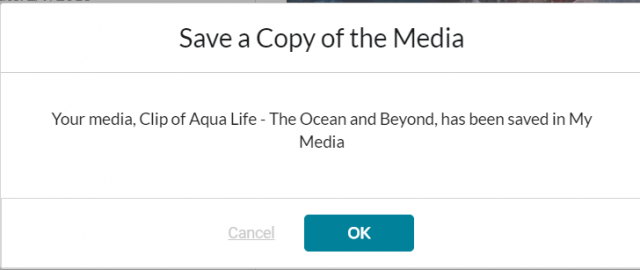
Select Save a Copy. The following window is displayed:
Step 7
Enter a title and select Create. You can either use the suggestion title (indicating that this video is a clip) or create a new title.
A confirmation box is displayed, and the new media appears in MyMedia.
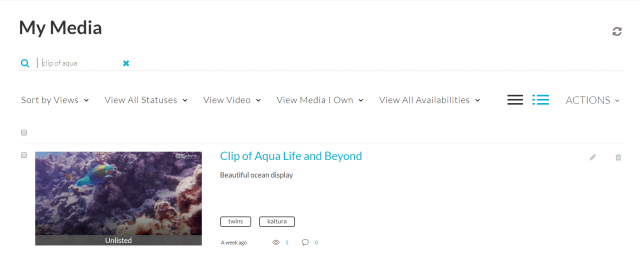
Step 8
Go to MyMedia to affirm that the clip has been created in MyMedia.
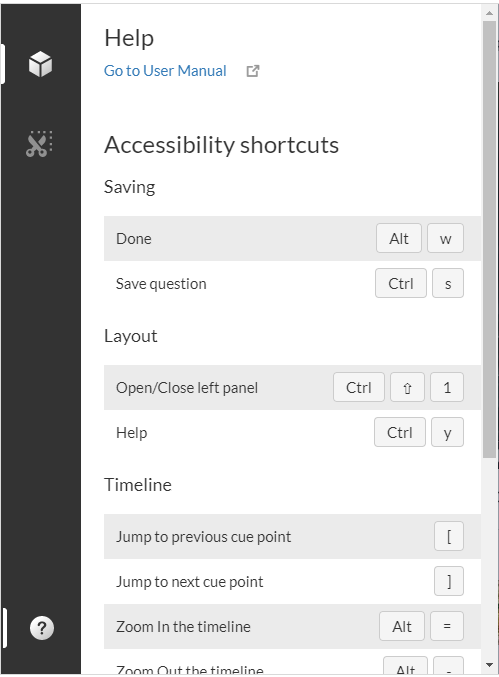
Help Question Icon—Accessibility Shortcuts
Kaltura Video Editing Tools also contains the Help Question icon that opens accessibility shortcuts. These shortcuts are very useful to create clips and trim your videos. Select on the icon to open and close the Help information.
The Kaltura Video Editing Tools’ Help contains:
- Link to the User Manual
- Accessibility shortcuts
Notes
- The shortcuts are adapted to your OS (that is, if you are on a MAC, the MAC shortcuts are displayed. If on Windows, the Windows shortcuts are displayed).
- The shortcuts are contextual for the tab you are in. If you are working in the Quiz Tab, the relevant shortcuts are displayed. If you are in the Editor Tab, the relevant shortcuts are displayed.
Additional Information
Kaltura offers additional tutorials on the following: