*No longer required for Mac systems purchased since 2023
Enrolling your Mason-owned Mac ensures that it is compliant with Mason’s policies and grants you access to licensed software that is not available to unmanaged Macs. Enrolling a personal Mac is in violation of Mason’s software licenses.
Note: Using Safari will ensure proper enrollment. Instructions were created using Safari on macOS 12 (Monterey).
Step 1
To enroll a Mason-owned Mac, go to mac.gmu.edu.
Step 2
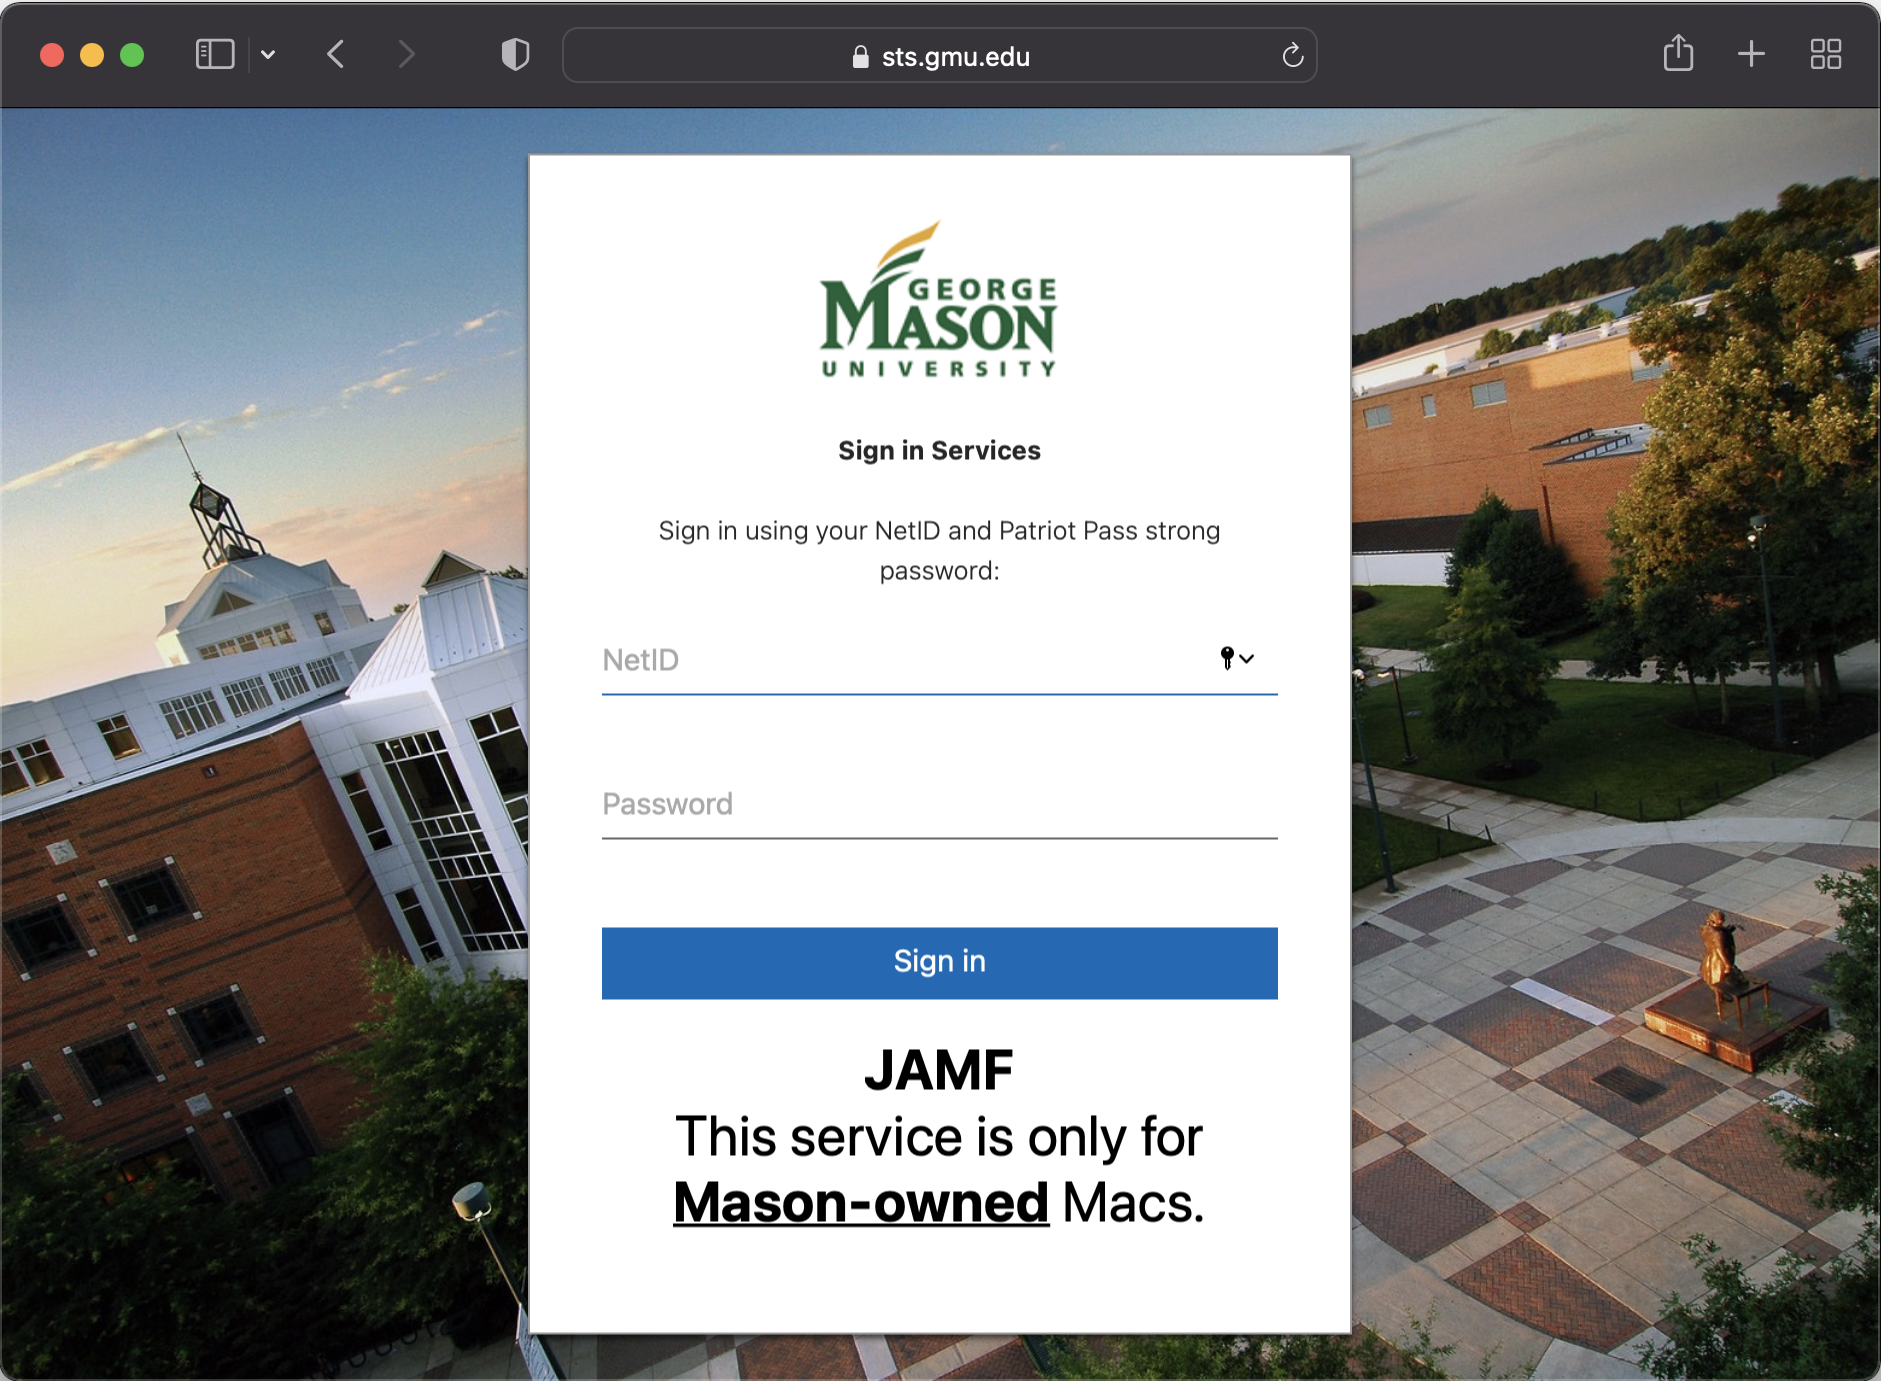
Log in with your NetID and Patriot Pass Password.
Step 3
You will be prompted to install the CA Certificate. Click Continue. 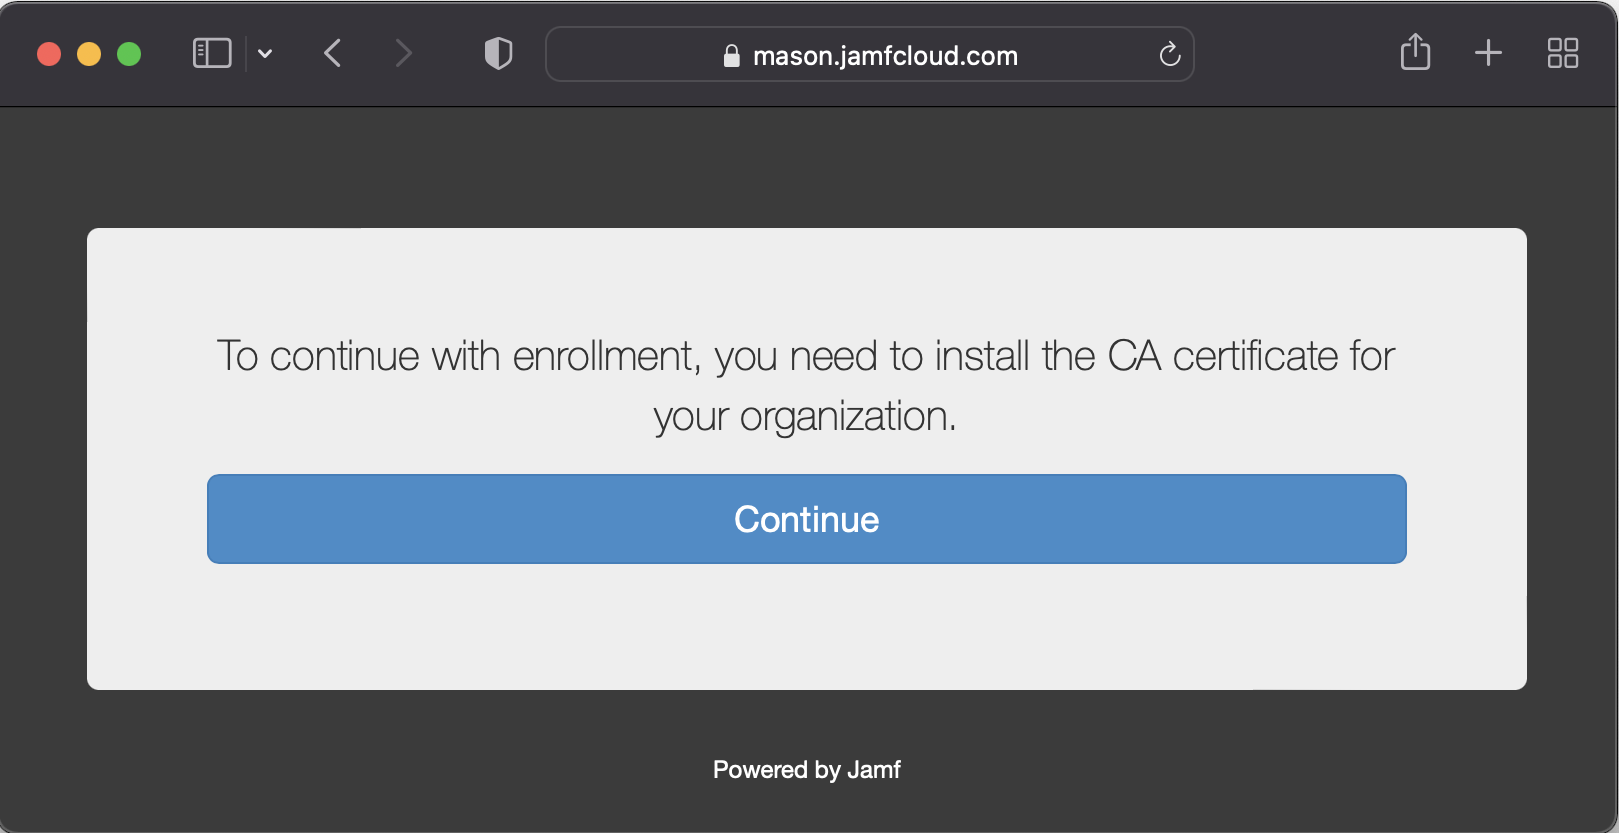
Step 4
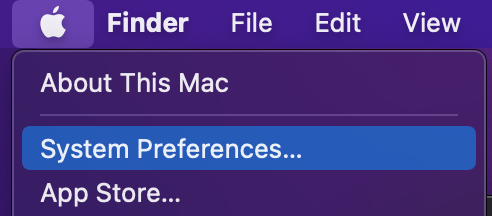
Click on the Apple icon in the top left-hand corner of the Mac then go to Systems Preferences.
Step 5
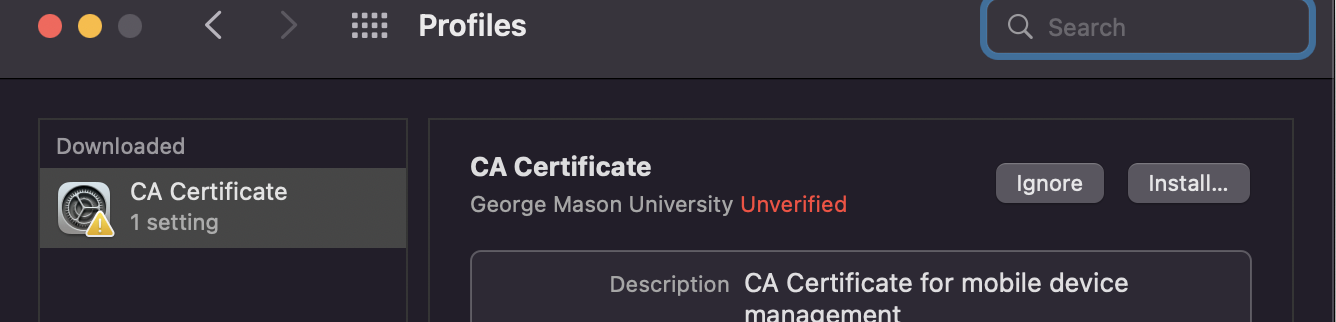
Click Profiles in the bottom right-hand corner of System Preferences.

Step 6
Click Install on the CA Certificate.
Step 7
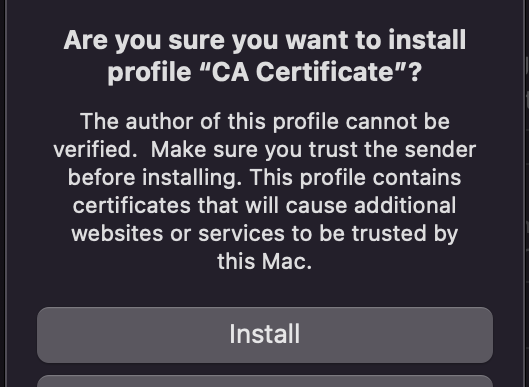
When it asks “Are you sure you want to install profile “CA Certificate”? click Install.
Step 8
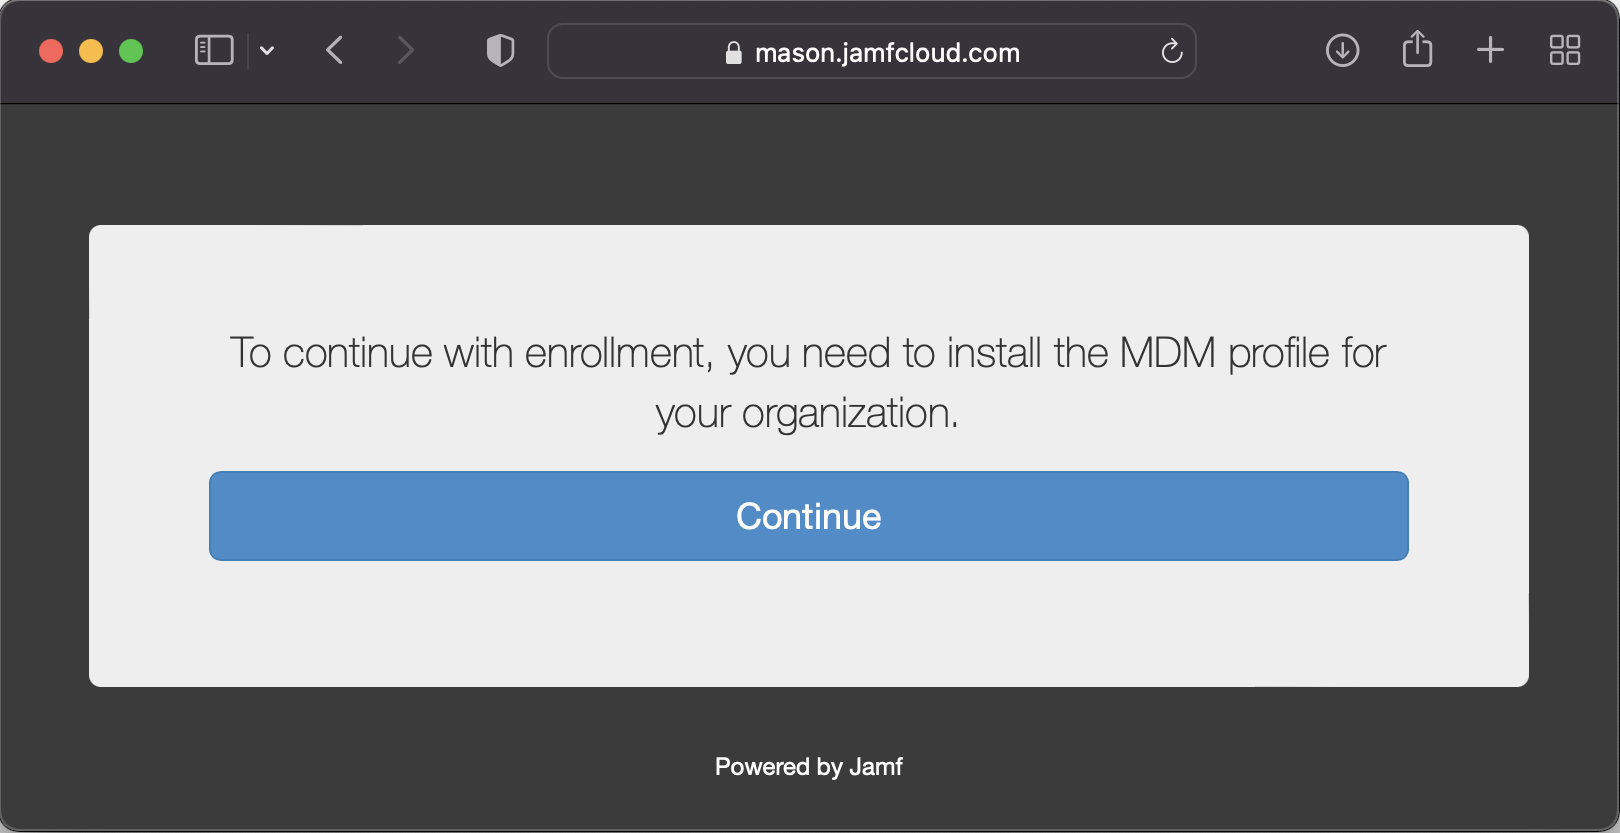
Go back to Safari, the window will now say “To continue with enrollment, you need to install the MDM profile for your organization.” Click Continue.
Step 9
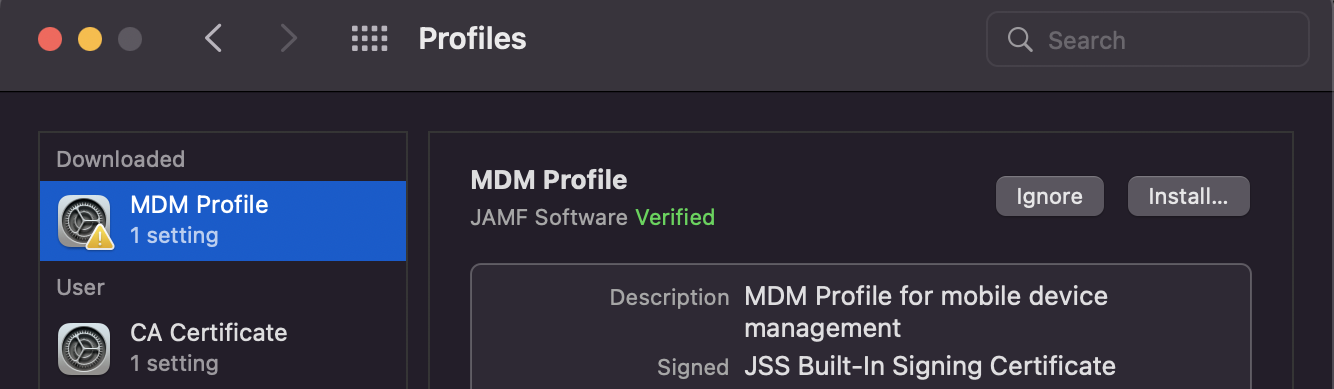
Go back to System Preferences > Profiles and click the MDM Profile then click Install.
Step 10
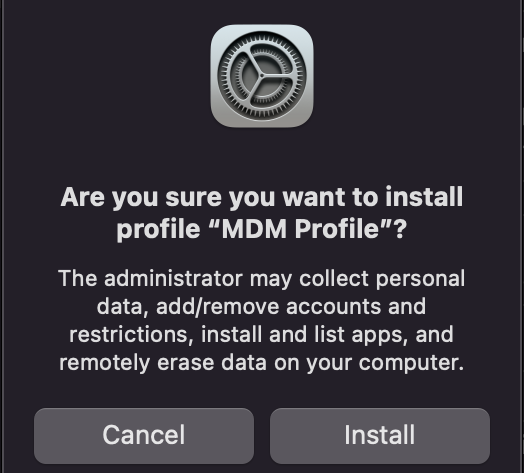
When it asks “Are you sure you want to install profile “MDM Profile”? click Install.
Step 11
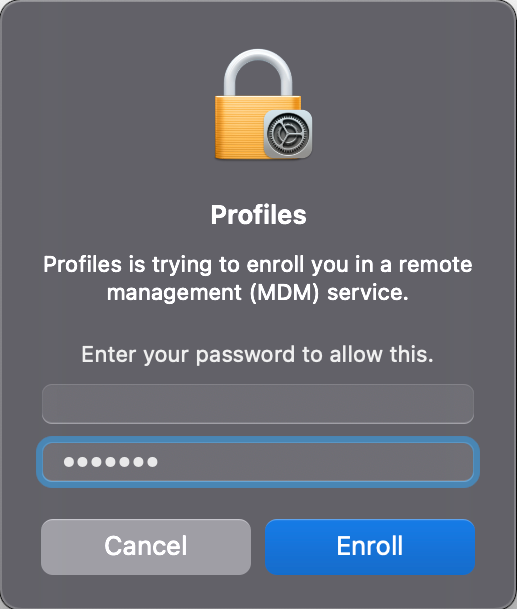
Enter your Mac password.
Step 12
Once the MDM Profile is added other profiles will appear. In a few moments depending on your Mac and Internet speeds Mason Self Service will install and appear in the dock.
Step 13
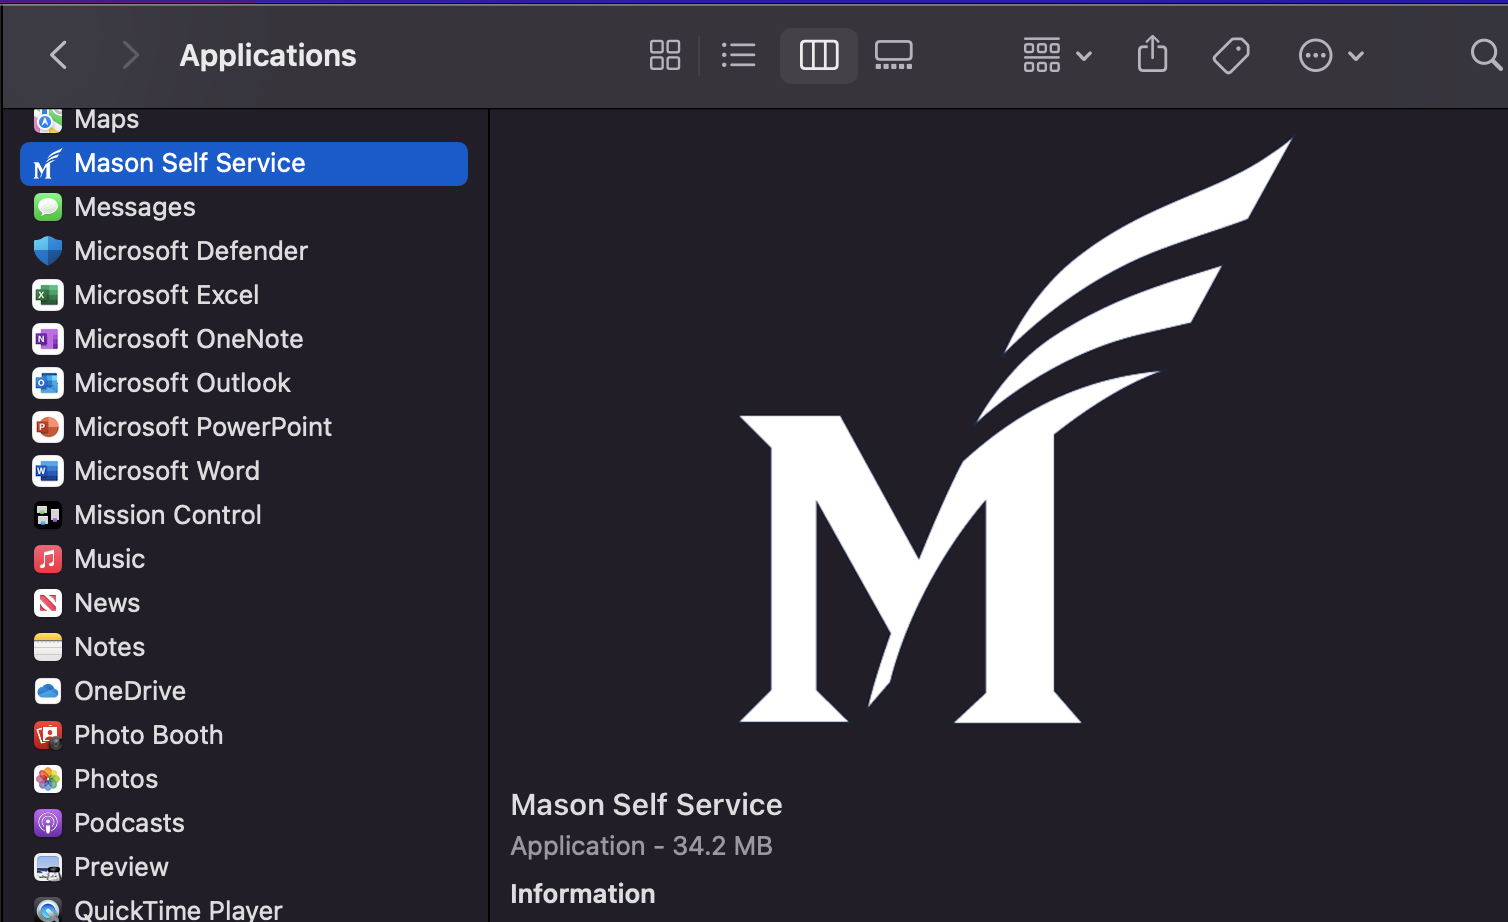
To access Mason Self Service log in with your NetID and Patriot Pass Password.